How to set ASCII Characters in MaskedTextBox in C#?
Last Updated :
08 Feb, 2024
In C#, MaskedTextBox control gives a validation procedure for the user input on the form like date, phone numbers, etc. Or in other words, it is used to provide a mask that differentiates between proper and improper user input. In MaskedTextBox control, you are allowed to insert ASCII or non-ASCII(arbitrary Unicode characters) characters in the MaskedTextBox using
AsciiOnly Property
. If the value of this property is true, then you can insert ASCII characters in the MaskedTextBox and if the value of this property is false, then you can insert characters other than ASCII characters. The default value of this property is false. You can set this property in two different ways:
1. Design-Time:
It is the easiest way to set the value of the AsciiOnly property of MaskedTextBox control as shown in the following steps:
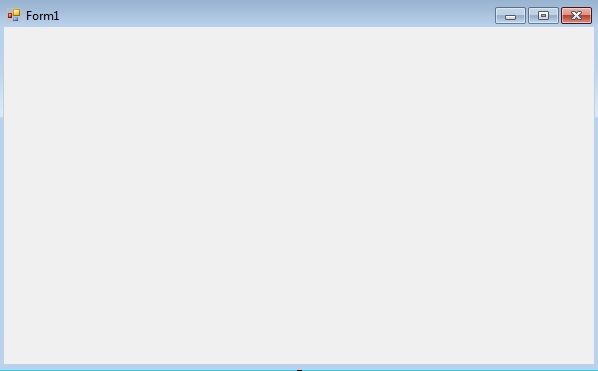
- Step 1: Create a Windows form as shown in the below image: Visual Studio -> File -> New -> Project -> WindowsFormApp
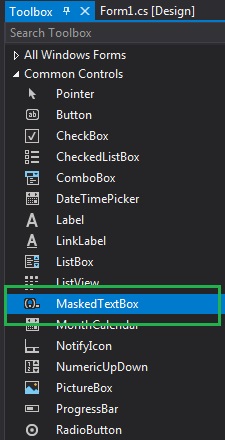
- Step 2: Next, drag and drop the MaskedTextBox control from the toolbox on the form as shown in the below image:
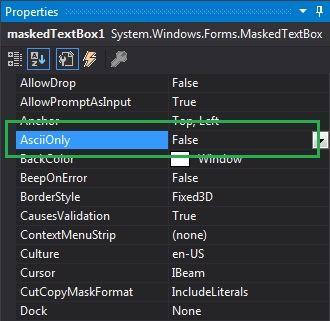
- Step 3: After drag and drop you will go to the properties of the MaskedTextBox and set the value of AsciiOnly property of MaskedTextBox control as shown in the below image:
 Output:
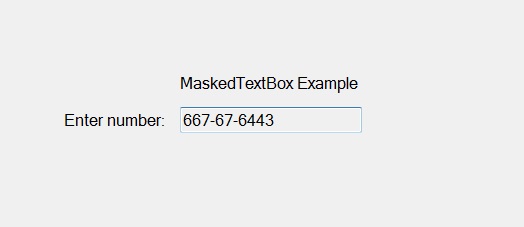
2. Run-Time:
It is a little bit trickier than the above method. In this method, you can set the value of AsciiOnly property of the MaskedTextBox control programmatically with the help of given syntax:
public bool AsciiOnly { get; set; }
The value of this property is of
System.Boolean
type, either true or false. The following steps show how to set the value of AsciiOnly property of the MaskedTextBox control dynamically:
- Step 1: Create a MaskedTextBox using the MaskedTextBox() constructor is provided by the MaskedTextBox class.
// Creating a MaskedTextBox
MaskedTextBox m = new MaskedTextBox();
- Step 2: After creating MaskedTextBox, set the AsciiOnly property of the MaskedTextBox provided by the MaskedTextBox class.
// Setting the AsciiOnly property
m.AsciiOnly = false;
- Step 3: And last add this MaskedTextBox control to the form using the following statement:
// Adding MaskedTextBox control on the form
this.Controls.Add(m);
Example:
CSharp
using System;
using System.Collections.Generic;
using System.ComponentModel;
using System.Data;
using System.Drawing;
using System.Linq;
using System.Text;
using System.Threading.Tasks;
using System.Windows.Forms;
namespace WindowsFormsApp39 {
public partial class Form1 : Form {
public Form1()
{
InitializeComponent();
}
private void Form1_Load(object sender, EventArgs e)
{
Label l1 = new Label();
l1.Location = new Point(413, 98);
l1.Size = new Size(176, 20);
l1.Text = " Example";
l1.Font = new Font("Bell MT", 12);
this.Controls.Add(l1);
Label l2 = new Label();
l2.Location = new Point(242, 135);
l2.Size = new Size(126, 20);
l2.Text = "Phone number:";
l2.Font = new Font("Bell MT", 12);
this.Controls.Add(l2);
MaskedTextBox m = new MaskedTextBox();
m.Location = new Point(374, 137);
m.Mask = "000000000";
m.Size = new Size(176, 20);
m.Name = "MyBox";
m.BorderStyle = BorderStyle.Fixed3D;
m.AsciiOnly = false;
m.Font = new Font("Bell MT", 18);
this.Controls.Add(m);
}
}
}
|
Output: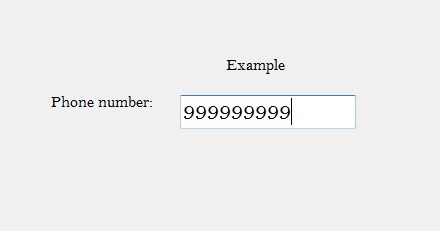
Like Article
Suggest improvement
Share your thoughts in the comments
Please Login to comment...