How to set a name for keygen element in HTML5 ?
Last Updated :
08 Jun, 2023
In HTML, the <keygen> tag is used to specify a key-pair generator field during a form, and the <keygen> name attribute is used to set the name of the keygen element. The aim of <keygen> element is to supply a secure thanks to authenticate users. When a form is submitted then two keys are generated, the private key and the public key.
The private key is stored locally, and therefore the public key’s sent to the server. The general public keys want to generate client certificates to authenticate users for the future. So basically it’s wont to encrypt and decrypt data.
Syntax:
<keygen name = "name">
Note: In HTML5, keygen is no longer supported.
The attributes of the <keygen> tag are listed below:
- name: It specifies the name of <keygen> element.
- autofocus: It specifies the focus of the element after a web page loads.
- disabled: It sets the element disabled.
- keytype: It specifies the type of algorithm to be used for key generation.
Example: In this example, we are using <keygen> element.
HTML
<!DOCTYPE html>
<html lang="en">
<head>
<title>set a name for keygen element in HTML5</title>
</head>
<body>
<h1 style="color:green;">
GeeksforGeeks
</h1>
<h2>
Defining a name for the
keygen element in HTML 5
</h2>
<form>
Username: <input type="text" name="uname">
Encryption: <keygen name="security">
<input type="submit">
</form>
</body>
</html>
|
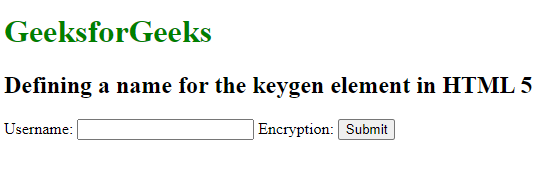
Output:
Like Article
Suggest improvement
Share your thoughts in the comments
Please Login to comment...