How to Secure a Live Server?
Last Updated :
16 Jul, 2020
Security is of utmost importance nowadays but still, some startups tend to ignore it because of the extra time it consumes. If not now, startups face hurdles at a later stage of scaling because of insecure systems. And in the current era where ransomware is at its peak, in order to make sure that open services running on your server are not compromising your system, let’s look at some of the steps we can follow to ensure the same.
IP tables
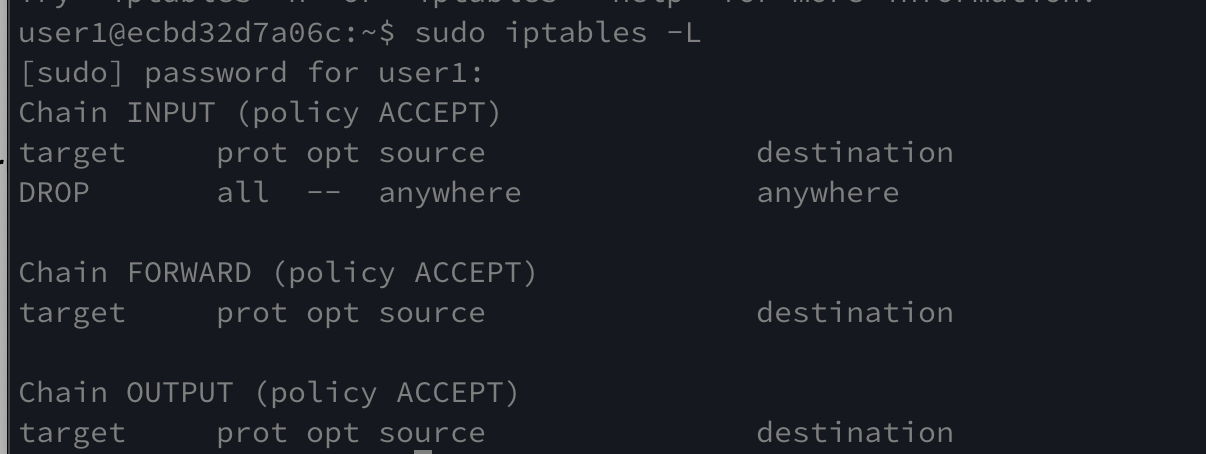
IP tables are command-line firewall utility that uses rules/policies to allow or block traffic. First, check if your iptable configuration is clean.
sudo iptables -L
The above command lists all the current iptable rules. Use this command after every addition to ensure if your configuration is clean.
if you find some issues in your configuration, you can use the following command to flush the entire iptable and start over. With your iptable flushed, your system is vulnerable to attacks. Make sure to secure it using an alternative method.
sudo iptables -F
Inserting rules
Insert rules for the following purposes in order to secure the server.
- Inserting rule to allow loopback connections for localhost connection to work.
- Inserting rule to allow incoming connection from the already established connection.
- Rule to allow HTTP on port 80, HTTPS on 443, and SSH on 22.
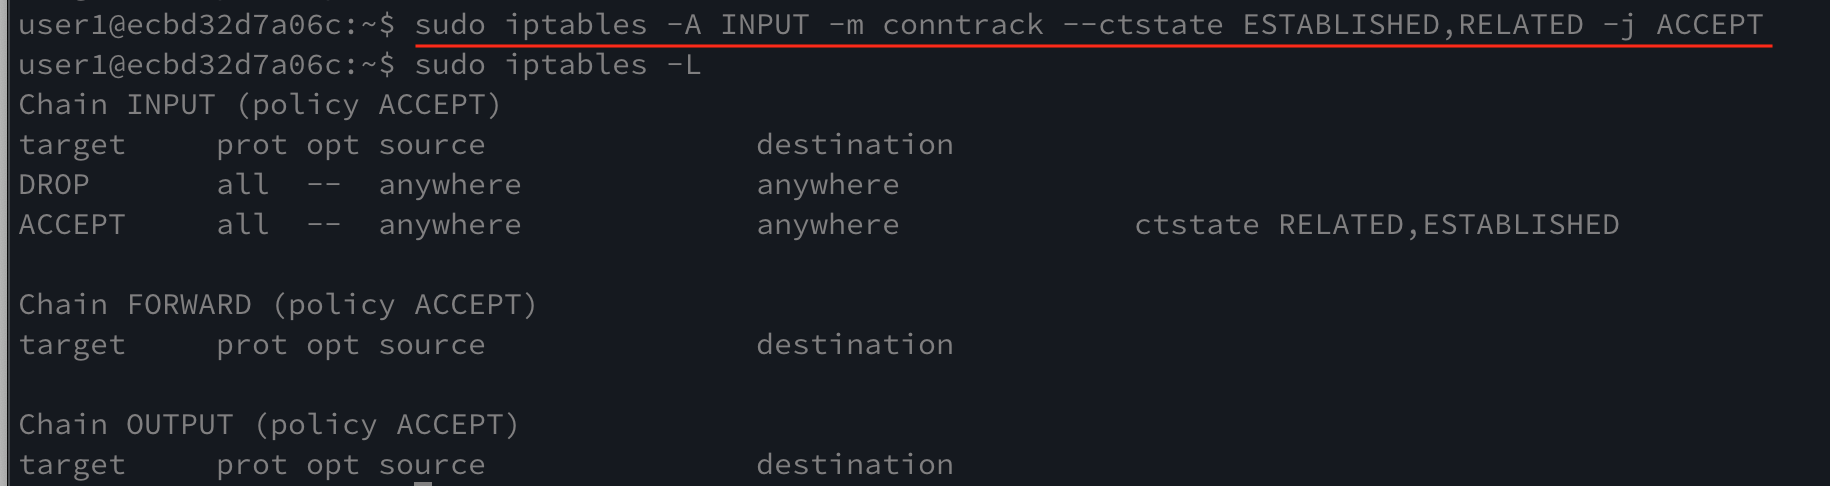
Let’s add a rule to allow established connections to continue using the command below and then you can check that the rule was added using the same sudo iptables -L as before. To do this enter the following command in terminal.
sudo iptables -A INPUT -m conntrack --ctstate ESTABLISHED,RELATED -j ACCEPT
sudo iptables -L
Default policy
You should make sure of the default policy to be configured as accepting incoming connections. This ensures that you don’t get locked out of your own account. Then, add a rule to drop the incoming connections as last. This ensures to drop the connection if the packet doesn’t match the rules above drop rule. Thus, ensures security from unwanted connections to the server.
Setting the default policy as ‘ACCEPT’
sudo iptables -P INPUT ACCEPT
Adding a rule to ‘DROP’
sudo iptables -A INPUT -j DROP
These commands execute successfully without returning any statement as it could be seen from the screenshot provided below.

Setting the iptables to be persistent
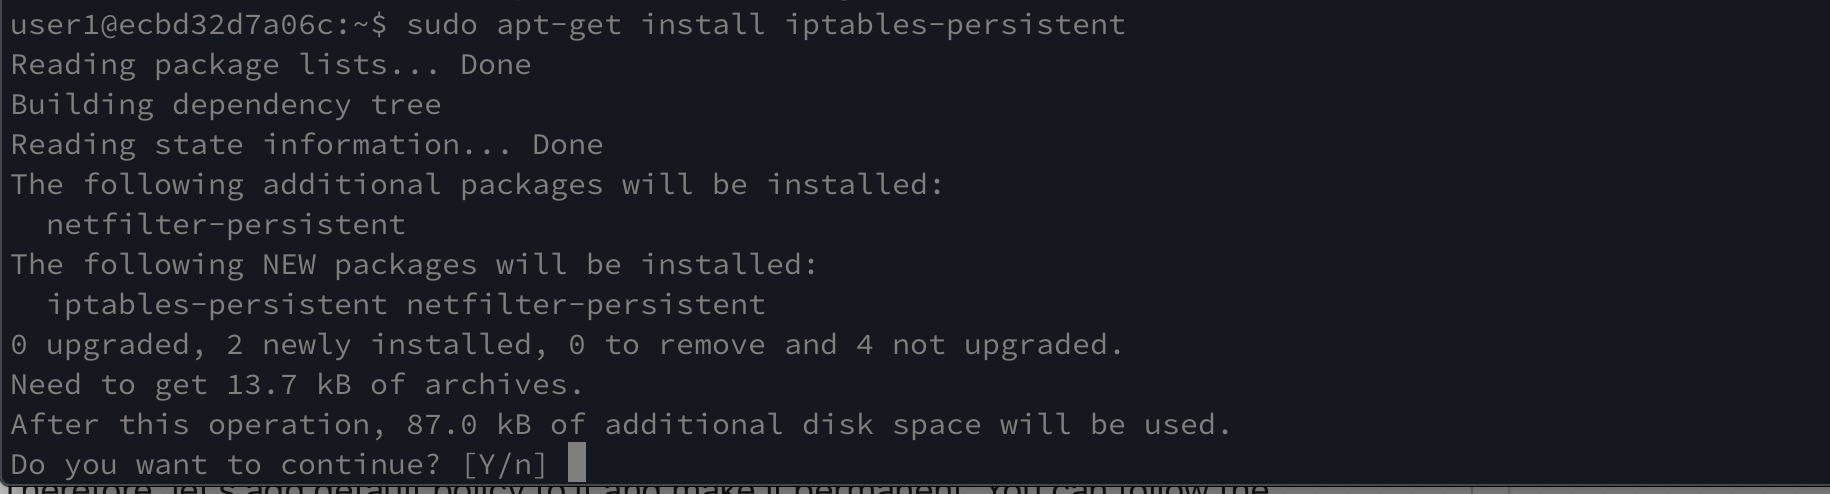
Before setting the rules permanent, testing it once would be good to ensure that you’re able to log back in if you get logged out. Once, that done you can use the following command to make the rules permanent. This command basically created a script that loads our configuration when the system reboots.
sudo apt-get install iptables-persistent
Now, whenever you need to add more roles to iptables-persistent, you need to update the same using the following command.
sudo invoke-rc.d iptables-persistent save

IPV6
The above rules are for IPV4 and adding rules for IPV6 differs a bit in the command statement. The adoption of IPV6 is still not much compared to IPV4 and it could be exploited if left open. Therefore, let’s add a default policy to it and make it permanent. You can follow the commands mentioned below,
sudo ip6tables -L
sudo ip6tables -P INPUT DROP
sudo invoke-rc.d iptables-persistent save
Commands for IPV6 only differs in the keyword ‘ip6tables’ w.r.t IPV4.
The server is up or not
We’ve allowed all important protocols to establish a connection to our servers. But if you try to ping the server right now, it’ll drop because of the rule we added at the last. Thus, we need to allow ICMP for the same. Also, we want the drop rules to be the last rule defined. Thus, we need to add this rule above the DROP rule. To achieve the same, you can follow the below commands.
To get the line number to all the rules
sudo iptables -L --line-numbers
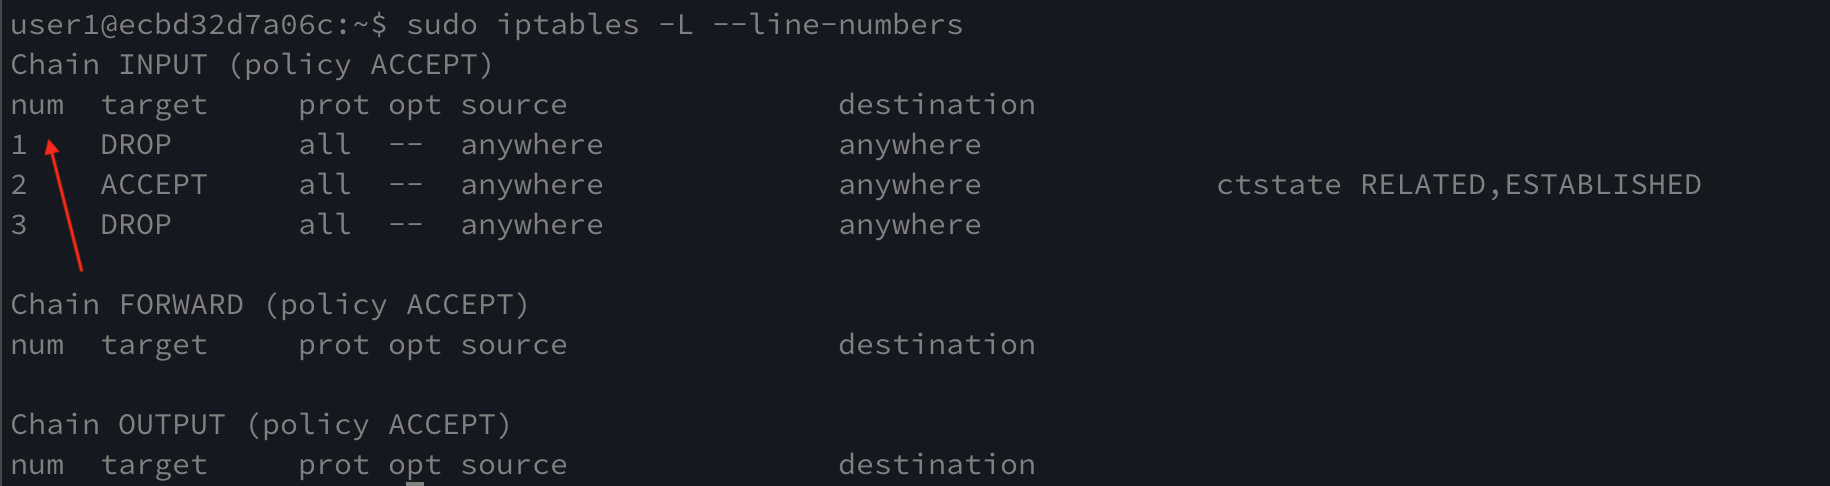
sudo iptables -I INPUT [Drop_rule_line_number] -p icmp --icmp-type echo-request -j ACCEPT
This rule will be added at line 1 and DROP rule at 1 will be shifted down
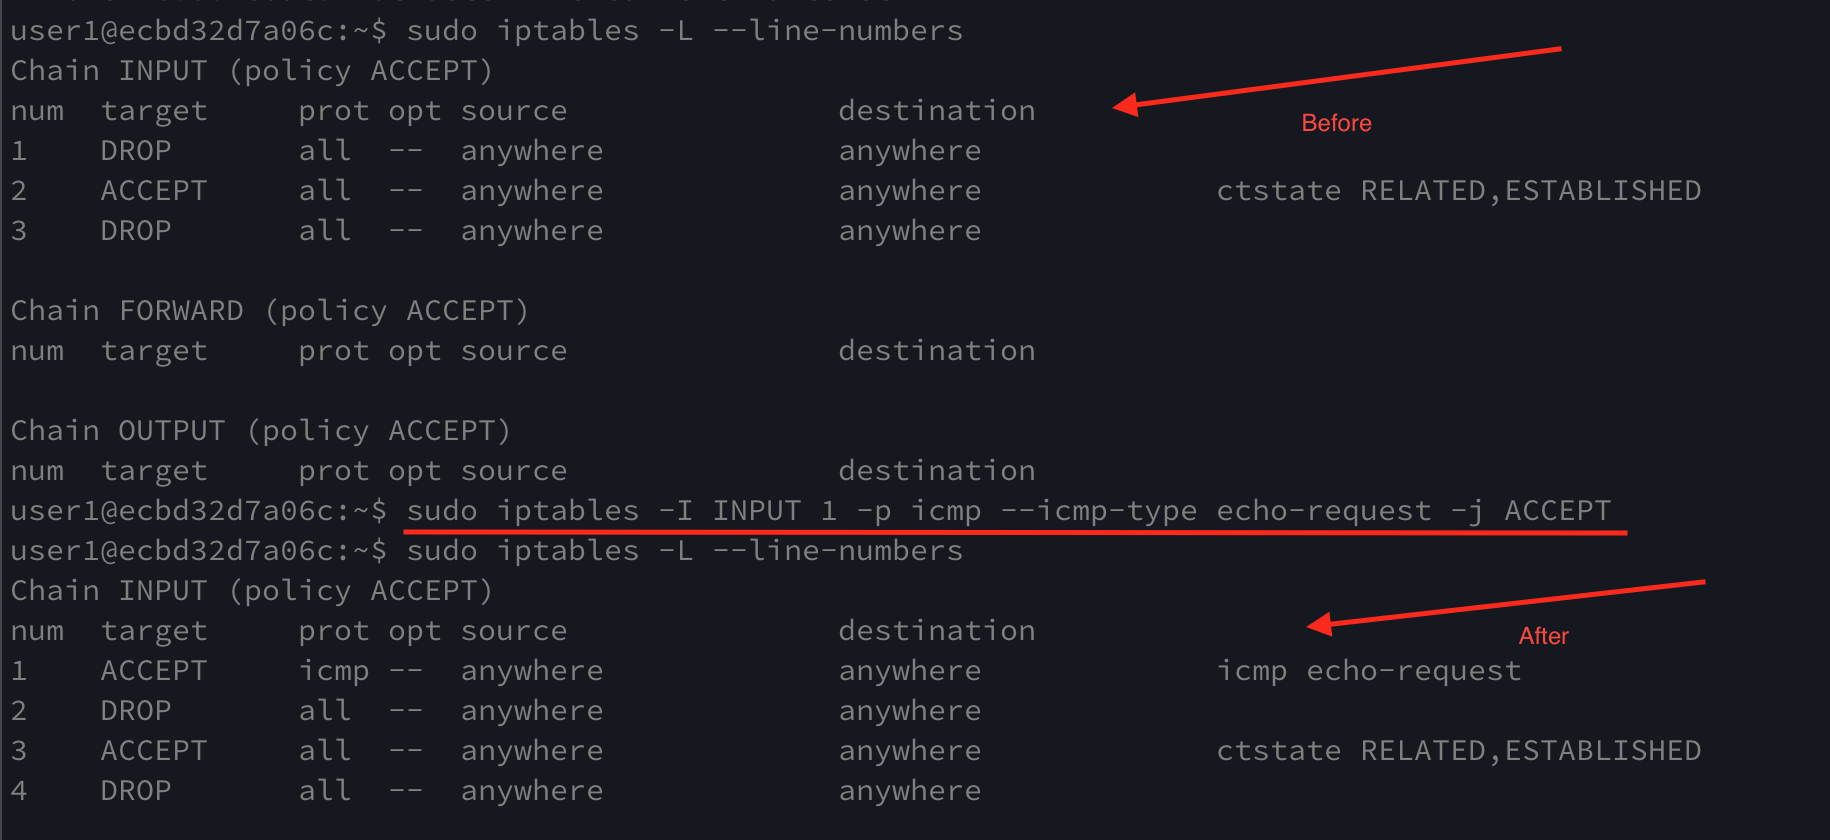
Now it allows us to ping the server again.
Like Article
Suggest improvement
Share your thoughts in the comments
Please Login to comment...