How to Publish a Static Website on GitHub
Last Updated :
19 Apr, 2024
Git is a free and distributed version-control system for tracking changes in source code during software development. It is designed for coordinating work among programmers, but it can be used to track changes in any set of files. It is not only a great place to store and share our code with others but they also offer free web hosting of our HTML, CSS, and JavaScript projects.

Hosting a website enables many web users to access our web pages at the same time. If you want to run a website you need web hosting because unless you’ve got unlimited funds you would not be able to afford the web servers. GitHub has a lot to offer, it provides free hosting to your static website. To host the website via GitHub you’ll require a valid git account, the git software, and all the codes and files of your static website. In this article we’re going to learn how to host a static website on GitHub, let’s get started:
How to Publish a Static Website on GitHub: Step-by-Step Guide
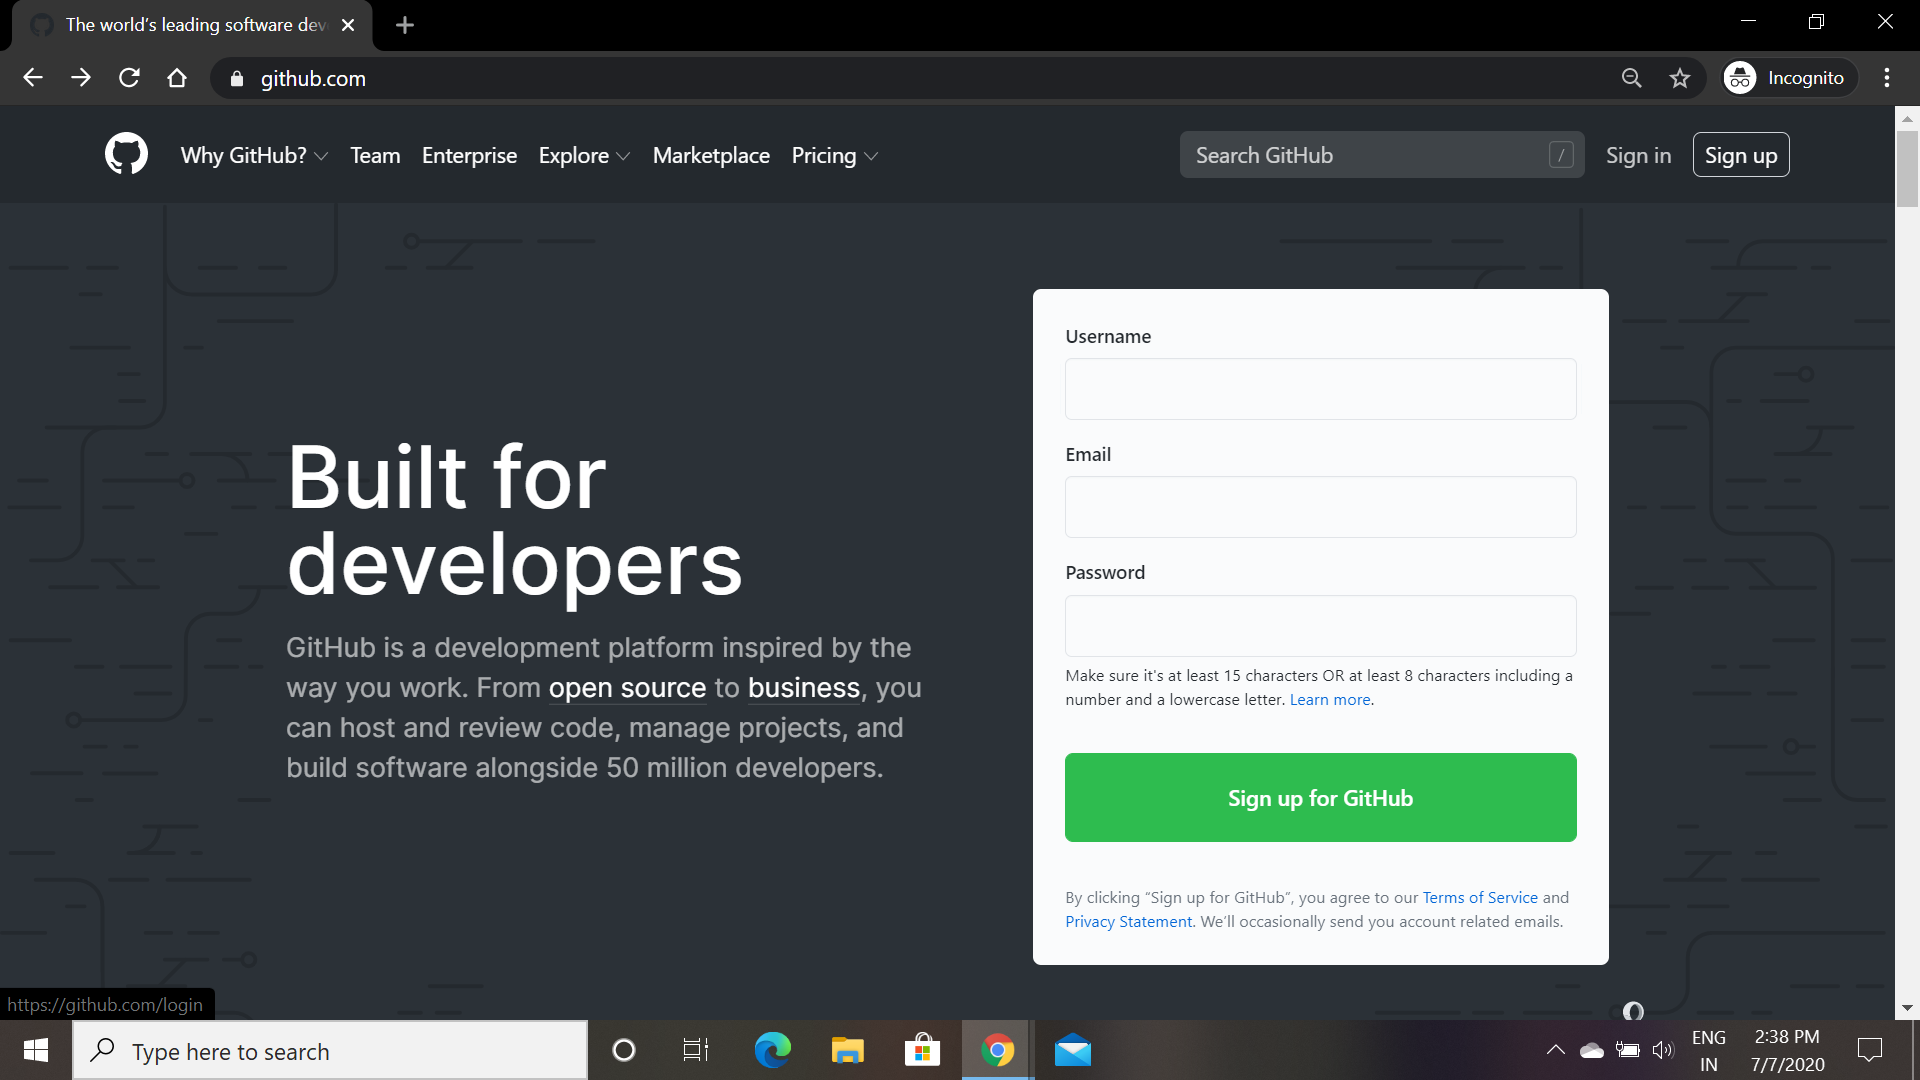
Step 1: Create / Sign into your GitHub account.
- Go to https://github.com/ and create a new account if you don’t have one already.
- If you already have an account, sign in using your username and password.
Check Out: How to Install GIT on Windows, MacOS and Linux?
Check Out: An Ultimate Guide to Git and Github
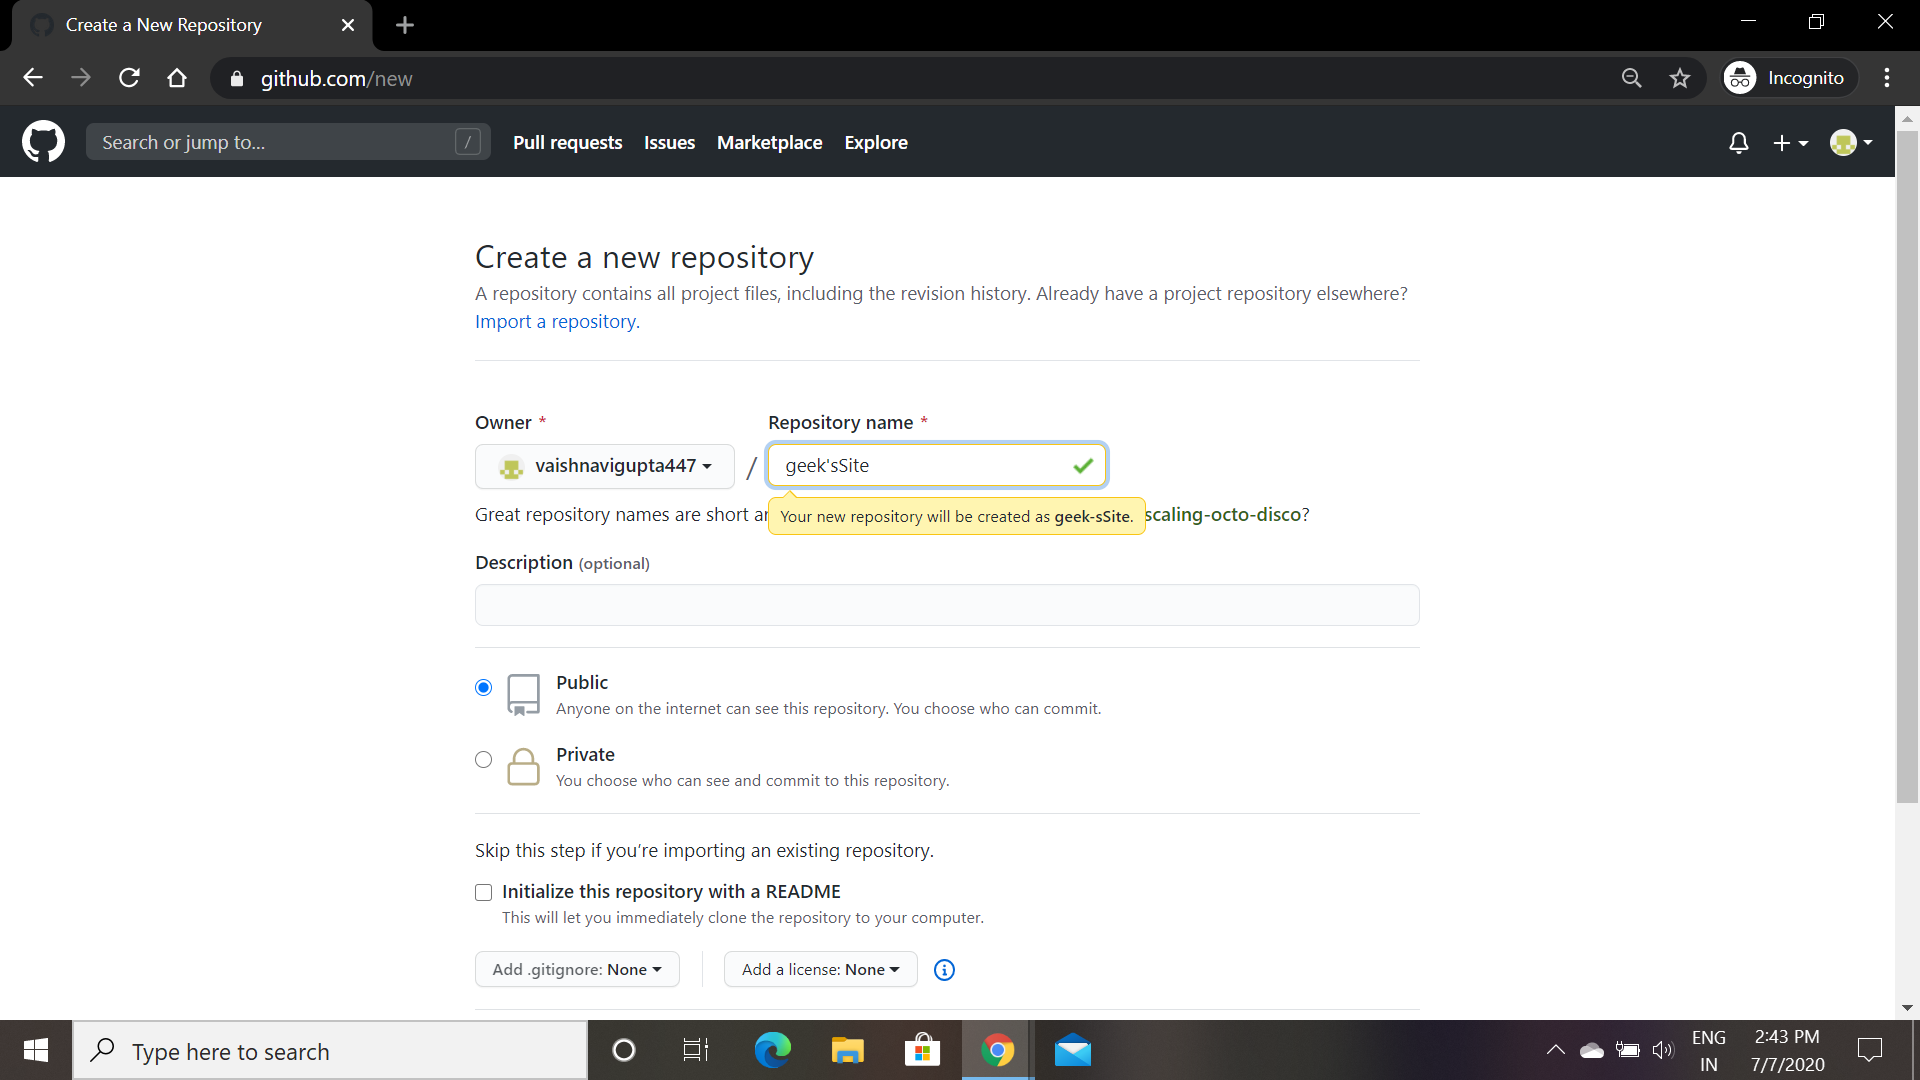
Step 2: Create a New Public Repository
- Click on the “+” button in the top right corner and select “New repository“.
- Give your repository a descriptive name (all lowercase letters, underscores, hyphens are allowed). This name will be used in the website URL later.
- Under “Visibility“, select “Public” to allow your website to be accessible by everyone.
- Click “Create repository” to create your new repository.
Note : Please keep this Repository name handy we will require Repository Name while adding remote for pushing our code.
Step 3: Prepare Your Website Files
- Make sure you have all your website’s files ready, including HTML, CSS, JavaScript, and any images or other assets.
- Organize your files in a way that makes sense for your website structure. Typically, your main HTML file will be named “index.html”.
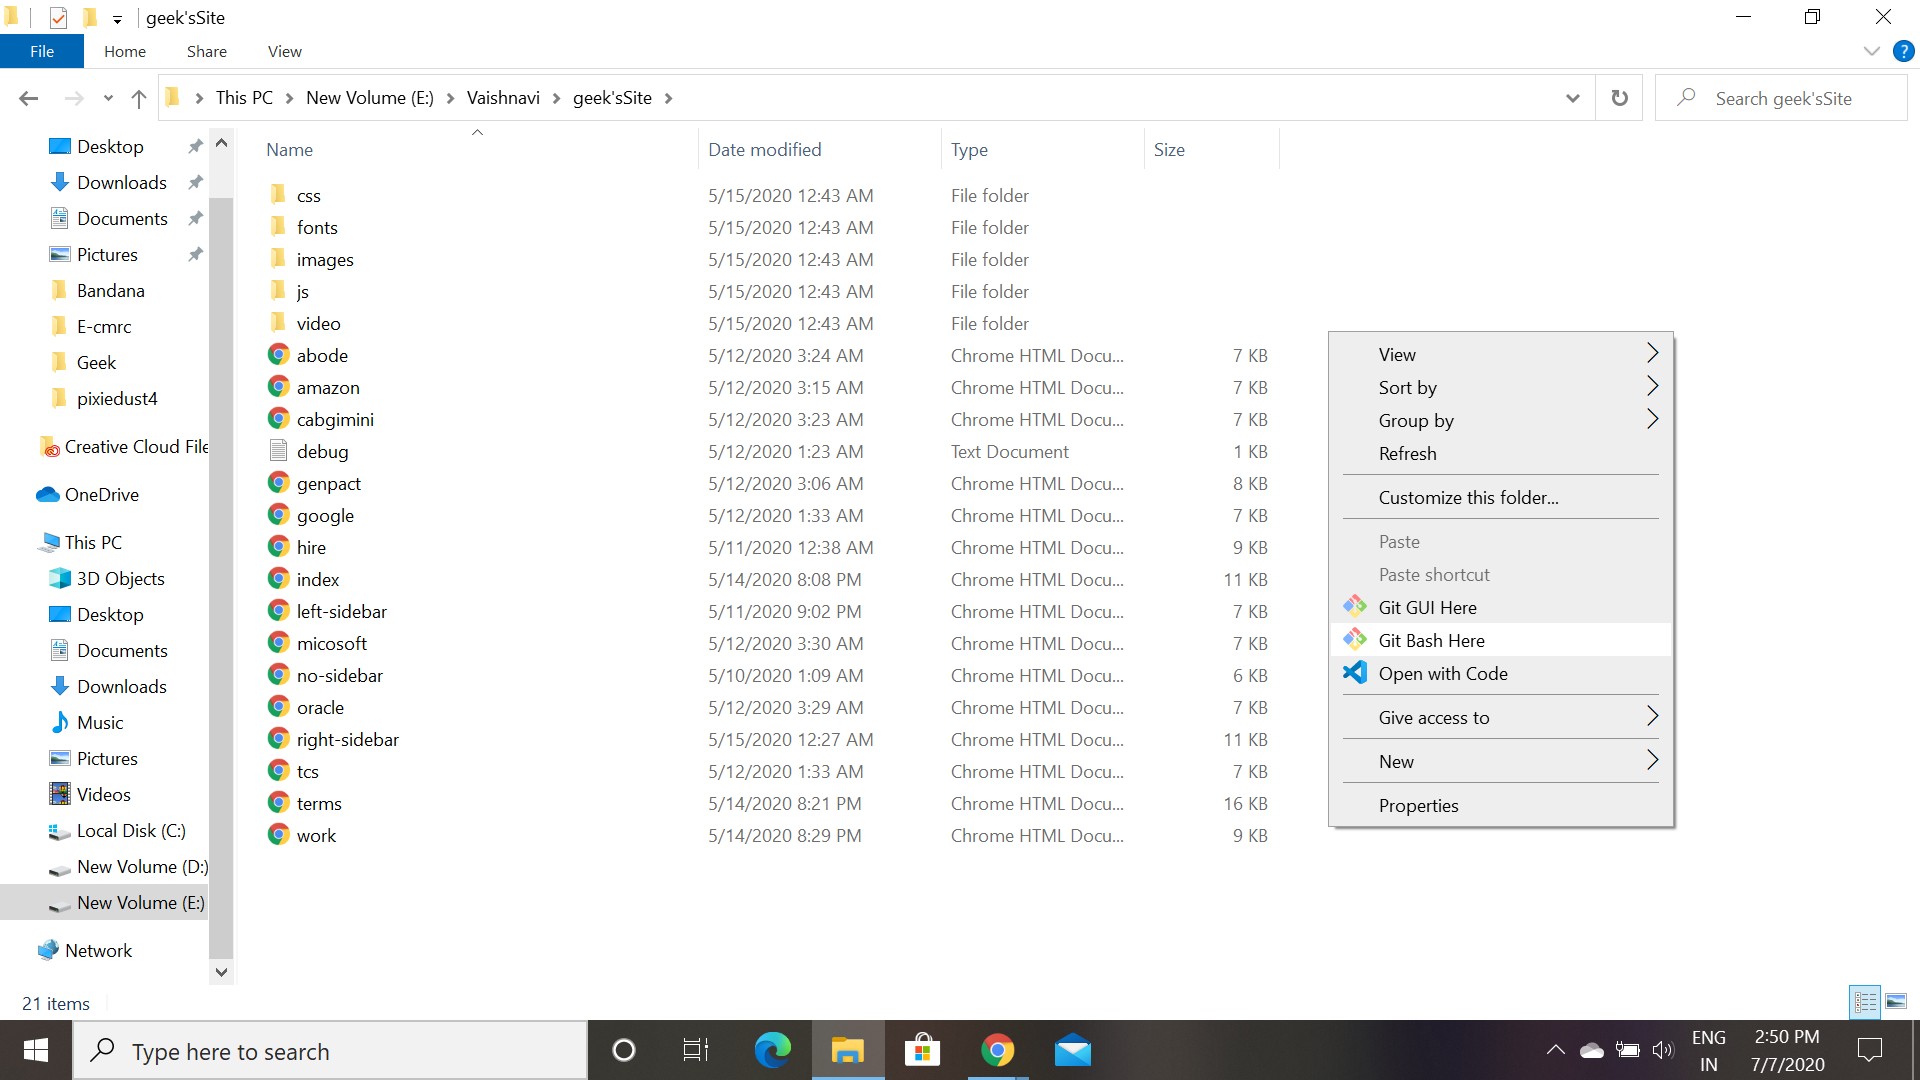
- Navigate to the directory on your computer where your website files are stored. Right-click anywhere within your website directory.
- Select “Git Bash Here” from the context menu. This will launch a Git Bash window specific to your current directory.
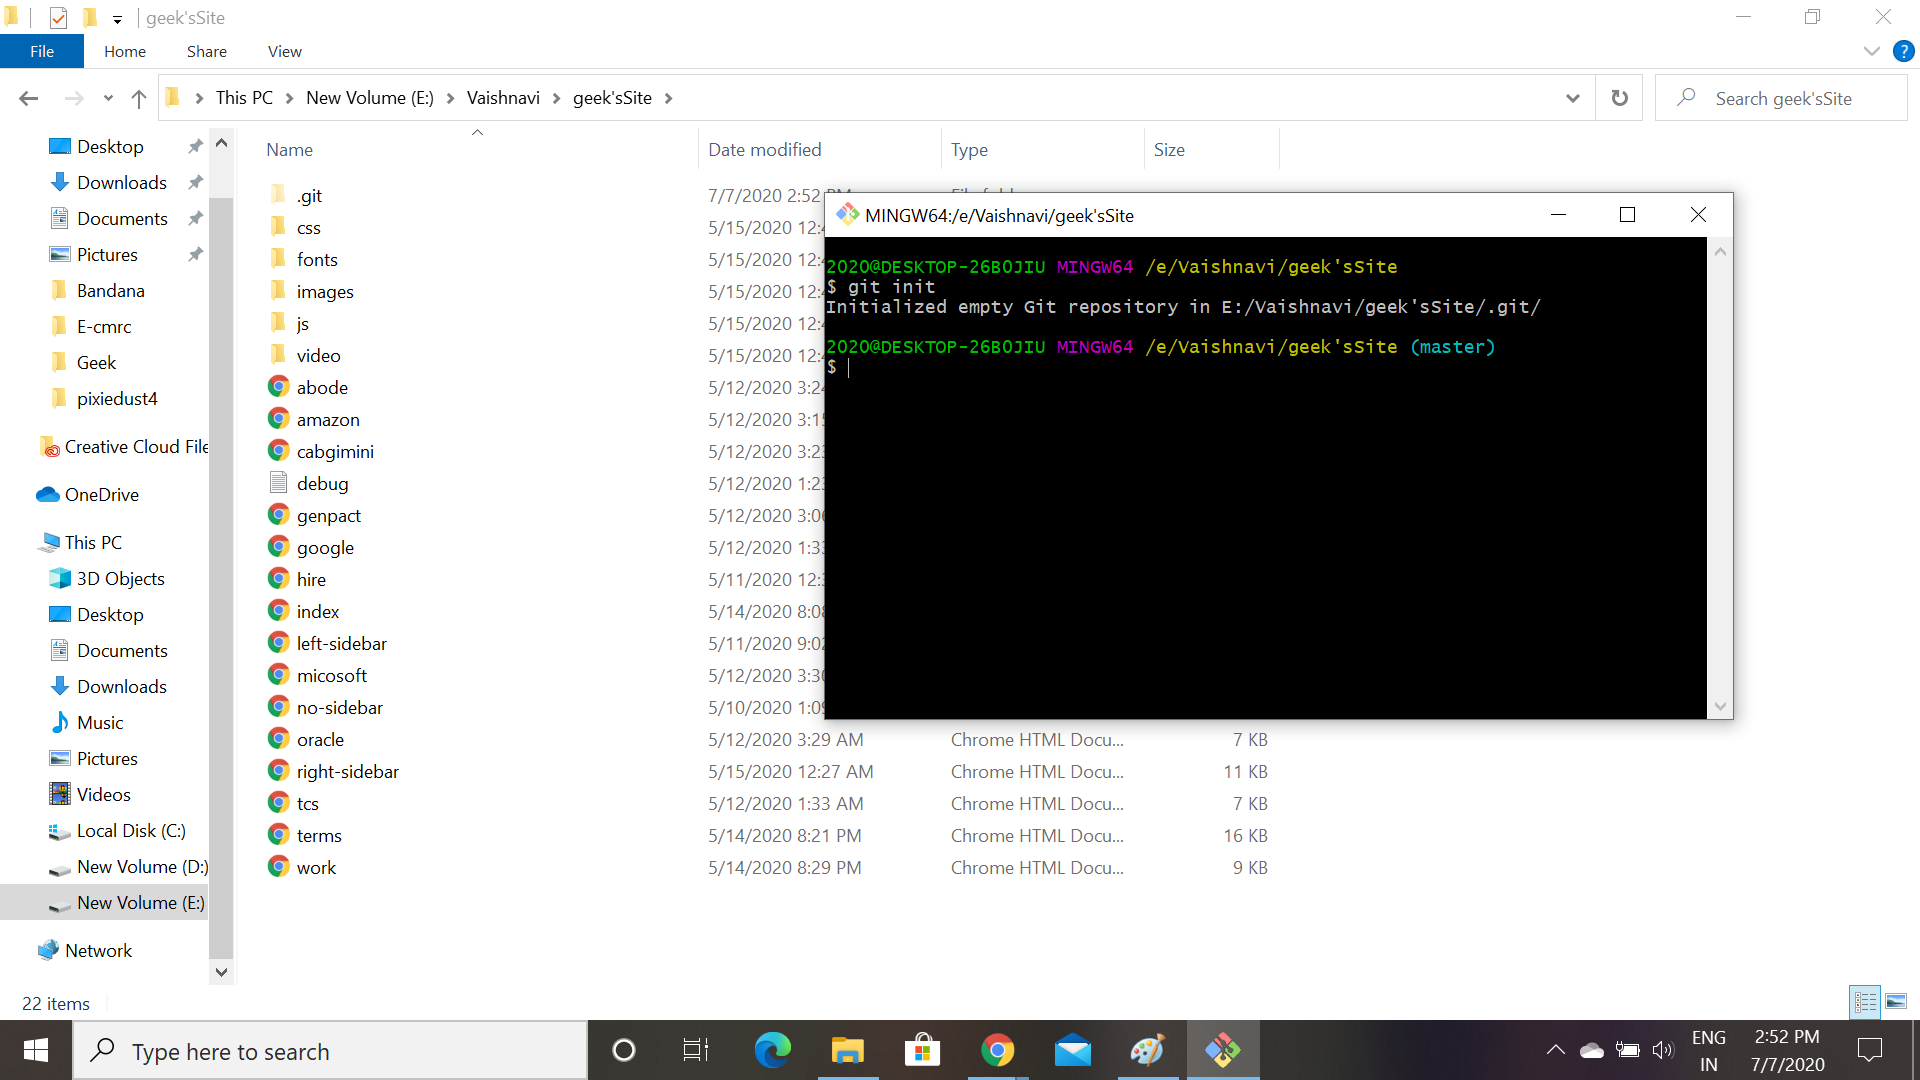
Step 4: Initialize a Git Repository in Your Website Directory
- Navigate to the directory on your computer where your website files are stored.
- In the git bash, type
git init and press Enter. This command initializes a new Git repository in your current directory.
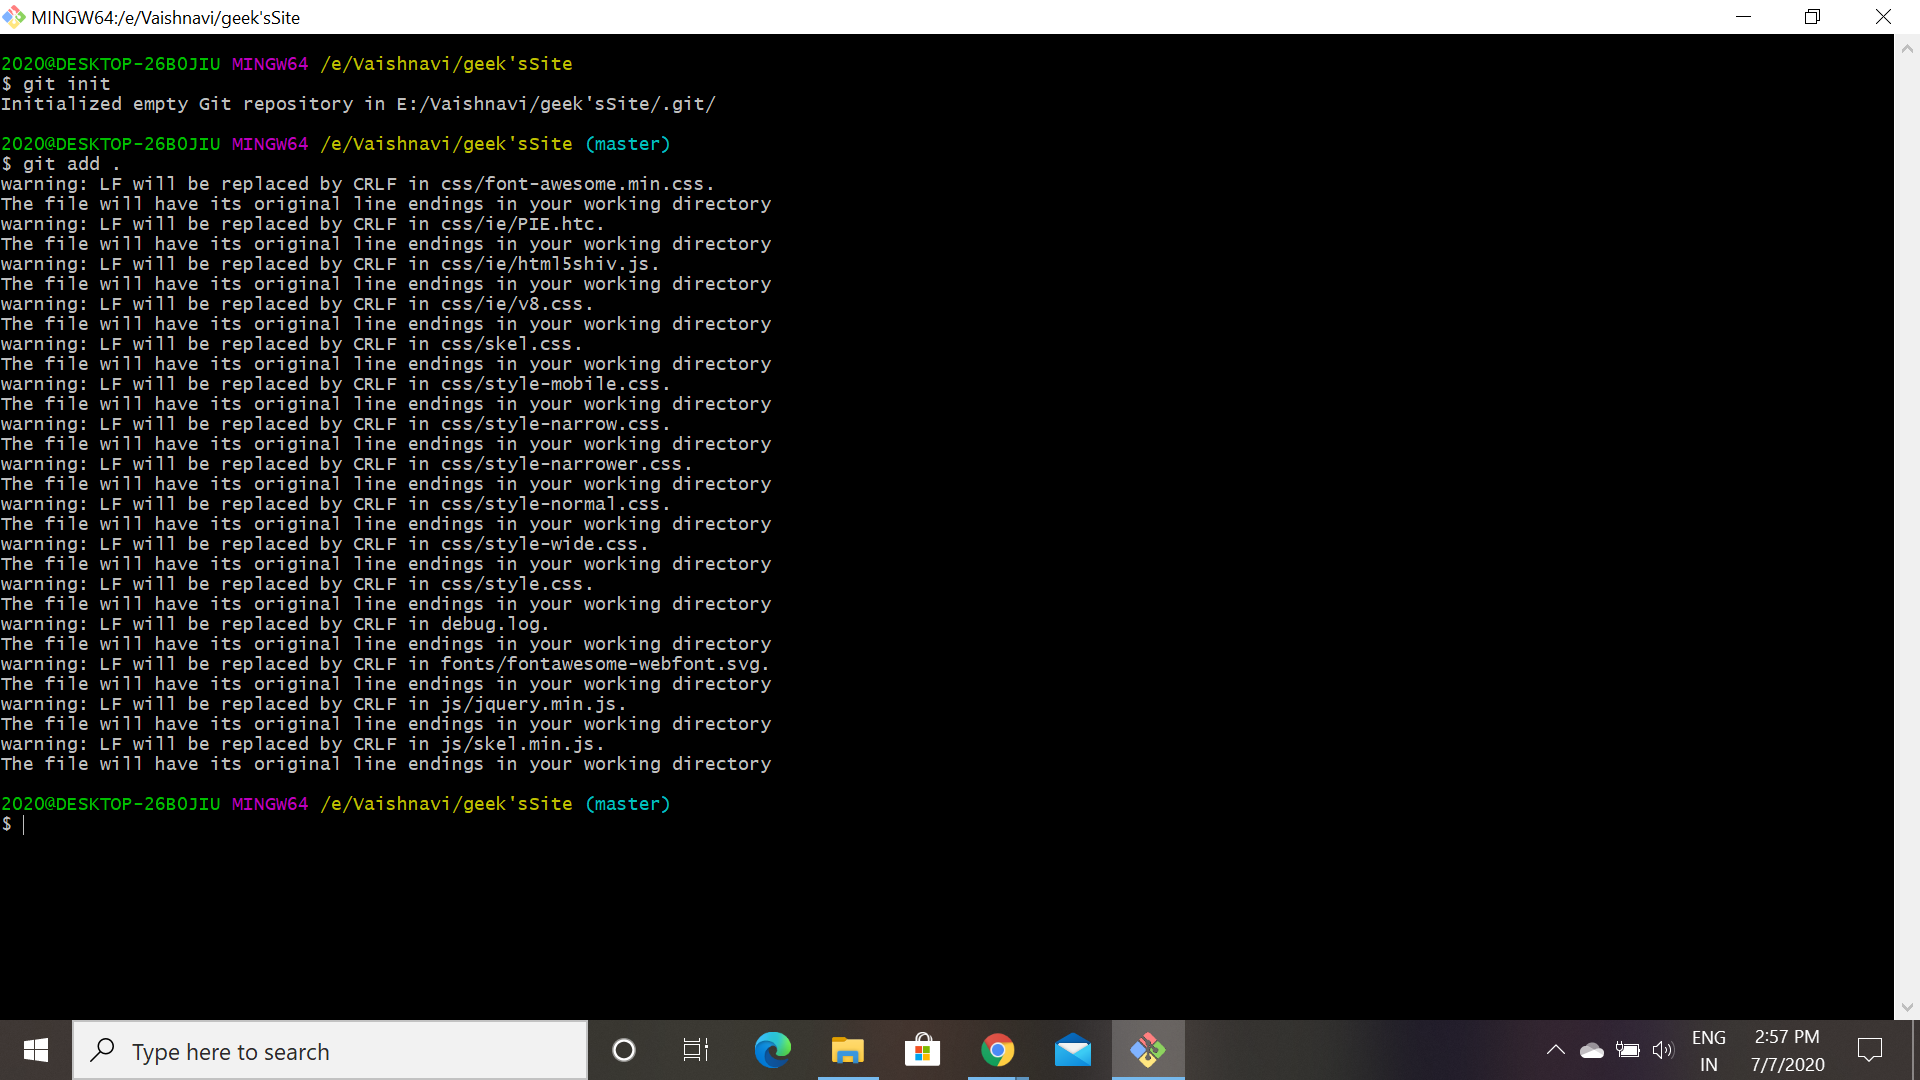
Step 5: Add All Files to the Git Repository
In the GitBash Window, type git add . and press Enter. The dot (“.”) tells Git to add all files in the current directory to the repository.
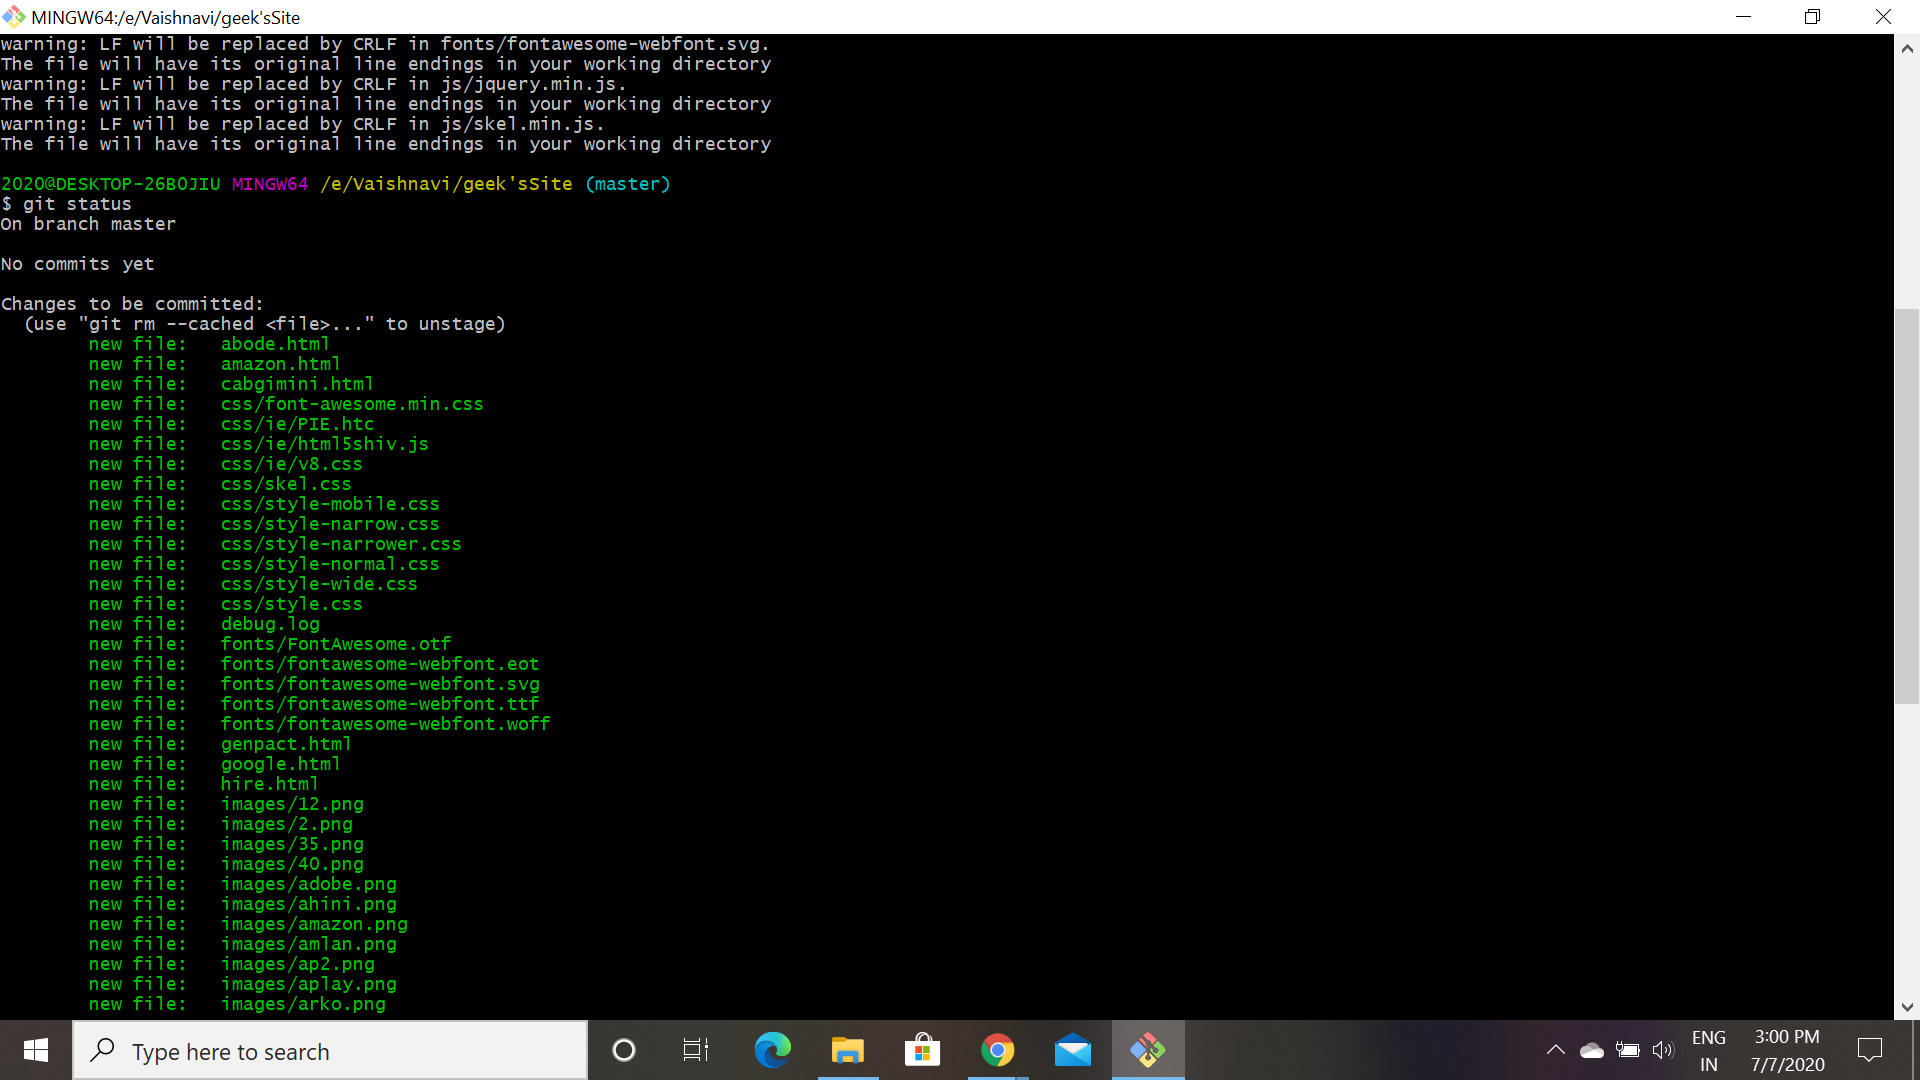
Step 6: Check the Status of the Repository (Optional)
Now check the status of the repository by giving the command “git status“, if all the files are in green means the files are successfully stored in the repository.
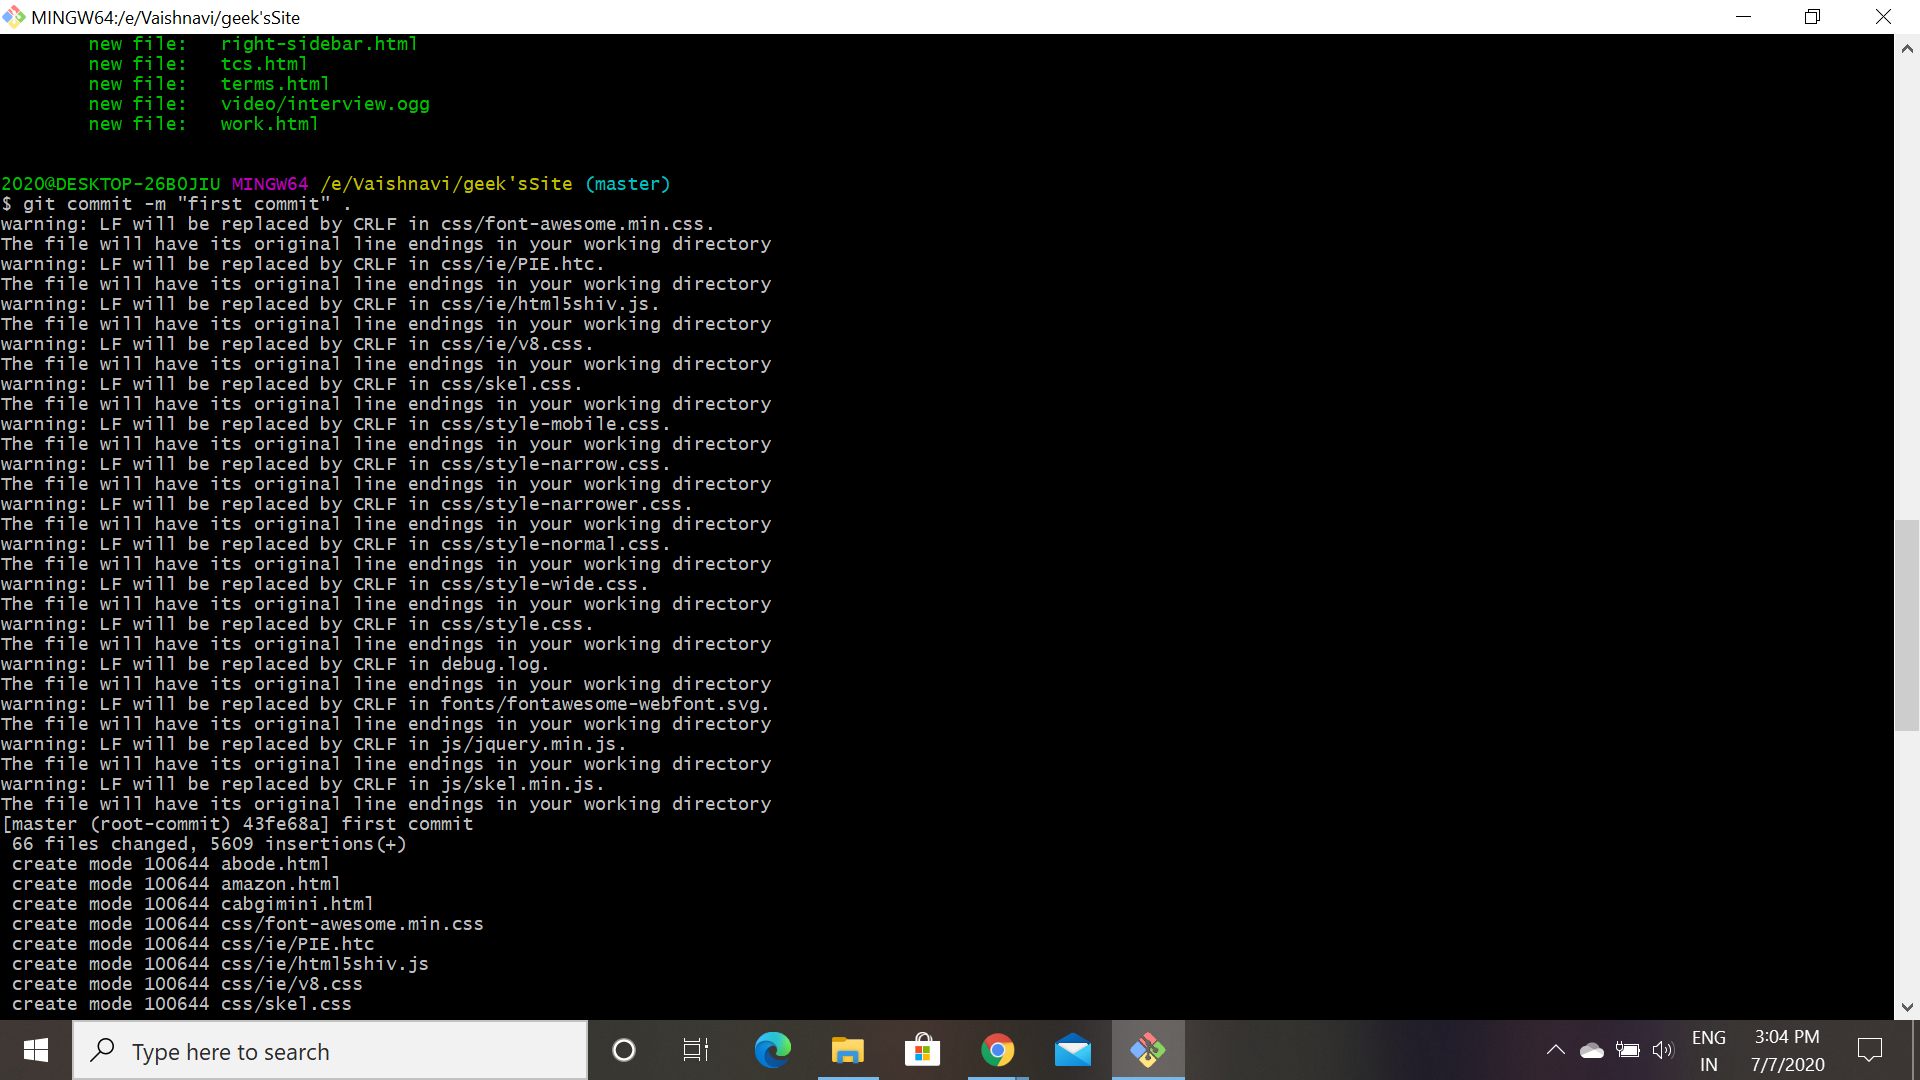
Step 7: Commit Your Changes with a Message
In the Git bash, type git commit -m "first commit" and press Enter.
Replace “first commit” with a more descriptive message that summarizes the changes you’re committing. This message will be helpful for tracking changes later.
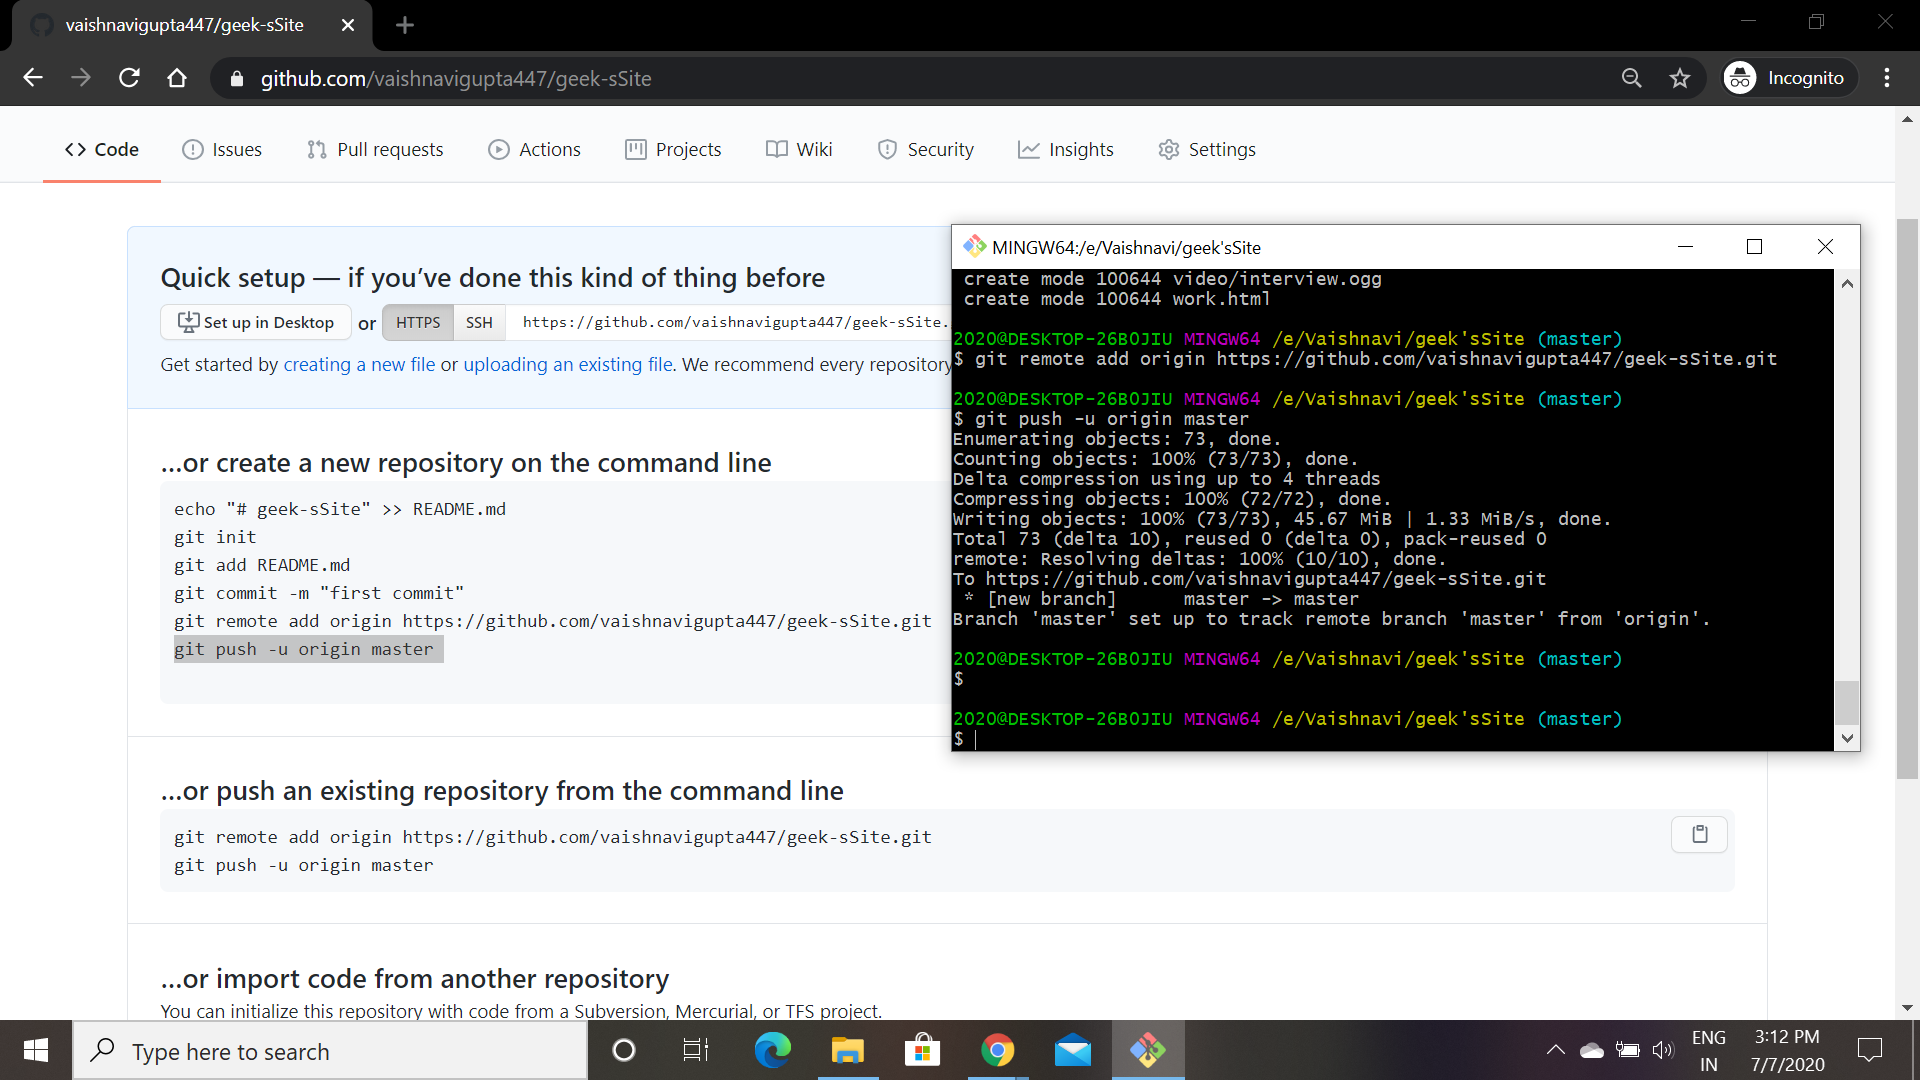
Step 8: Add the Remote Repository (GitHub) URL
In the Git bash, type the following command, replacing {yourGithubUserName} with your actual GitHub username and {repoName} with the name of your repository you created in Step 2:
git remote add origin https://github.com/{yourGithubUserName}/{repoName}.git
Press Enter. This command adds a remote repository called “origin” which points to your GitHub repository.

Step 9: Push Your Code to GitHub
- In the Gitbash Window, type
git push -u origin master and press Enter.
- You will be prompted to enter your GitHub username and password.
- This command pushes your local Git repository (with your website files) to the remote repository on GitHub.
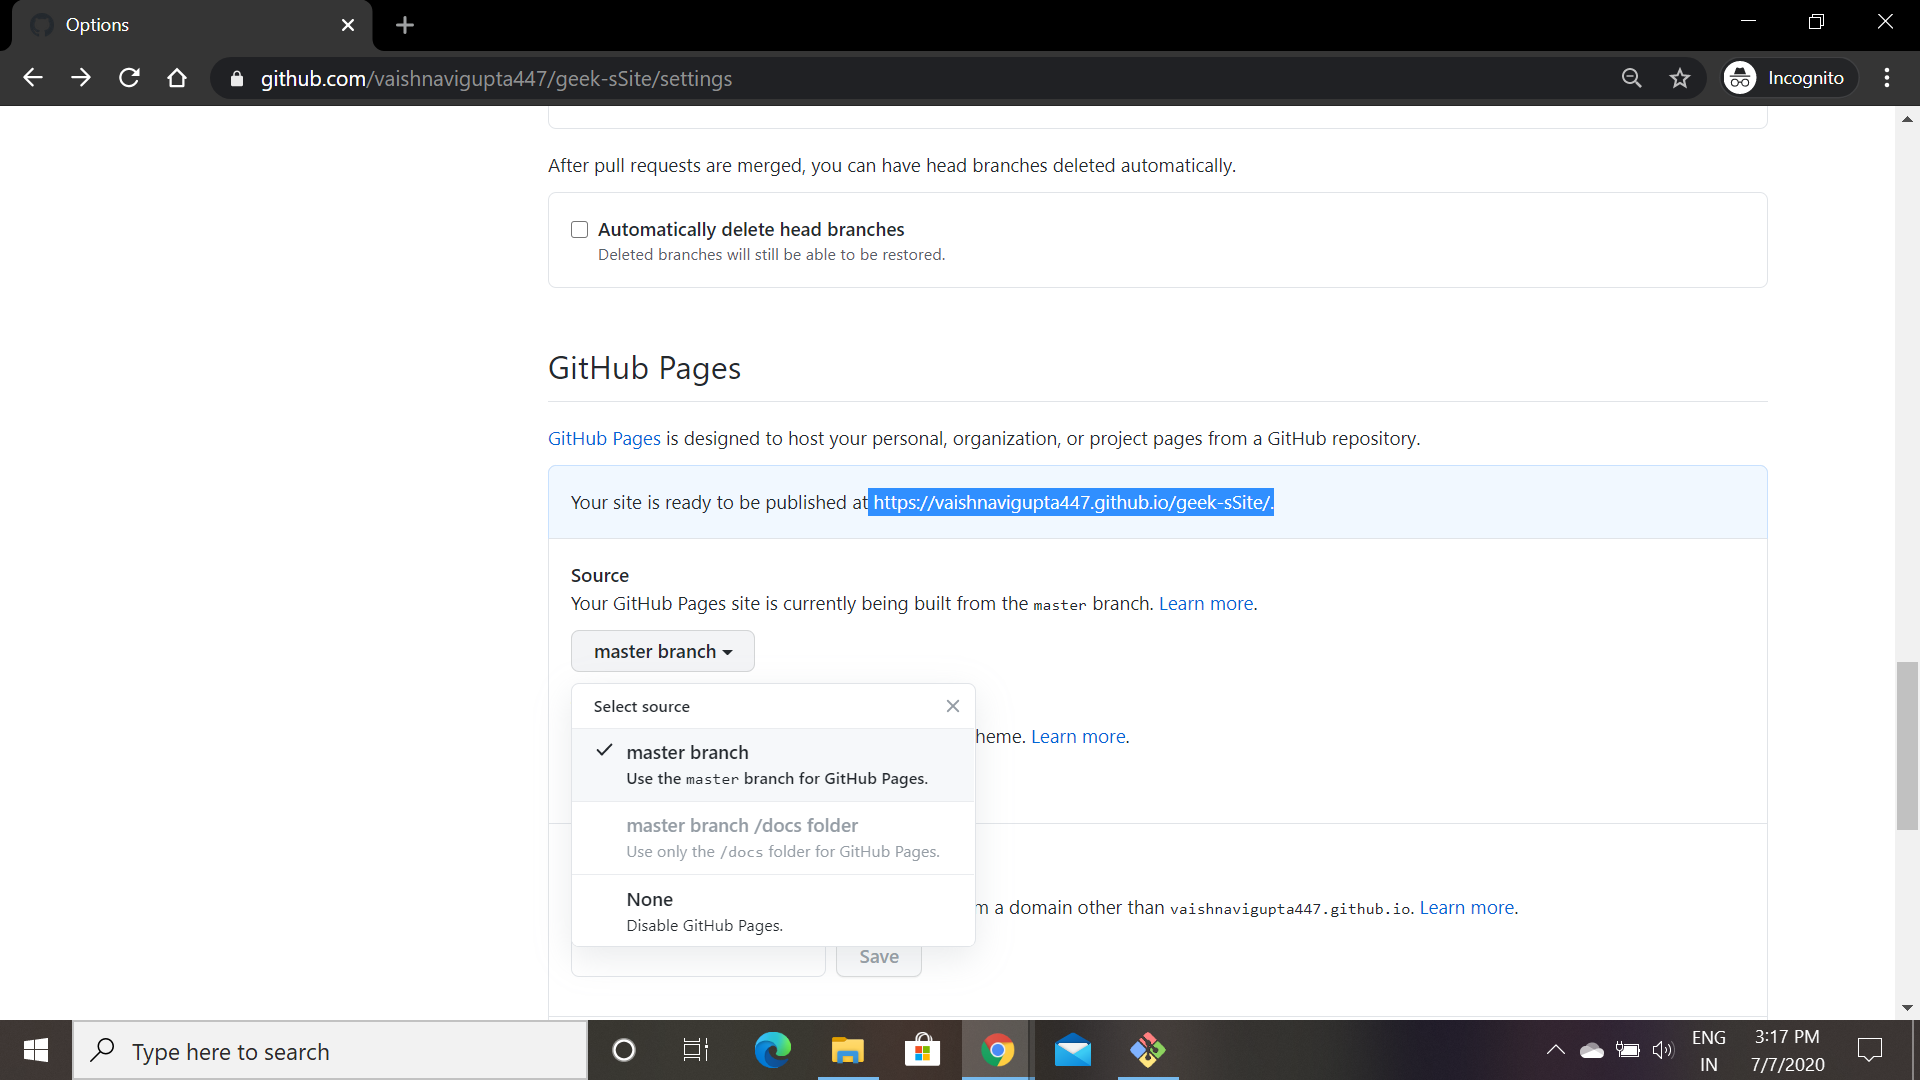
Step 10: Configure GitHub Pages (Optional for Static Websites)
Go to the GitHub page, click on your project and you can see all the files are pushed in the repository. Go to the setting and find GitHub Pages, in the source section from the drop-down menu select master branch save the changes. And your Site is successfully published, copy the url and open it in the new tab.
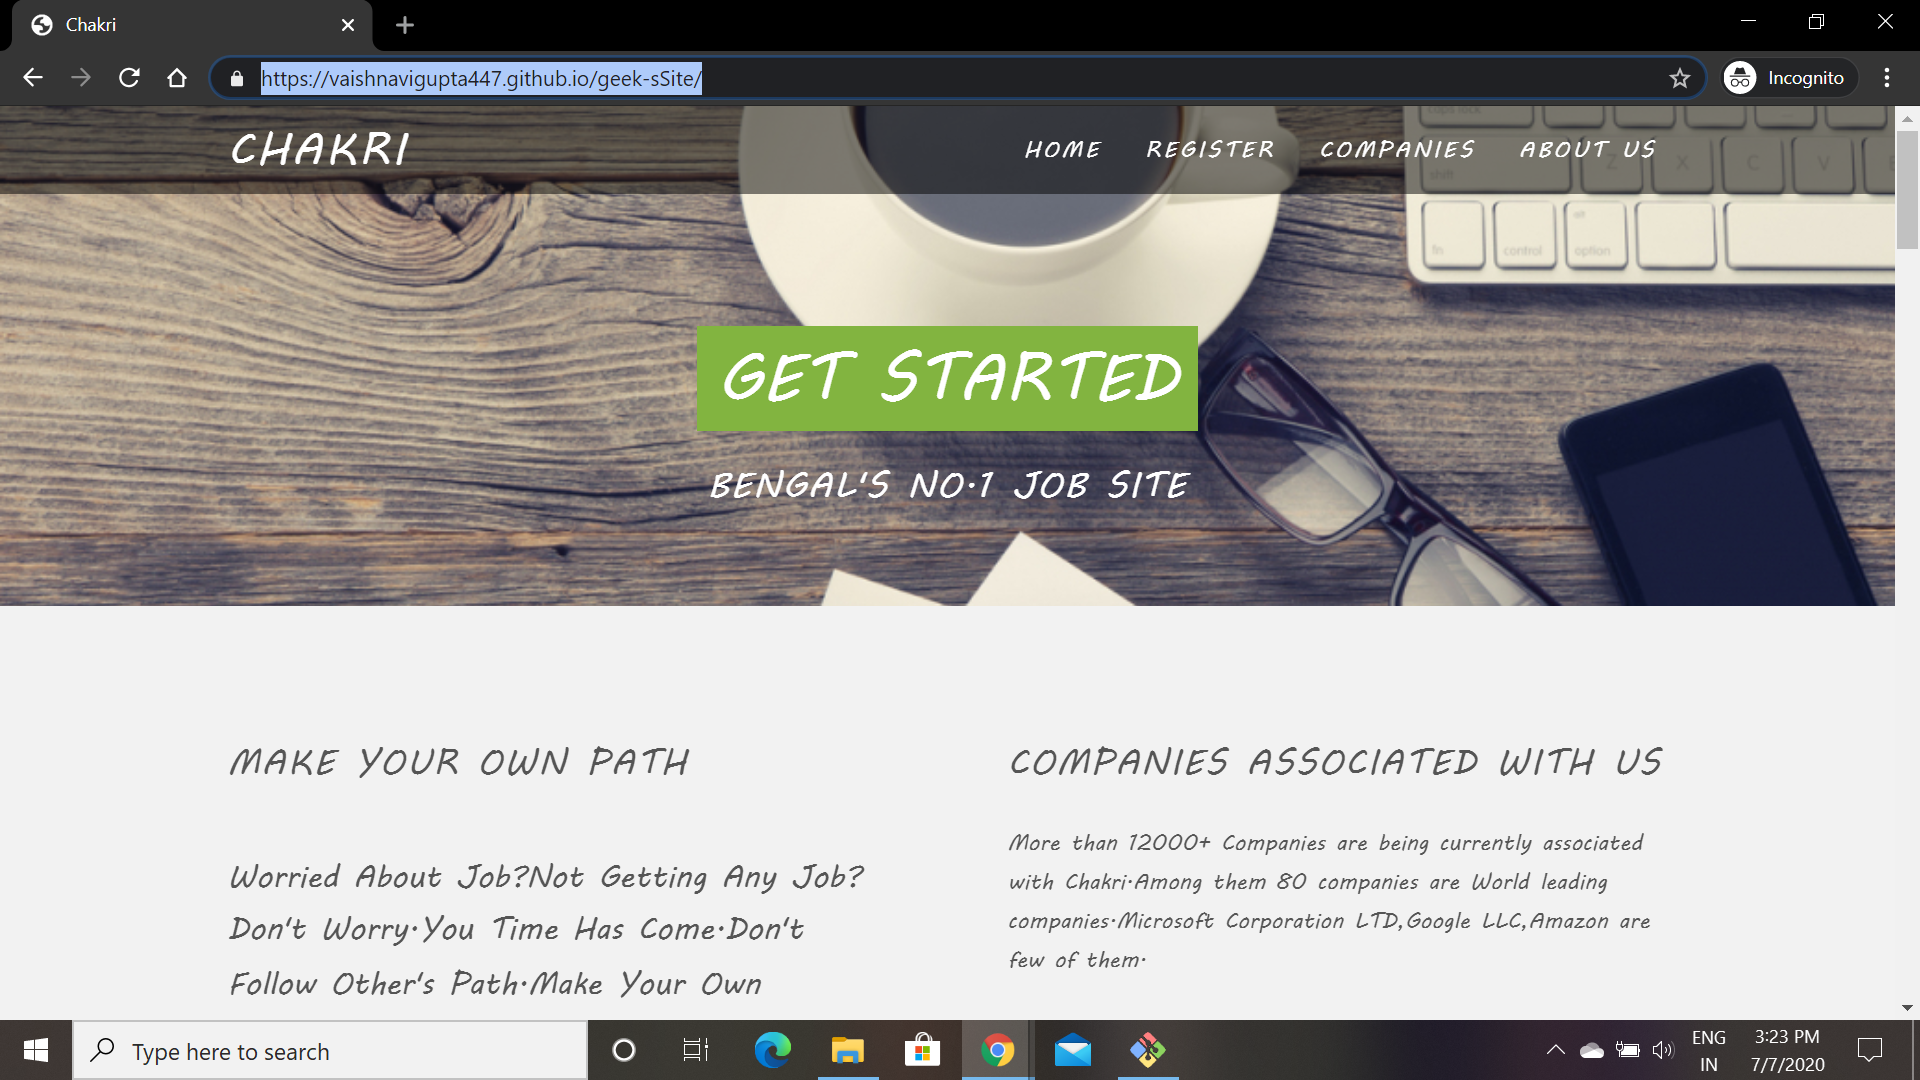
Step 11: Access Your Published Website
- After a few minutes, GitHub Pages will process your website files and make them publicly accessible.
- You can access your website by going to the following URL:
https://{yourGithubUserName}.github.io/{repoName}
- Replace
{yourGithubUserName} with your GitHub username and {repoName} with the name of your repository.
Must Read:
Conclusion
In conclusion, hosting your static website on GitHub Pages is a fantastic way to get your project online quickly and easily. It’s completely free, requires minimal technical knowledge, and offers built-in version control for easy management. By following these steps, you’ll have your website up and running in no time, ready to impress the world with your creativity and expertise.
For an extra dose of customization, explore the vast amount of free static site generators available online. These tools can streamline your workflow and empower you to create stunning websites without needing to write tons of code. With GitHub Pages and a static site generator at your fingertips, the possibilities for your online presence are limitless!
How to Publish a Static Website on GitHub – FAQs
Is GitHub Pages secure for hosting my website?
Yes, GitHub Pages offers a secure and reliable platform for hosting static websites. Your files are stored on GitHub’s servers, which benefit from industry-standard security practices. For more advanced security needs, however, you might consider paid web hosting options.
What are the advantages of using GitHub Pages for static websites?
There are several advantages to using GitHub Pages for static websites:
- Free Hosting: It eliminates the cost of web hosting, making it a budget-friendly option for individuals and startups.
- Version Control: Built-in Git version control allows you to track changes, revert to previous versions, and collaborate easily with others.
- Simplicity: Getting started is straightforward, especially for those already familiar with Git.
- Scalability: GitHub Pages can handle a significant amount of traffic, making it suitable for growing websites.
What type of websites are best suited for GitHub Pages?
GitHub Pages is ideal for hosting static websites. These websites consist of HTML, CSS, and JavaScript files, and don’t require server-side scripting languages like PHP. Examples include:
- Portfolios
- Blogs
- Landing pages
- Documentation websites
Can I use a custom domain name with GitHub Pages?
Yes, you can use a custom domain name with GitHub Pages to give your website a more professional look. You’ll need to configure your domain name provider to point to your GitHub Pages website.
Like Article
Suggest improvement
Share your thoughts in the comments
Please Login to comment...