How to Mount an ISO Image?
Last Updated :
17 May, 2020
ISO is an abbreviation for International Organization For Standardisation, the ISO file is an uncompressed disk image file format. It is used to make the complete image of an optical disk so that it can make copies of the original media. ISO image file is an archive of an optical disc with an extension .iso . Retrieving these ISO files have different methods in different operating systems like Windows 7, 8, 8.1, and 10. The Necessity for mounting an ISO file is to ensure the files won’t get corrupt or get deleted.
Mounting an ISO file in Windows 8, 8.1 or 10
In Windows 8, 8.1, or 10, it is quite simple to mount ISO files as windows have a built-in option. There are three possible ways in which you can mount an ISO file in Windows 8, 8.1 or 10: You can Double-click an ISO file to mount it directly but if you have the ISO files associated with another program on your system, this might not work.
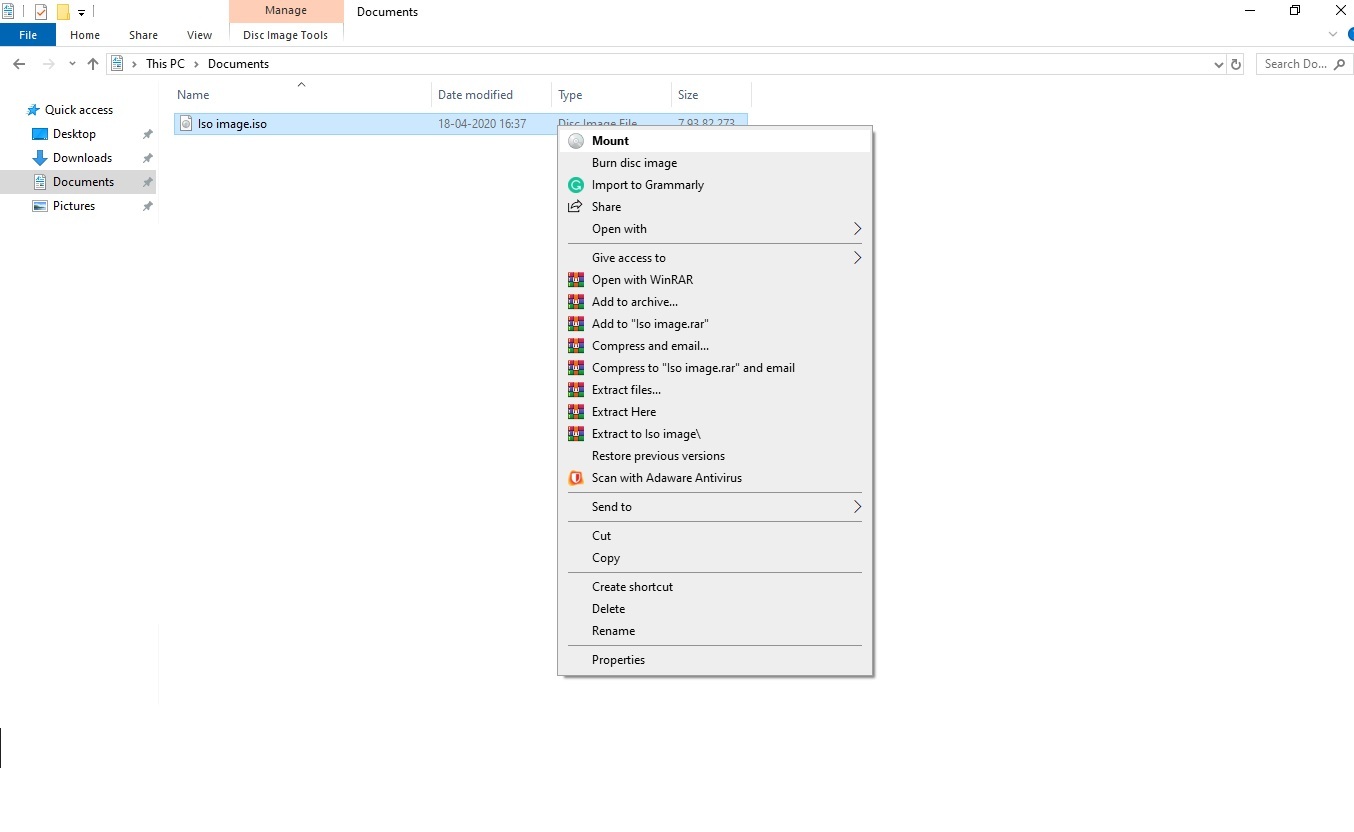
Right-click an ISO file and select the Mount option. Moreover, you can also select the file in File Explorer and click the Mount button under the Disk Image Tools.
Follow these steps to mount a file in windows:
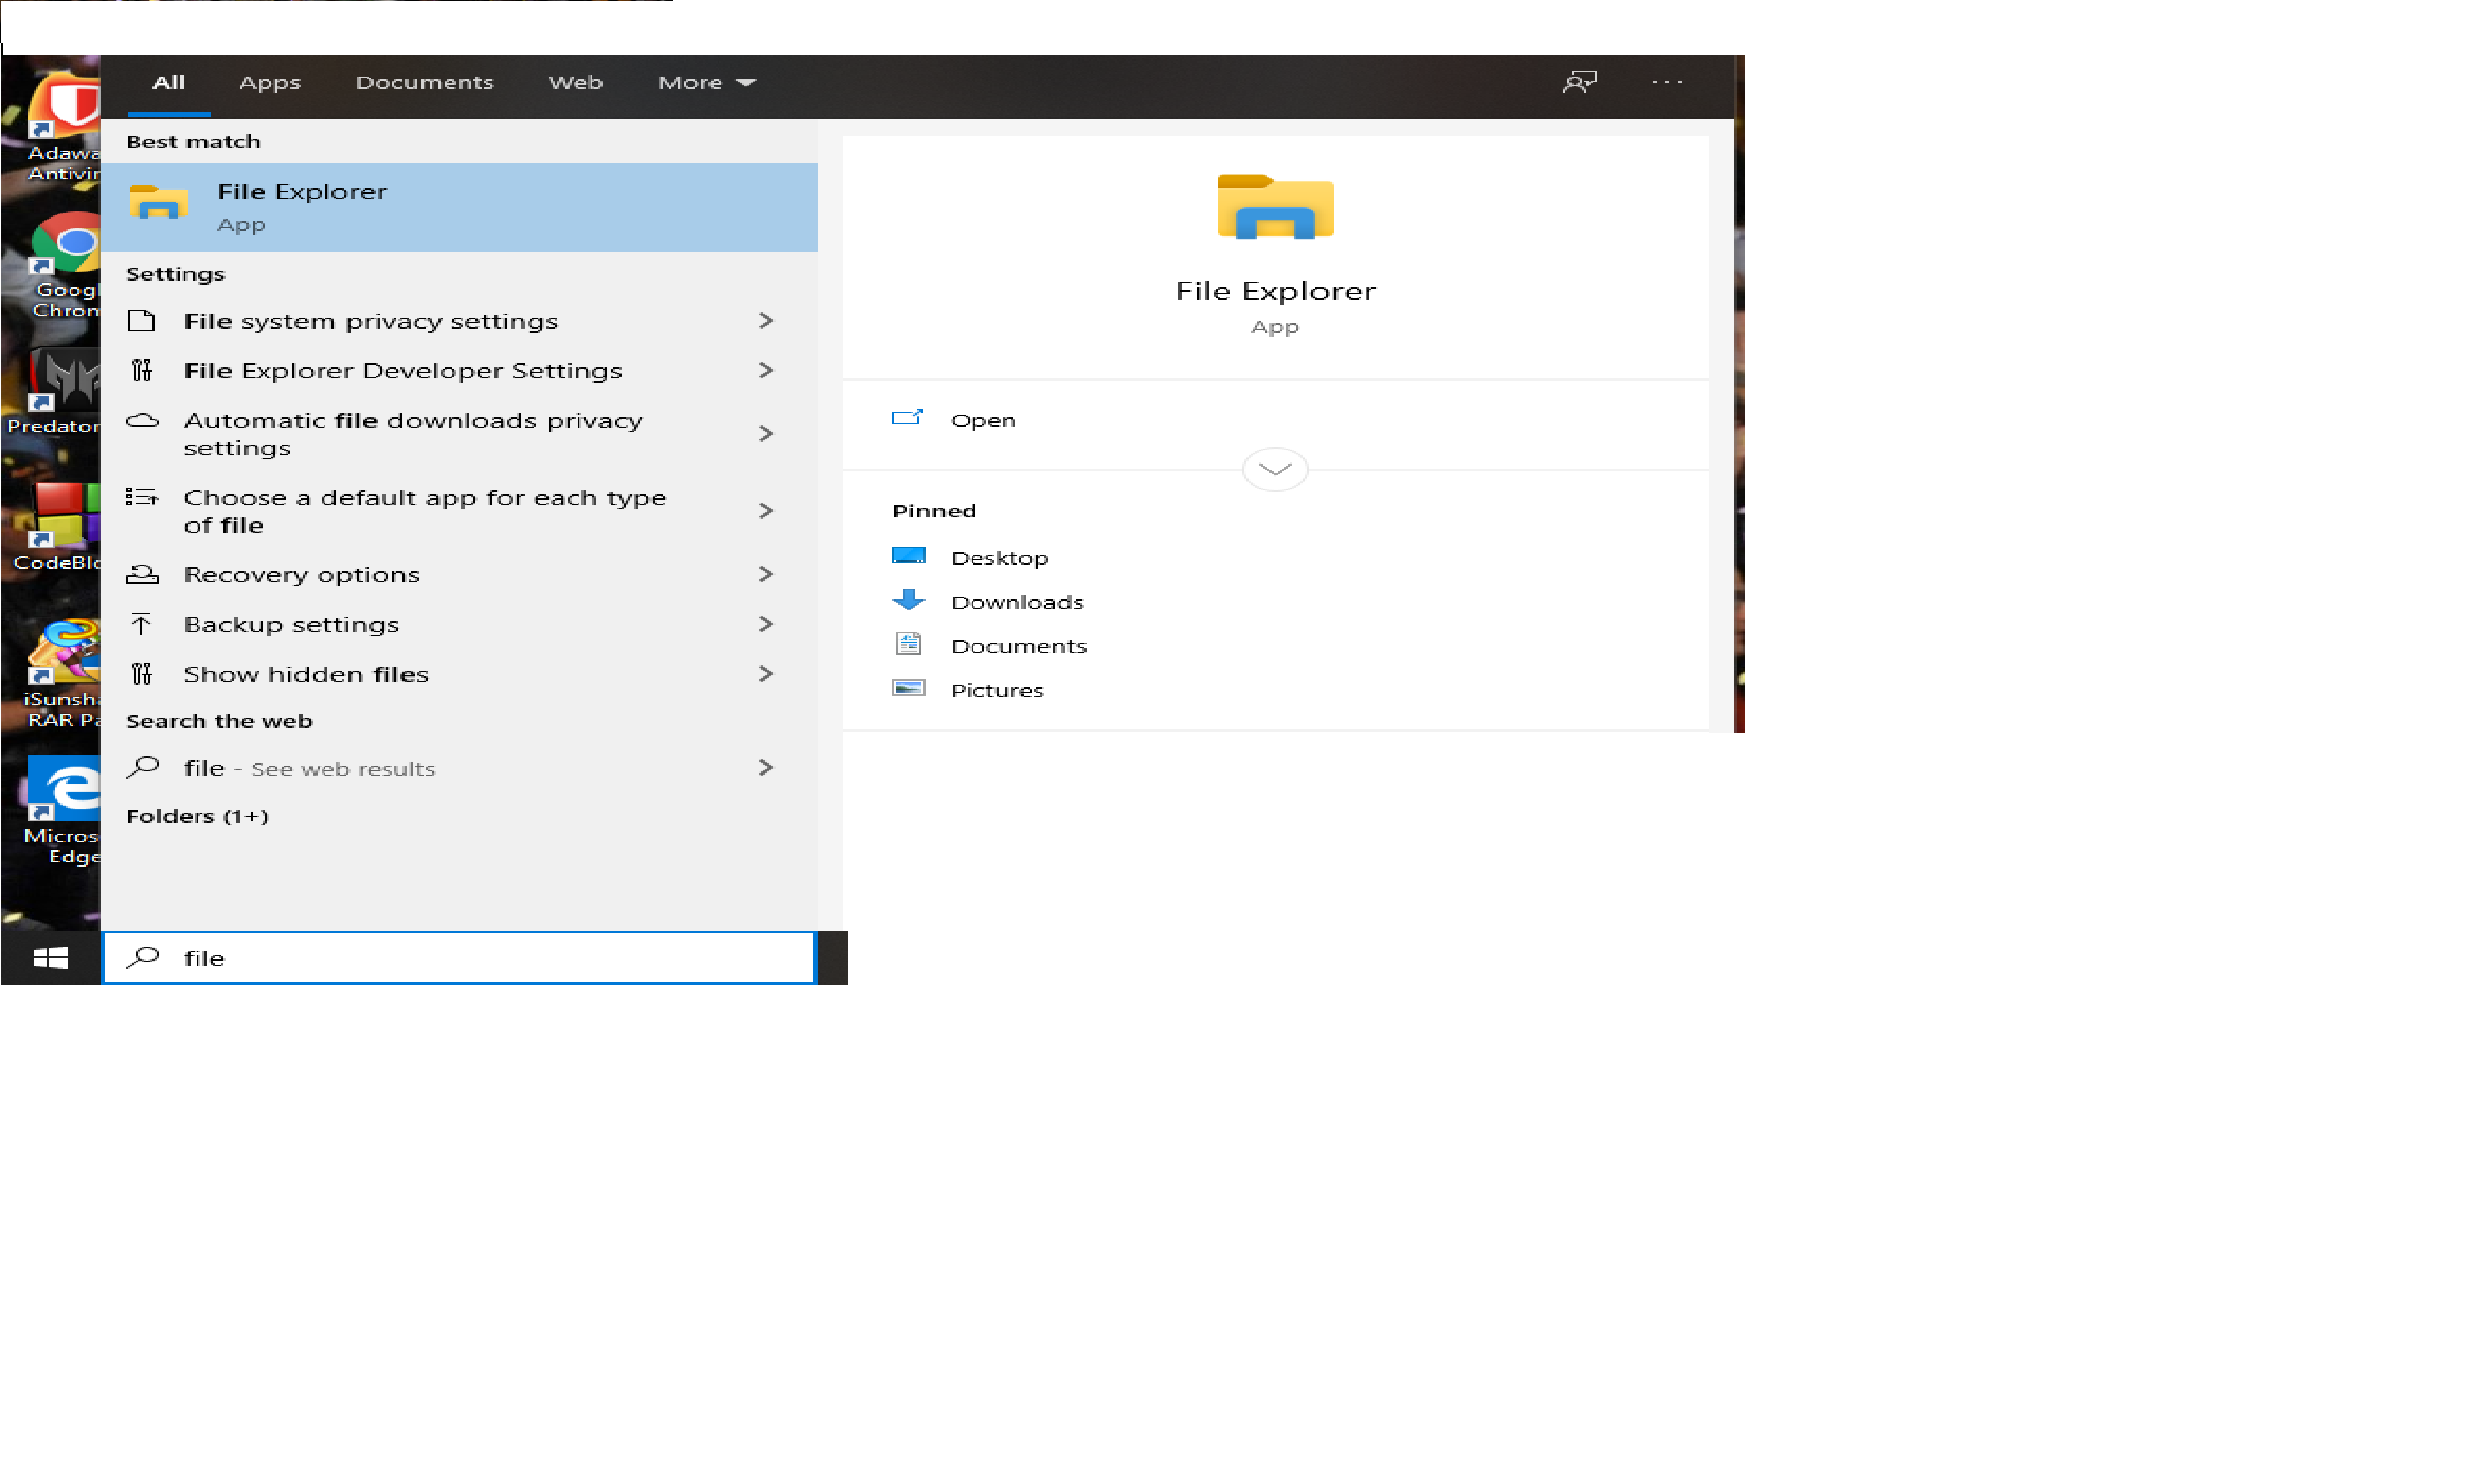
Step 1: Open File explorer
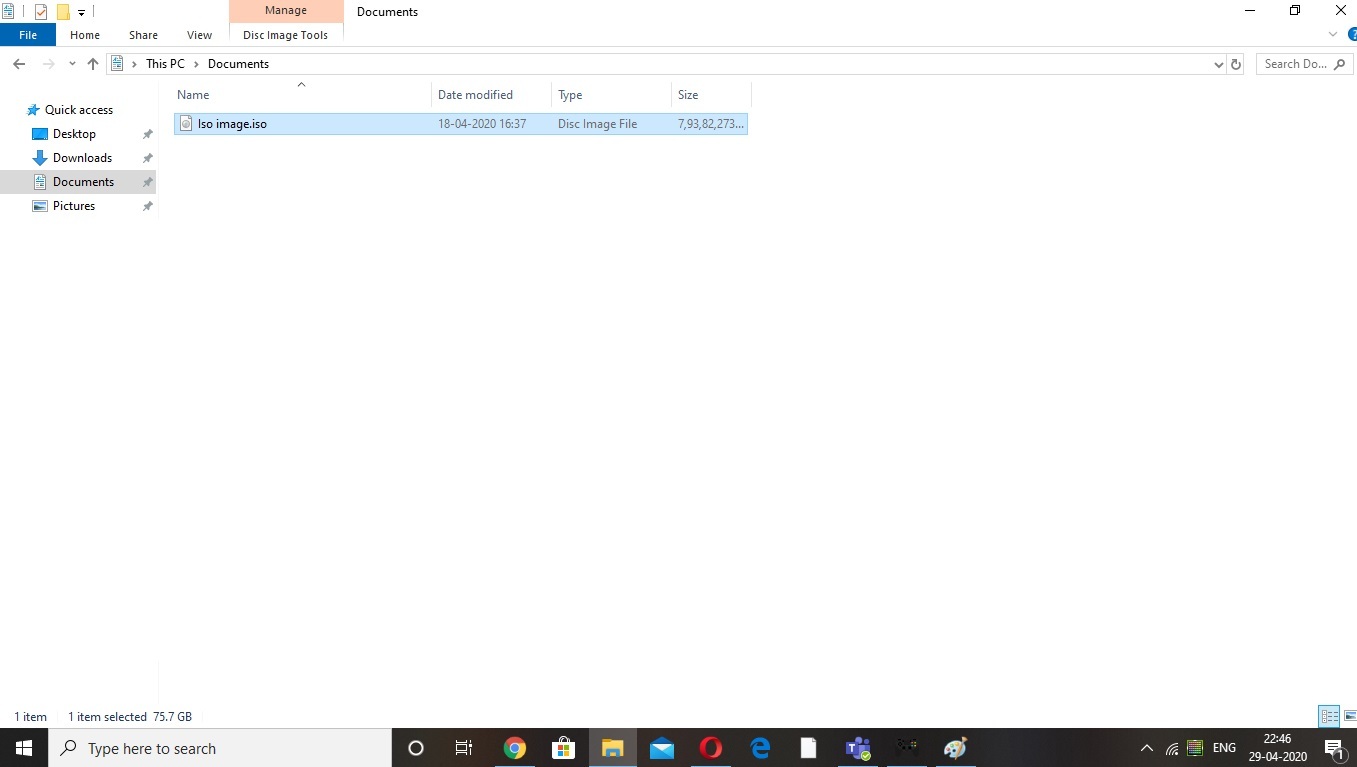
Step 2: Find the Iso file that needs to be mounted on your computer.
Step 3: For Windows, there is a built-in option which enables you to mount the iso image
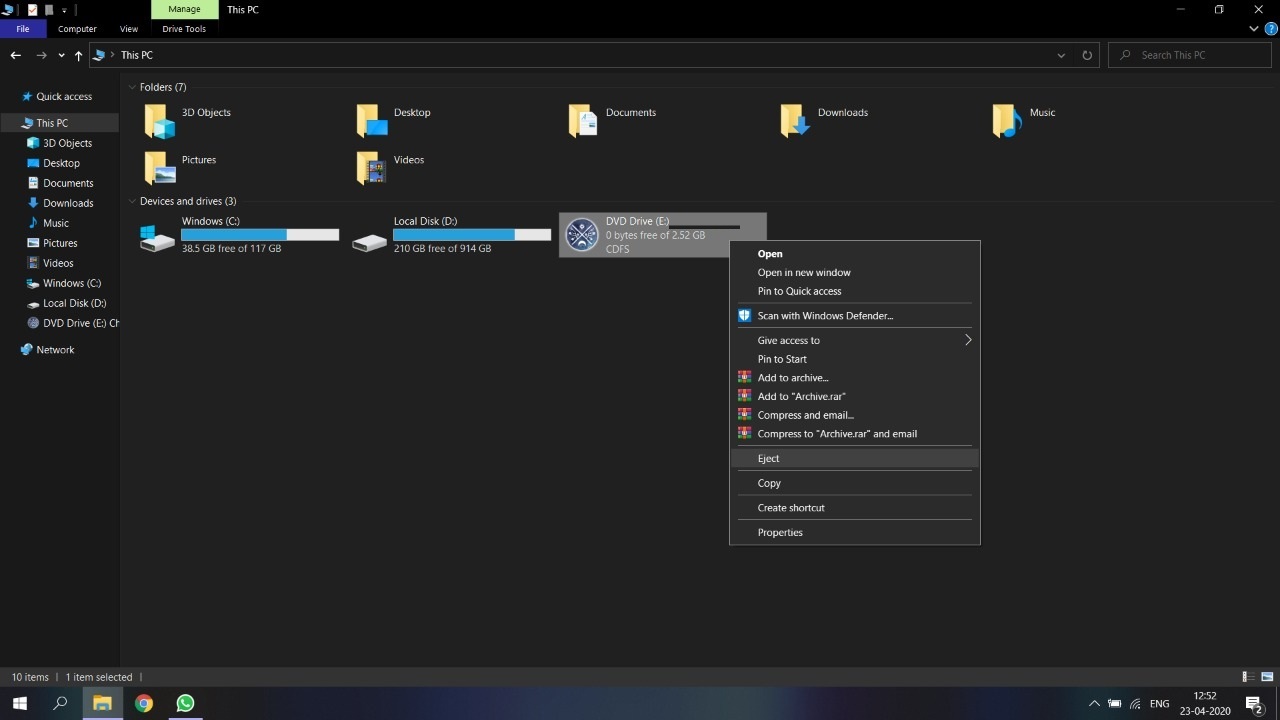
After mounting the ISO file, it will appear as a new drive under THIS PC , you can simply unmount the ISO file by clicking Eject after you are done.
Like Article
Suggest improvement
Share your thoughts in the comments
Please Login to comment...