How to merge a transparent PNG image with another image using PIL?
Last Updated :
03 Mar, 2021
This article discusses how to put a transparent PNG image with another image. This is a very common operation on images. It has a lot of different applications. For example, adding a watermark or logo on an image. To do this, we are using the PIL module in Python. In which we use some inbuilt methods and combine the images in such a way that it looks to be pasted.
- Open Function – It is used to open an image.
- Convert Function – It returns a converted copy of a given image. It converts the image to its true color with a transparency mask.
- Paste Function – It is used to paste an image on another image.
Syntax: PIL.Image.Image.paste(image_1, image_2, box=None, mask=None)
OR
image_object.paste(image_2, box=None, mask=None)
Parameters:
- image_1/image_object : It is the image on which other image is to be pasted.
- image_2: Source image or pixel value (integer or tuple).
- box: An optional 4-tuple giving the region to paste into. If a 2-tuple is used instead, it’s treated as the upper left corner. If omitted or None, the source is pasted into the upper left corner.
- mask: a mask that will be used to paste the image. If you pass an image with transparency, then the alpha channel is used as the mask.
Approach:
- Open the front and background image using Image.open() function.
- Convert both the image to RGBA.
- Calculate the position where you want to paste the image.
- Use the paste function to merge the two images.
- Save the image.
Input Data:
To input the data, we are using two images:
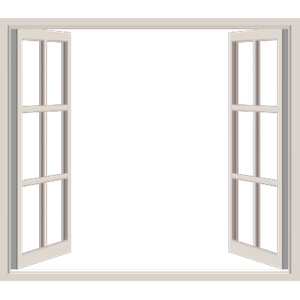
- Front Image: A transparent image like a logo

- Background image: For background like any wallpaper image

Implementation:
Python3
from PIL import Image
filename = 'front.png'
filename1 = 'back.jpg'
frontImage = Image.open(filename)
background = Image.open(filename1)
frontImage = frontImage.convert("RGBA")
background = background.convert("RGBA")
width = (background.width - frontImage.width) // 2
height = (background.height - frontImage.height) // 2
background.paste(frontImage, (width, height), frontImage)
background.save("new.png", format="png")
|
Output:

Like Article
Suggest improvement
Share your thoughts in the comments
Please Login to comment...