How to make responsive sliding login and registration form using HTML CSS and JavaScript ?
Last Updated :
17 May, 2023
In this article, we will learn how to make responsive sliding login and registration forms using HTML, CSS, and javascript. Forms are used on webpages for the user to enter their required details that further send to the server for processing. A form is also known as a web form or HTML form. In this article, you will learn to make a responsive sliding login and registration form using HTML, CSS, and Javascript.
The main crux of this article is to slide form in to-for(left-right) motion when clicking the buttons and this can be done using the animate() method in JQuery which is an inbuilt method in jQuery that is used to change the state of the element with CSS style.
Syntax:
(selector).animate({styles}, para1, para2, para3);
Using the animate() method in JQuery is discussed further in this article.
Example: Here is the implementation of the above-explained method.
HTML Code: First we will add HTML code to form the basic structure of the Login and Registration form.
HTML
<!DOCTYPE html>
<html>
<head>
<meta name="viewport" content=
"width=device-width, initial-scale=1" />
<script src=
</script>
</head>
<body>
<div id="background">
<div class="background-Right"></div>
<div class="background-Left"></div>
</div>
<div id="slide">
<div class="top">
<div class="left">
<div class="content">
<h2>Sign Up</h2>
<form method="post"
onsubmit="return false;">
<div>
<input type="text"
placeholder="email" />
<br />
<input type="password"
placeholder="password" />
</div>
</form>
<button id="LeftToRight"
class="on-off">Login
</button>
<button>Register</button>
</div>
</div>
<div class="right">
<div class="content">
<h2>Login</h2>
<form method="post"
onsubmit="return false;">
<div>
<input type="text"
placeholder="email" />
<br />
<input type="password"
placeholder="password" />
</div>
<button id="RightToLeft"
class="on-off">Register
</button>
<button>Login</button>
</form>
</div>
</div>
</div>
</div>
</body>
</html>
|
CSS Code: Now we will add CSS code to style the forms. Comments are provided to understand the CSS code.
style.css
CSS
body {
height: 100%;
overflow: hidden;
width: 100%;
box-sizing: border-box;
}
.background-Right {
position: absolute;
right: 0;
width: 50%;
height: 100%;
background: linear-gradient(to right, #000428, #004e92);
background-size: cover;
background-position: 50% 50%;
}
.background-Left {
position: absolute;
left: 0;
width: 50%;
height: 100%;
background: linear-gradient(to right, #02a8a8, #4fb783);
background-size: cover;
background-position: 50% 50%;
}
#background {
width: 100%;
height: 100%;
position: absolute;
z-index: -3;
}
#slide {
width: 50%;
max-height: 100%;
height: 100%;
overflow: hidden;
margin-left: 50%;
position: absolute;
box-shadow: 0 14px 28px rgba(0, 0, 0, 0.25),
0 10px 10px rgba(0, 0, 0, 0.22);
}
.top {
width: 200%;
height: 100%;
position: relative;
left: 0;
left: -100%;
}
.left {
width: 50%;
height: 100%;
background: #ffff;
left: 0;
position: absolute;
}
.right {
width: 50%;
height: 100%;
background: #ffff;
right: 0;
position: absolute;
}
.content {
width: 250px;
margin: 0 auto;
top: 30%;
position: absolute;
left: 50%;
margin-left: -125px;
}
.content h2 {
color: #4caf50;
font-size: 35px;
}
button {
background-color: #4caf50;
color: white;
width: auto;
padding: 14px 20px;
margin: 8px 0;
border: none;
cursor: pointer;
}
input[type="text"],
input[type="password"] {
width: 100%;
padding: 12px 20px;
margin: 8px 0;
display: inline-block;
border: 1px solid #ccc;
box-sizing: border-box;
}
.on-off {
background: none;
color: #4caf50;
box-shadow: none;
}
|
JavaScript Code: Finally, we will add javascript code, where we will use jQuery ( Javascript Framework) to slide the login and register form from left-right and vice versa.
- When a user clicks on #RightToLeft section i.e. register button(Login form), the outer container i.e .top section is moved by 100% on the right side by adding margin-left: +100% and adding margin-left:0% on the slide section whose initial margin-left was +50%. This animate() method helps to show the sliding effect on the login-register form.
- The same thing happens when the user clicks on #LeftToRight section i.e login button(Sign-Up form), the outer container i.e .top section is moved by -100% on the left side by adding margin-left: 0% whose before value was margin-left: +100% as explained above and adding margin-left:+50% on slide section whose before value was margin-left: 0% as explained above
Note: To use Jquery you just need to add Jquery CDN into the HTML code.
Javascript
$(document).ready(function () {
$("#RightToLeft").on("click", function () {
$("#slide").animate({
marginLeft: "0",
});
$(".top").animate({
marginLeft: "100%",
});
});
$("#LeftToRight").on("click", function () {
$("#slide").animate({
marginLeft: "50%",
});
$(".top").animate({
marginLeft: "0",
});
});
});
|
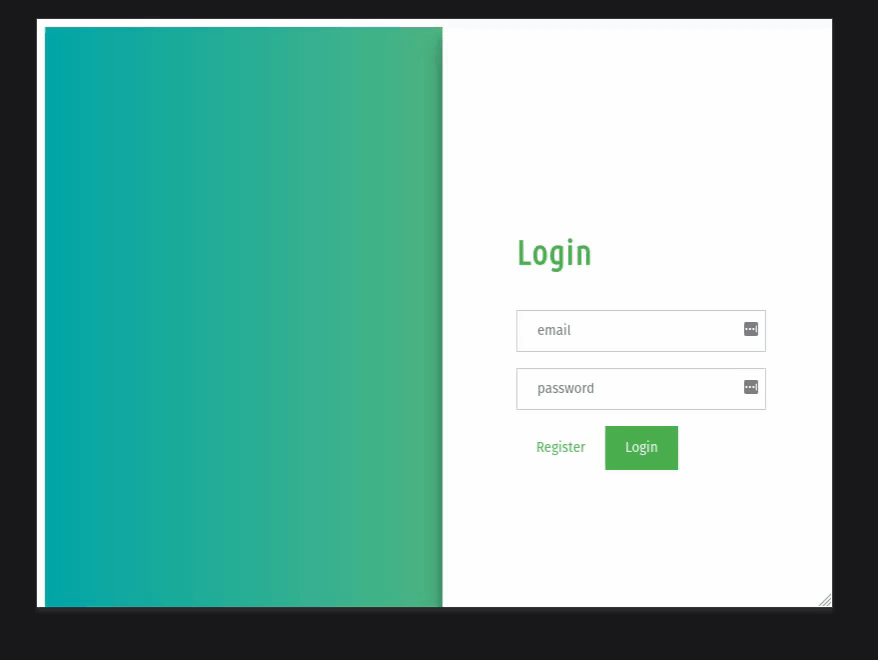
Output:
Like Article
Suggest improvement
Share your thoughts in the comments
Please Login to comment...