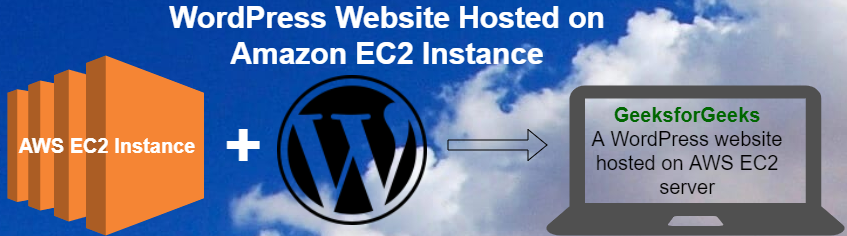
How to Launch a WordPress Website using Amazon EC2 Server ?
Last Updated :
09 Jan, 2020
What is Amazon web service (AWS)?
It is a secure cloud services platform. It offers services like compute power, database storage, content delivery, and other functionality to help businesses scale and grow.
What is Amazon EC2?
Amazon Elastic Compute Cloud (EC2) is an Cloud Based Services IaaS (Infrastructure as a Service) type of cloud service that provides secure, resizable compute capacity in the cloud.
Setting up WordPress website using an EC2 instance:
1. Launch an EC2 instance:
- Go to your AWS console and sign in with your credentials.
- After login to the AWS account, select the EC2 service from the list of all services.

- Click the launch instance button to create an instance.

2. Configuring EC2 instance:
- Search for WordPress in the marketplace tab (left side) in the dashboard and select the instance named as
WordPress Certified by Bitnami and Automattic.

- Now you’ll see the pricing details in which you have to click continue.

- Now you’ll be redirected to the choose the instance configurations, we will be using a free-tier eligible t2.micro instance. Click on t2.micro in the Type column and click Review and Launch. Since here we are using free-tier we will just use the default freely available configurations for storage and skip the Add Storage step.

- You can now review the configurations of your instance. After reviewing you can now click Launch button at the bottom right.

- Now the next screen will allow you to generate key-pairs which is used to connect to your instance using SSH. Since we are developing a WordPress website, we don’t really need to care about connecting via SSH, so we can skip generating the key pair. Select Proceed without a key-pair from the option and check the box acknowledging that you know you need this key to access your EC2 instance. Click the Launch instances button.

- Click View instances at the bottom right of the page.
- Now click at the WordPress instance we have just created from the list of instances and copy the public IPv4 address shown in the column.

Paste the copied IPv4 in the browser and you’ll see a WordPress home page there like below:

The WordPress home page can be different according to the version of WordPress.
3. Editing the website (accessing the WordPress backend/dashboard):
- In order to get the password of the admin panel, go to your instance dashboard and right-click on the instance and select Instance settings and then Get system logs.

- Scroll to the bottom and find a password surrounded by hash.

- Now go to
{your-public-IPv4}/admin(like 52.214.23.123/admin) and enter username as user and password as what you have found in the system logs.

Now you can access the admin panel and can change your WordPress website’s appearance.
Reference: https://aws.amazon.com/getting-started/tutorials/launch-a-wordpress-website/
Like Article
Suggest improvement
Share your thoughts in the comments
Please Login to comment...