WordPress is one of the commonly used Content Management systems on the web. It is written in PHP web servers like Apache are enough to run it. WordPress supports MySQL and MariaDB, but MySQL is widely used. This tutorial will help you to run WordPress using the LAMP(Linux, Apache, MySQL, PHP) stack on your Linux machine (probably VPS).
Prerequisites:
- A Linux machine (Here using Ubuntu)
- A sudo user account
- Some basic command line experience
- Little MySQL experience
This article assumes that you are familiar with PHP, MySQL, and WordPress.
Installing PHP: PHP (Hypertext Preprocessor) is a language used to write WordPress. You can install PHP using below command. libapache2-mod-php and php-mysql are libraries that help PHP, Apache and MySQL smoothly.
sudo apt install php libapache2-mod-php php-mysql
To verify that you have successfully installed PHP, type the below command:
php -v

// output should look like below content
PHP 7.4.3 (cli) (built: Oct  6 2020 15:47:56) ( NTS )
Copyright (c) The PHP Group
Zend Engine v3.4.0, Copyright (c) Zend Technologies
    with Zend OPcache v7.4.3, Copyright (c), by Zend Technologies
Install additional PHP modules like Curl, XML, XMLRPC to help ease the run of WordPress
sudo apt install php-curl php-gd php-mbstring php-xml php-xmlrpc php-soap php-intl php-zip
Installing and Configuring Apache: Apache is one of the most widely used web servers. Apache2 is the latest version of the webserver. You can install Apache using the below command:
sudo apt install apache2
To verify that you have successfully installed Apache, type the below command
apache2 -v

// output
Server version: Apache/2.4.41 (Ubuntu)
We will configure Apache virtual hosts for WordPress, we will create a new conf file wordpress.
sudo nano /etc/apache2/sites-available/wordpress.conf
Use the below template to configure to .htaccess file, we will be installing WordPress in /var/www/wordpress, so we will use it as a directory.
<VirtualHost *:80>
   ServerName yourdomain.name
    <Directory /var/www/wordpress>
        AllowOverride All
        DirectoryIndex index.php
    </Directory>
</VirtualHost>
Now enable the Apache rewrite module and check the Apache config syntax. If you have used syntax correctly, you will get syntax as correct.
sudo a2enmod rewrite
sudo apache2ctl configtest
.
// output
Syntax OK
If you get an error like the below one before Syntax OK, it’s perfectly alright because we are using localhost.
AH00558: apache2: Could not reliably determine the server’s fully qualified domain name, using 127.0.0.1. Set the ‘ServerName’ directive globally to suppress this message
Installing and Configure MySQL: MySQL is a popular open-source relational database management system. To install MySQL you can run the below commands, you can also verify whether MySQL is installed successfully or not.
sudo apt install mysql-server
mysql -V

// output
mysql  Ver 8.0.25-0ubuntu0.20.04.1 for Linux on x86_64 ((Ubuntu))
Now login into MySQL and change the mysql-native-password
sudo mysql -u root
ALTER USER ‘root’@’localhost’ IDENTIFIED WITH mysql_native_password BY ‘secure password’;
FLUSH PRIVILEGES;
EXIT;
Now login into MySQL using the root user with the new password and create a new database for wordpress
CREATE DATABASE wordpress DEFAULT CHARACTER SET utf8 COLLATE utf8_unicode_ci;
Now we will create a new MySQL user and Grant all access to WordPress database to the new wordpress user
mysql> CREATE DATABASE wordpress DEFAULT CHARACTER SET utf8 COLLATE utf8_unicode_ci;
mysql> CREATE USER ‘wordpressuser’@’%’ IDENTIFIED WITH mysql_native_password BY ‘secure password’;
mysql> GRANT ALL ON wordpress.* TO ‘wordpressuser’@’%’;
mysql> FLUSH PRIVILEGES;
mysql> EXIT;
Downloading WordPress: If you are on Ubuntu, you can directly install using APT and you can skip this step
sudo apt install wordpress
But we will directly install WordPress from the WordPress repository
- First, we will download the WordPress latest version from its repository (we are downloading it into a temporary folder so that the downloaded package and another file that helps in building WordPress but not helpful while it’s running will be deleted automatically on a reboot).
- Now we will unzip the WordPress package
cd /tmp
curl -O https://wordpress.org/latest.tar.gz
tar xzvf latest.tar.gz
Now we will create the Apache .htaccess file and WordPress config file from the sample config. We will also create a directory named “upgrade”, which makes sure that WordPress won’t run into permissions issues when trying to do an update to its software.
touch /tmp/wordpress/.htaccess
cp /tmp/wordpress/wp-config-sample.php /tmp/wordpress/wp-config.php
mkdir /tmp/wordpress/wp-content/upgrade
Now we will copy the unpacked wordpress directory to /var/www for apache to run
sudo cp -a /tmp/wordpress/. /var/www/wordpress
Configuring WordPress: Now we will adjust the wordpress files and directory permission. “www-data” user and group is the user that the Apache webserver runs as, and Apache will need to be able to read and write WordPress files in order to serve the website and perform automatic updates.
- We need to give wordpress directories 750 permission which means the current user(www-data) can read, write, and execute, the group cannot write, and others cannot read, write, or execute.
- We need to give wordpress files 640 permission which means the current user(www-data) can read, write, and the group can only read and others cannot read, write, or execute.
sudo chown -R www-data:www-data /var/www/wordpress
sudo find /var/www/wordpress/ -type d -exec chmod 750 {} \;
sudo find /var/www/wordpress/ -type f -exec chmod 640 {} \;
Now we will create some secure keys for our installation, you can make a request to WordPress API, and it will provide you with the keys, Don’t copy these keys make sure you have your own keys
curl -s https://api.wordpress.org/secret-key/1.1/salt/
// the output will be similar to the one belowdefine(‘AUTH_KEY’, ‘:BiuKIi%W7<p?4Jm}`1XTJOw!cQBKxcOt]DylUDyO$BB<>t)*FN.qf*q|+-W7}8f’);
define(‘SECURE_AUTH_KEY’, ‘7[Kh-{P#A~<PGMkIOHC#9Fta$XGemco5F8k}G66I[lXqD|`IZ8cyM2O>!NjtvW(o’);
define(‘LOGGED_IN_KEY’, ‘La{SEJ{$uI<6Txgv QqY4cxG]3+-r[Iqcx.IFxlfN.f/Yd?317zR*+Yt=*PMWM$(‘);
define(‘NONCE_KEY’, ‘U5pGQf.`J{.Hd~P/9Snw`V2+#<t+;>OTY!VOW[-aoruh;dhSUX]09xj*O<KXdZ6+’);
define(‘AUTH_SALT’, ‘fmByAIfcEq&V}Xf,mF)!a09:-Q$R^/:79!k|<pEL@>VU)|C7|(>;`{N(4ZHg O)n’);
define(‘SECURE_AUTH_SALT’, ‘s5N%EIR(eM@tlg;M%L-+F#:<|r_x5-]Ix.&eYN)ya5ktoWLE+H~zUGkX#HceO/;H’);
define(‘LOGGED_IN_SALT’, ‘EGcaE`=DAh7lv*klFyV0VLy5<@af_*–3otD$3:^;z~C(f^JB[C0T;`yqE)2@y${‘);
define(‘NONCE_SALT’, ‘rP1%&ojrP0XLRuQ1AS#@u}#2-Q+)5ftKeJpWC$oxD]?&3}|+n2Gt{1$`kZbSW`-q’);
Now open the WordPress config file and add these keys along with details of the database, we have setup for wordpress. Below is a sample config file-
sudo nano /var/www/wordpress/wp-config.php
PHP
<?php
define( 'DB_NAME', 'wordpress' );
define( 'DB_USER', 'wordpressuser' );
define( 'DB_PASSWORD', 'wordpress' );
define( 'DB_HOST', 'localhost' );
define( 'DB_CHARSET', 'utf8' );
define( 'DB_COLLATE', '' );
define('AUTH_KEY', ':BiuKIi%W7<p?4Jm}`1XTJOw!cQBKxcOt]DylUDyO$BB<>t)*FN.qf*q|+-W7}8f');
define('SECURE_AUTH_KEY', '7[Kh-{P#A~<PGMkIOHC#9Fta$XGemco5F8k}G66I[lXqD|`IZ8cyM2O>!NjtvW(o');
define('LOGGED_IN_KEY', 'La{SEJ{$uI<6Txgv QqY4cxG]3+-r[Iqcx.IFxlfN.f/Yd?317zR*+Yt=*PMWM$(');
define('NONCE_KEY', 'U5pGQf.`J{.Hd~P/9Snw`V2+#<t+;>OTY!VOW[-aoruh;dhSUX]09xj*O<KXdZ6+');
define('AUTH_SALT', 'fmByAIfcEq&V}Xf,mF)!a09:-Q$R^/:79!k|<pEL@>VU)|C7|(>;`{N(4ZHg O)n');
define('SECURE_AUTH_SALT', 's5N%EIR(eM@tlg;M%L-+F#:<|r_x5-]Ix.&eYN)ya5ktoWLE+H~zUGkX#HceO/;H');
define('LOGGED_IN_SALT', 'EGcaE`=DAh7lv*klFyV0VLy5<@af_*--3otD$3:^;z~C(f^JB[C0T;`yqE)2@y${');
define('NONCE_SALT', 'rP1%&ojrP0XLRuQ1AS#@u}#2-Q+)5ftKeJpWC$oxD]?&3}|+n2Gt{1$`kZbSW`-q');
$table_prefix = 'blog_';
define( 'WP_DEBUG', false );
if ( ! defined( 'ABSPATH' ) ) {
define( 'ABSPATH', __DIR__ . '/' );
}
require_once ABSPATH . 'wp-settings.php';
?>
|
- Change database name, database user, and password to the values that we have created while configuring MySQL.
- Change the salt keys from the keys that you have received when requested wordpress
- Changing table prefix from “wp_” to “blog_” which is optional
Setting up WordPress: Now start the apache2 server and visit the WordPress installation
sudo service apache2 start

// visit 127.0.0.1/wordpress
Now select the user language
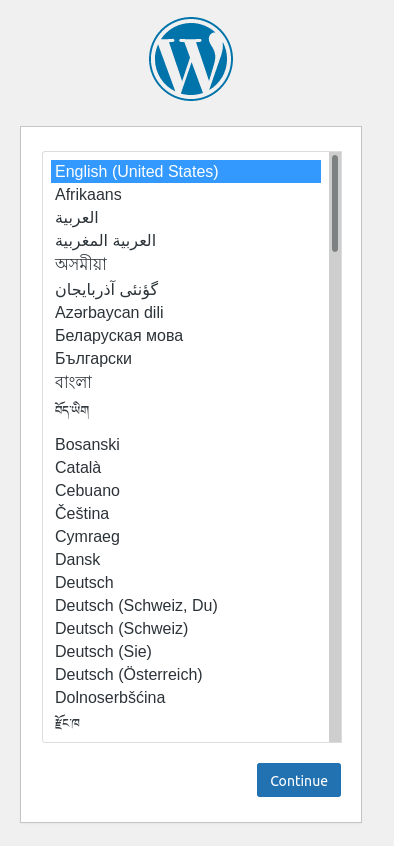
Select language
Now configure WordPress user details(This will be the default admin user)
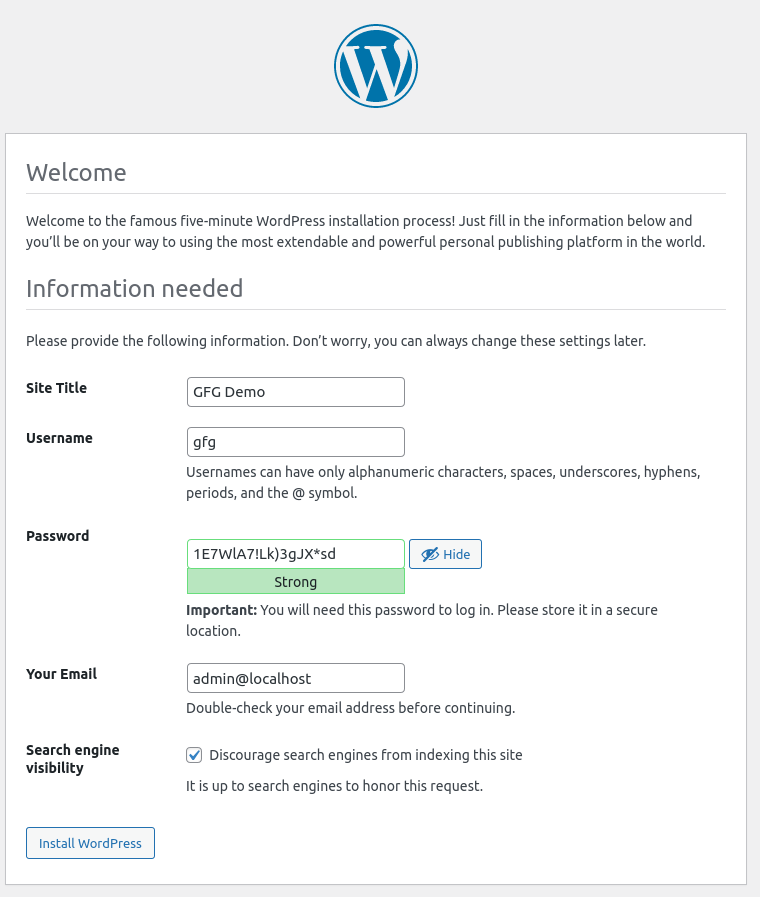
User and site details
- Give your WordPress a Site Name
- Now choose a username for the user
- Now give a password
- Give a valid email (The email in the image) should not be used in Production).
- Search engine visibility means gives site admin to allow search engines to index the site.
After you click “Install WordPress”, WordPress will be installed, and you will get a success screen.
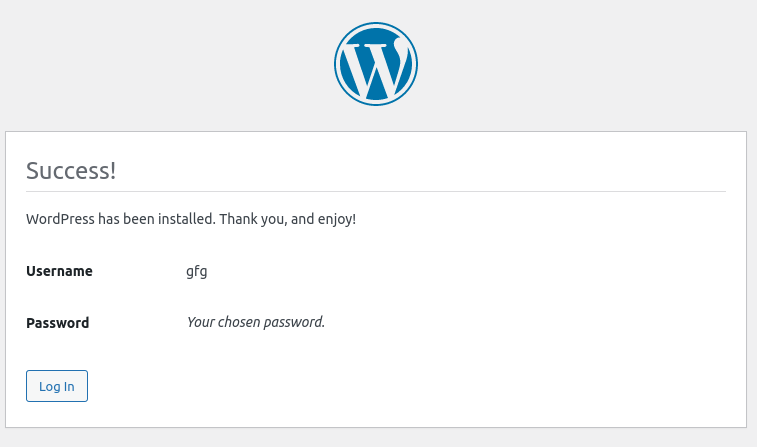
WordPress installed successfully
Now, login into the WordPress dashboard using your login details
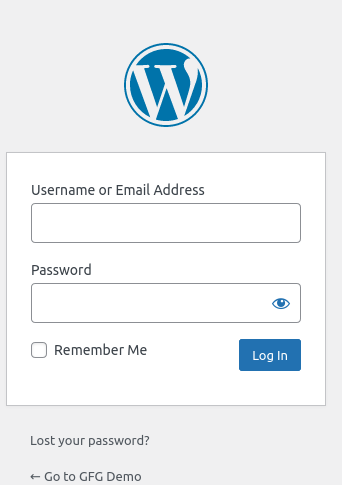
Login into WordPress
After login, you can see the WordPress dashboard
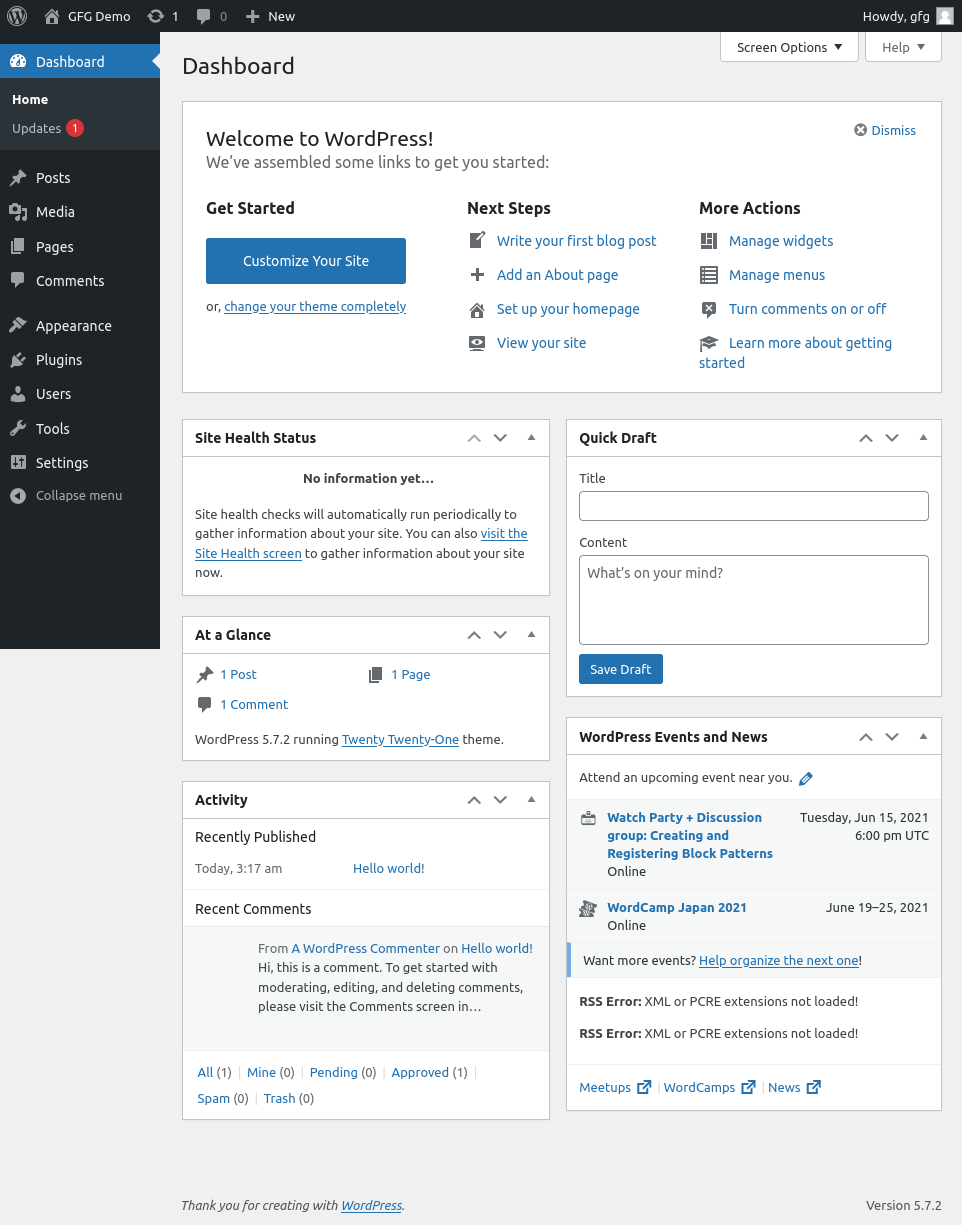
WordPress Dashboard
Now you can see your WordPress site by visiting its URL
http://127.0.0.1/wordpress
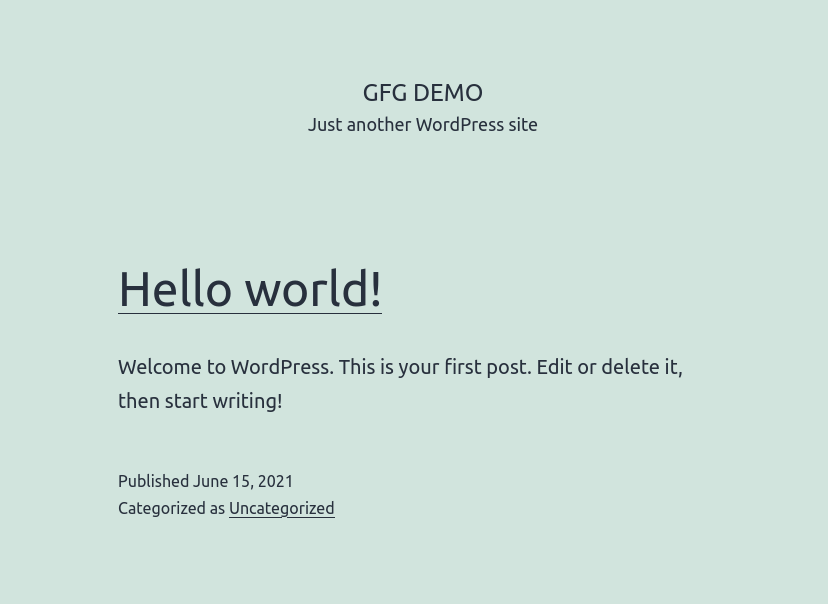
WordPress successfully running
Like Article
Suggest improvement
Share your thoughts in the comments
Please Login to comment...