Virtual Machine Applications abstract the hardware of our personal computers such as CPU, Disk Drives, Memory, NIC (Network Interface Card), etc, into many different execution environments as per our requirements. Hence, gives us a feeling that each execution environment is a single computer, for example, VirtualBox Desktop Software.
Installing Ubuntu on VirtualBox is the need of the time. We can create the Ubuntu Virtual Machine for several reasons. All of these are fundamentally related to the ability to share the same basic hardware yet also support different execution environments. For all of these reasons, many move to Ubuntu Download on VirtualBox and use it.
In this article, we will discuss the effective steps needed to Install Ubuntu VirtualBox in no time without having any issues.
Quick Preview to Install Ubuntu on VirtualBox:
- Install the Ubuntu ISO File from the Official Webpage.
- Open VirtualBox & click on New.
- Upload the ISO File and provide the OS Name.
- Assign the RAM and create a Virtual Hard Disk.
- Follow On Screen Instructions to create Ubuntu OS.
- Click on the Start button to execute it.
- Click on the Install Ubuntu button and follow the on-screen instructions.
Quick Highlights on VirtualBox:
- VirtualBox is a product of Oracle that has high popularity.
- VirtualBox can execute a bit faster as it has the AMD & Intel Support.
- On VirtualBox, many virtual machines can be developed.
- VirtualBox has asynchronous input and output disks.
- VirtualBox can provide seamless window support to work on OS.
Note: For the installation of VirtualBox, you can check out the article How to install VirtualBox on Windows?
Steps to Install Ubuntu on VirtualBox
Step 1: Before we begin with the installation process, we need to Download ISO for Ubuntu. For that, all the versions of Ubuntu are available on the Official Site.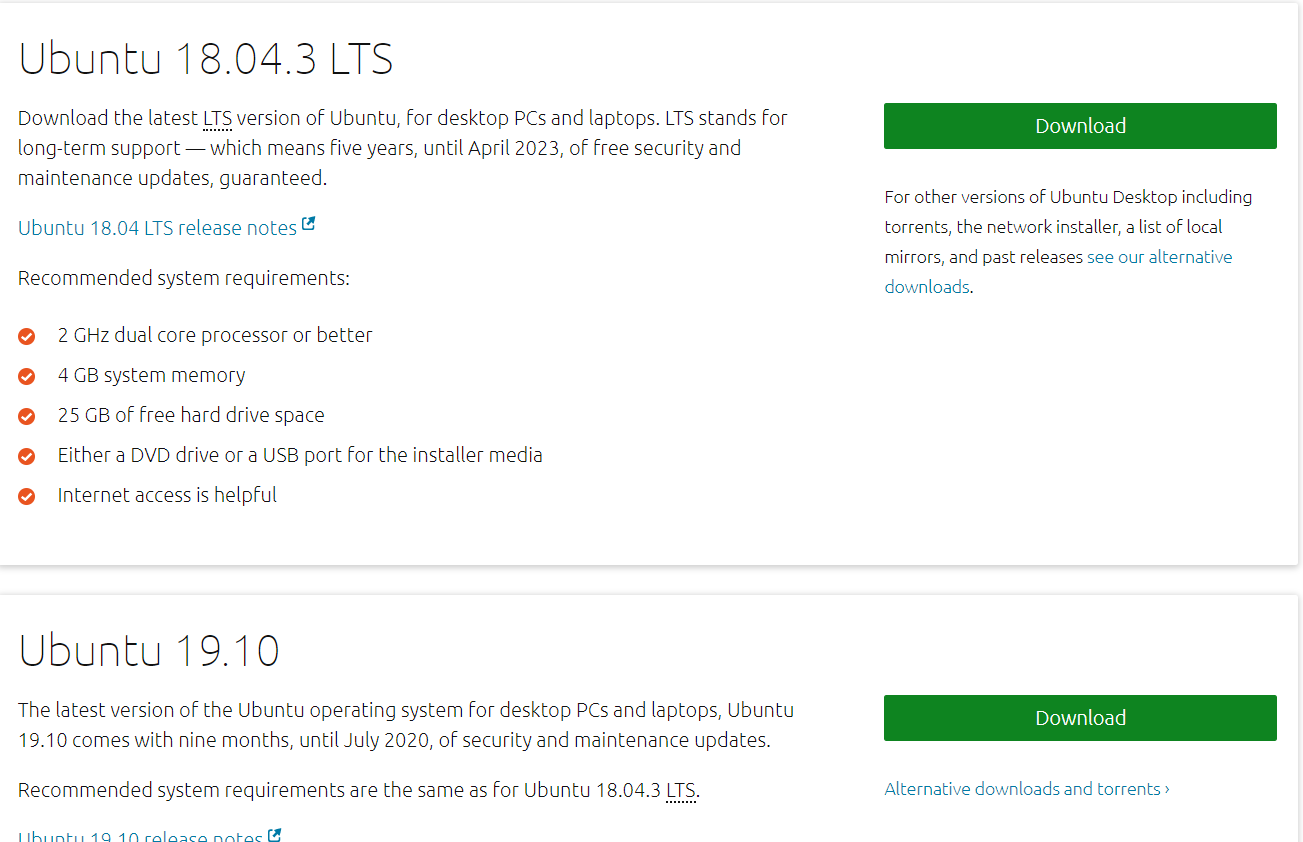
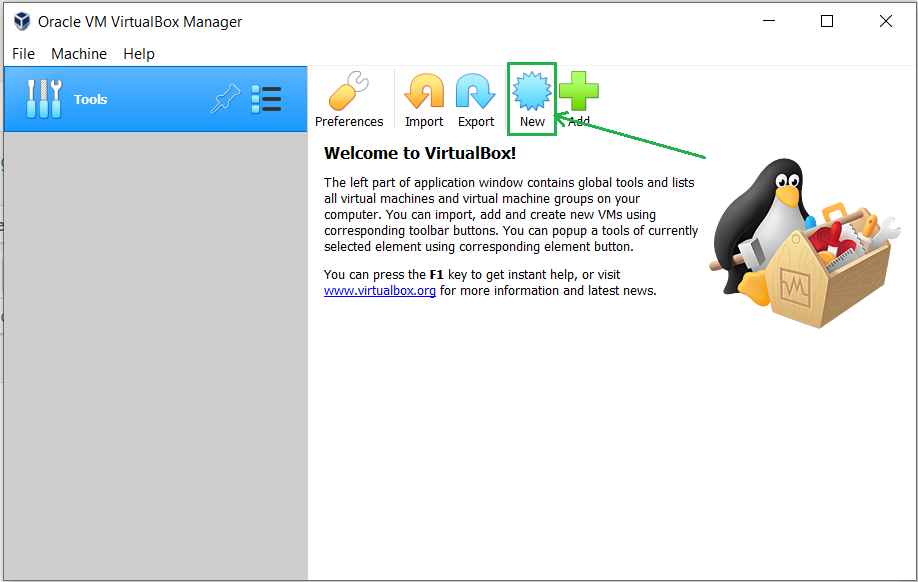
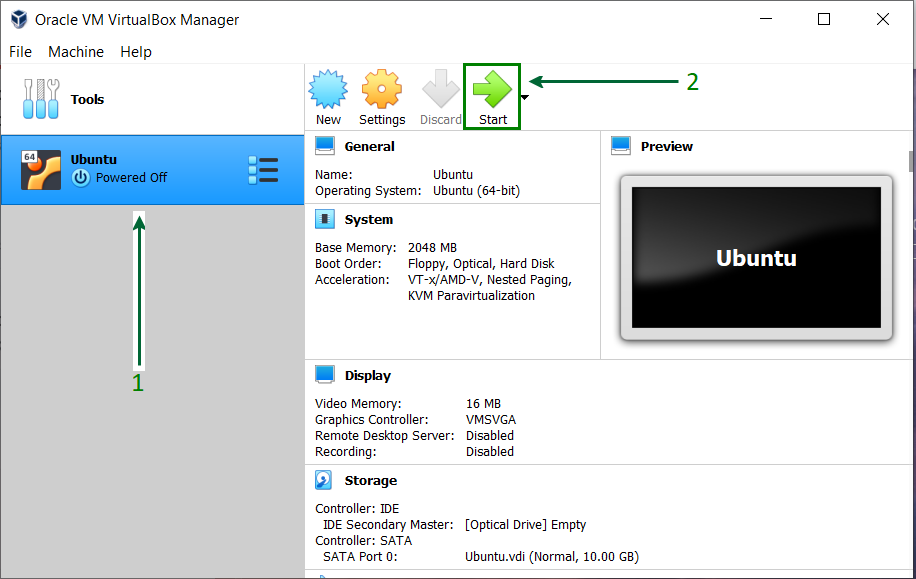
Step 2: Open VirtualBox and click on the New button.
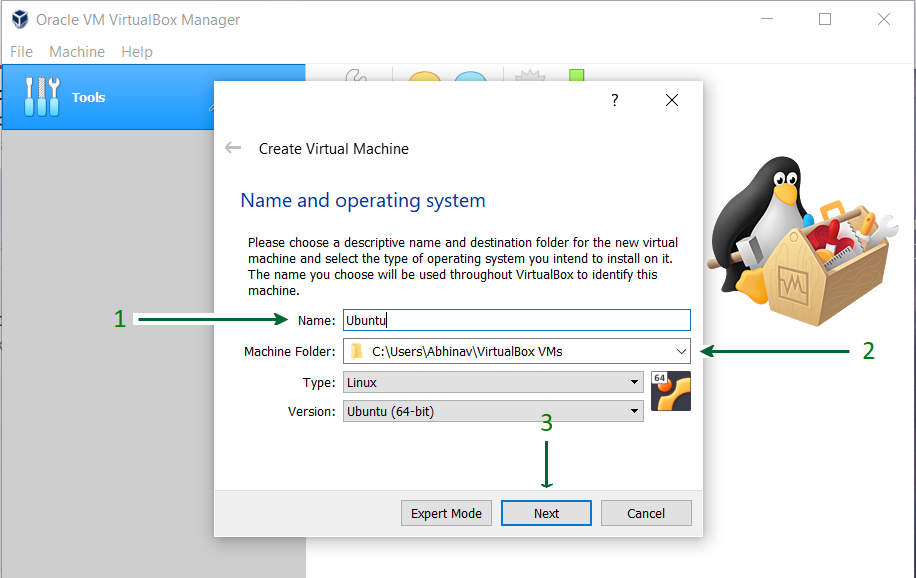
Step 3: Give a Name to your Virtual Machine and select the Location for it to install.
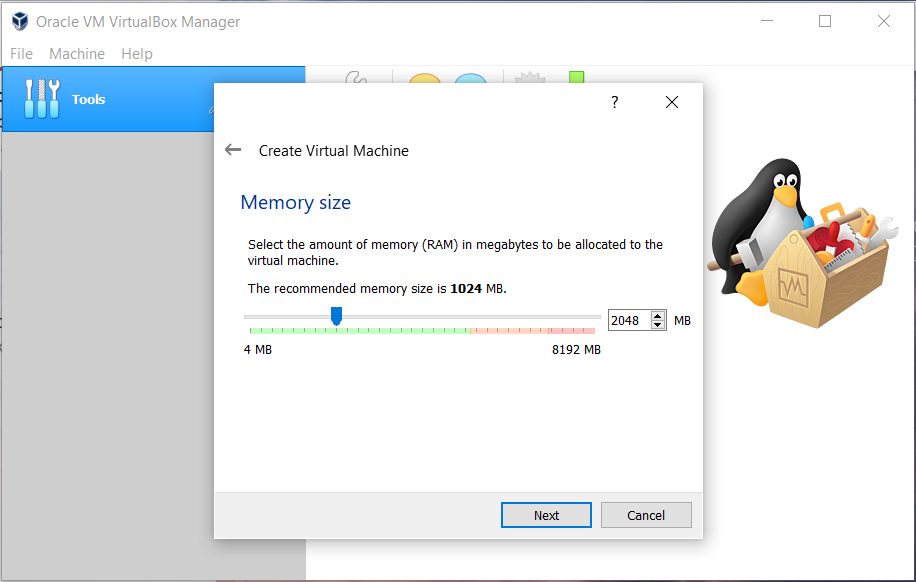
Step 4: Assign RAM Size to your Virtual Machine.
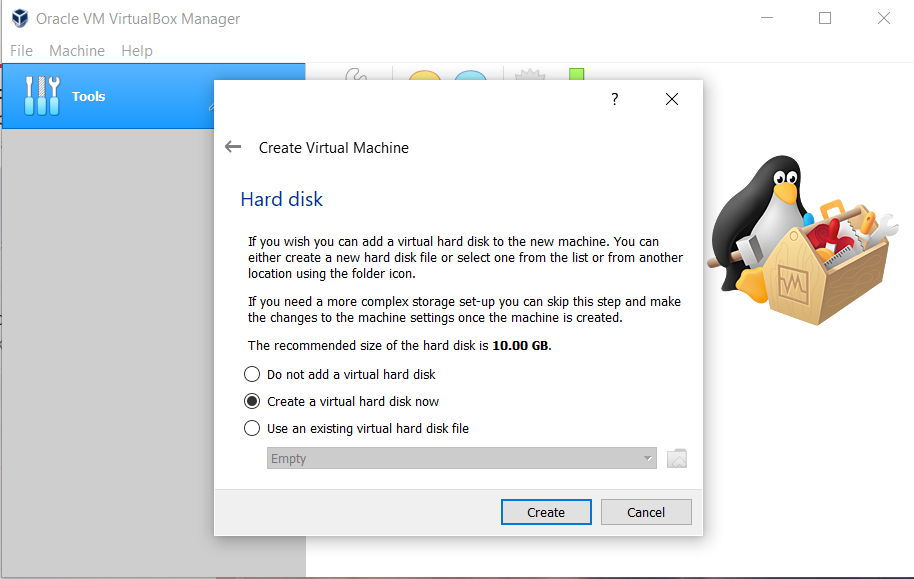
Step 5: Create a Virtual Hard Disk for the machine to store files.
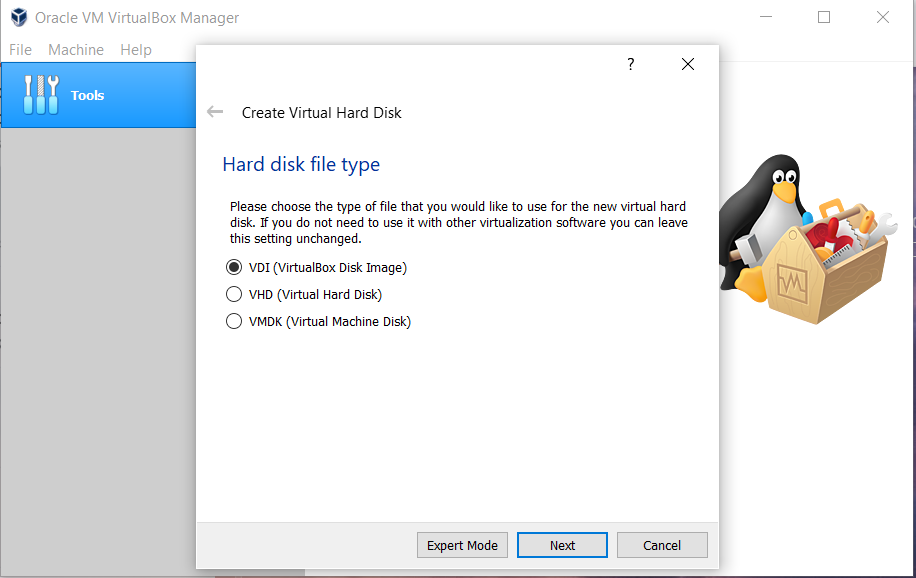
Step 6: Select the type of Hard disk. Using VDI type is recommended.
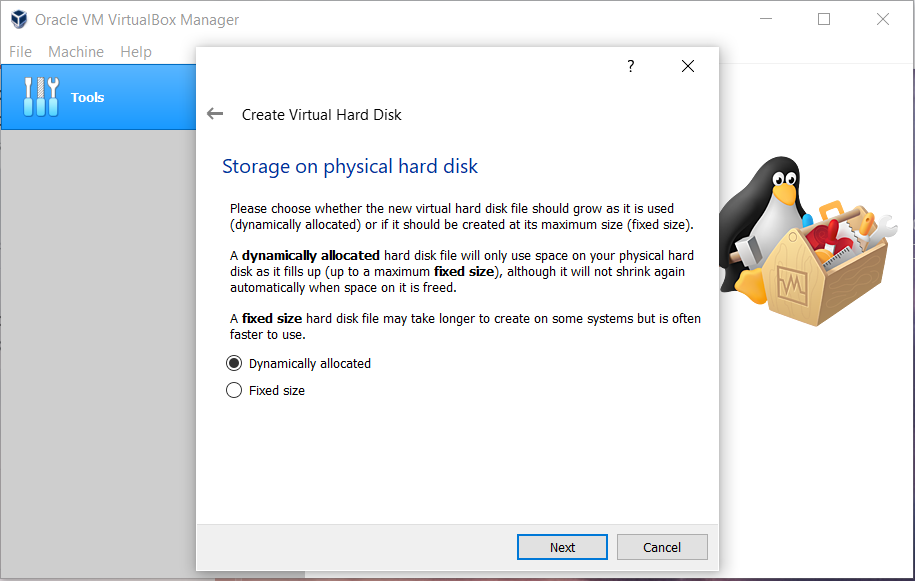
Step 7: Either of the Physical Storage types can be selected. Using a Dynamically Allocated Disk is by default recommended.
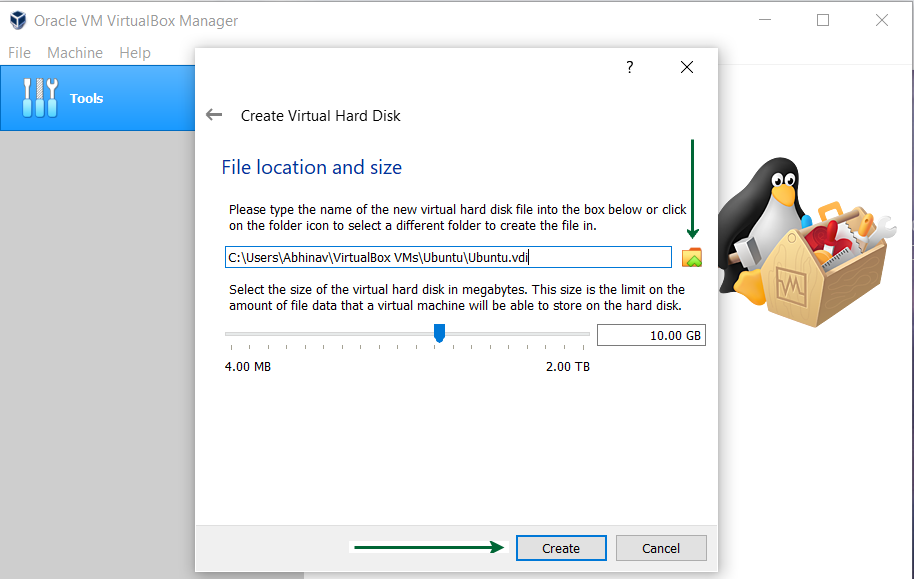
Step 8: Select Disk Size and provide the Destination Folder to install.
Step 9: After the Disk creation is done, boot the Virtual Machine and begin installing Ubuntu.
Step 10: If the installation disk is not automatically detected. Browse the file location and select the ISO file for Ubuntu.
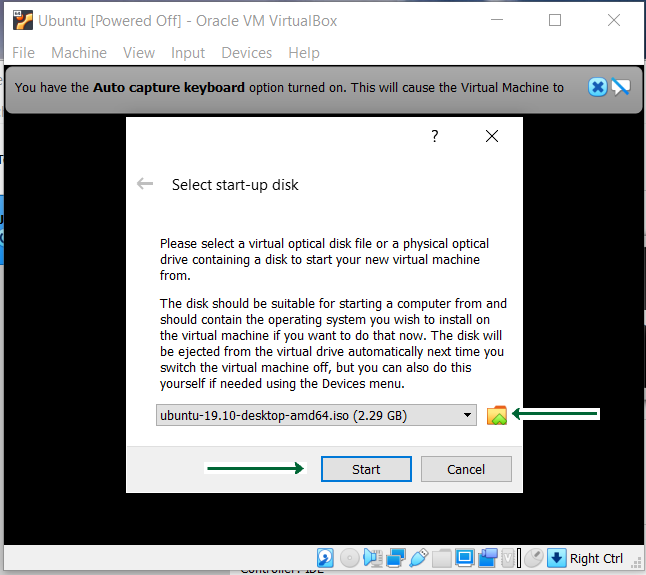
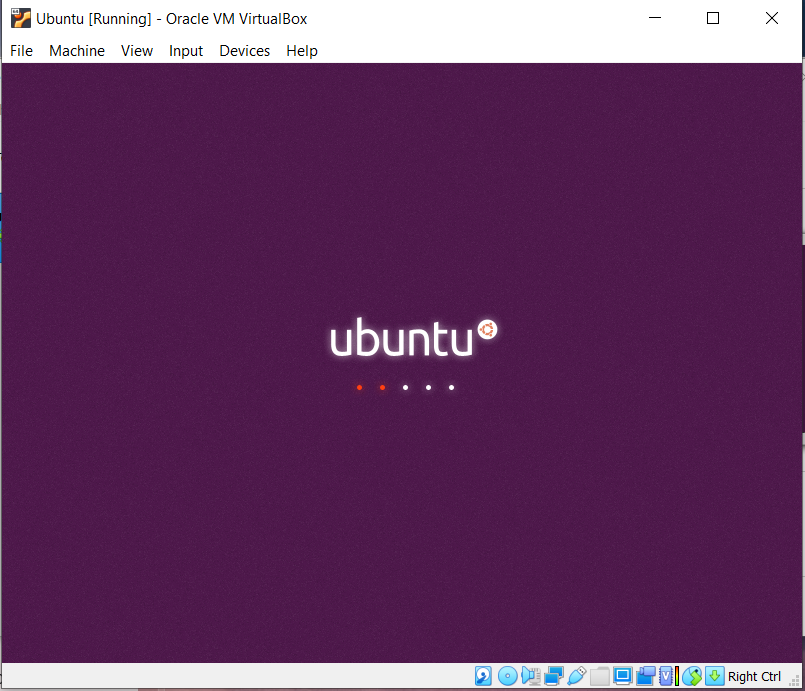
Step 11: Proceed with the installation file and wait for further options.
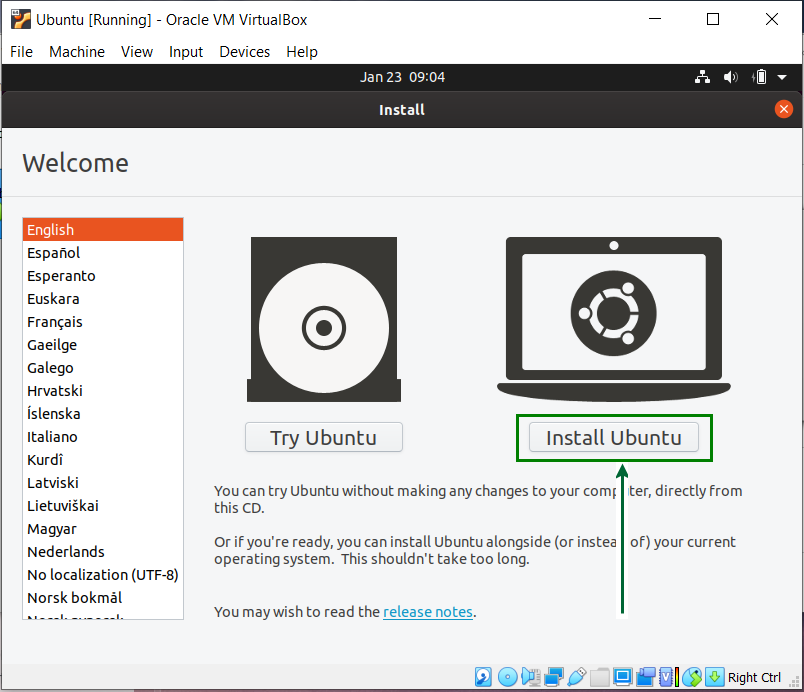
Step 12: Click on the Install Ubuntu option, this might look different for other Ubuntu versions.
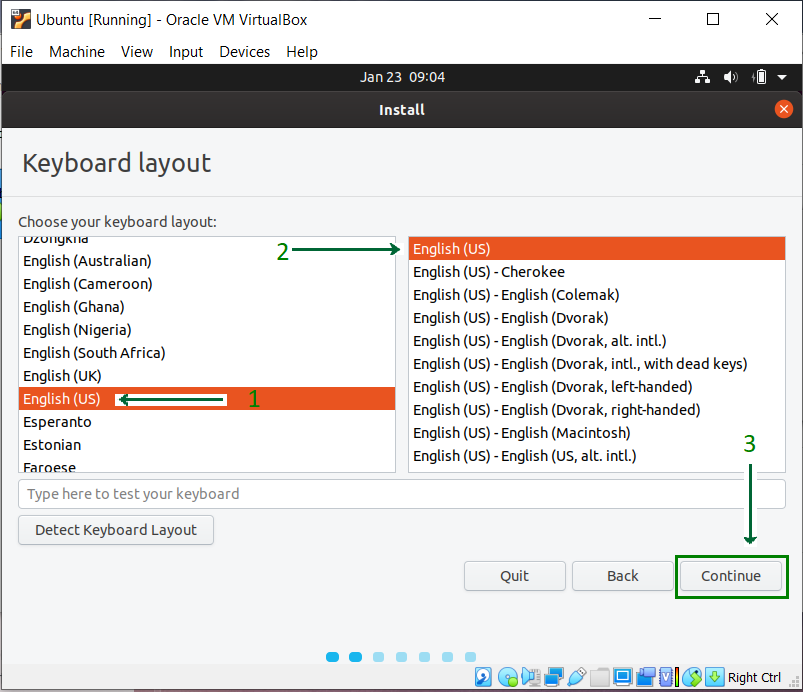
Step 13: Select Keyboard Layout, if the defaults are compatible, just click on the Continue button and proceed.
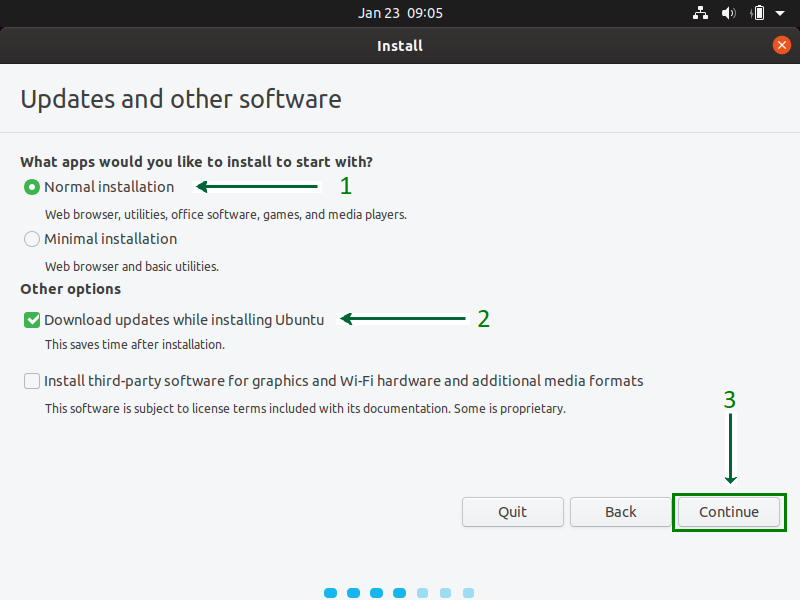
Step 14: Select Installation Type. By default, it is set to Normal Installation, which is recommended, but it can also be changed to Minimal Installation if there is no need for all Ubuntu features.
Step 15: Click on the Install Now button and carry on with the installation. Do not get worried about the Erase disk option, it will only be effective inside the virtual machine, and other system files outside the VirtualBox remain intact.

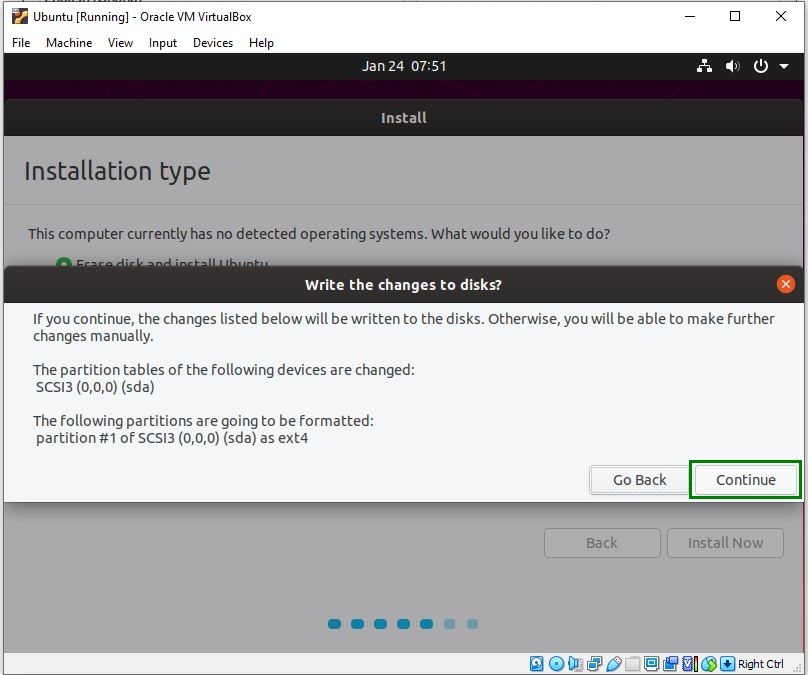
Step 16: Click on the Continue button, and proceed with writing changes on the disk.
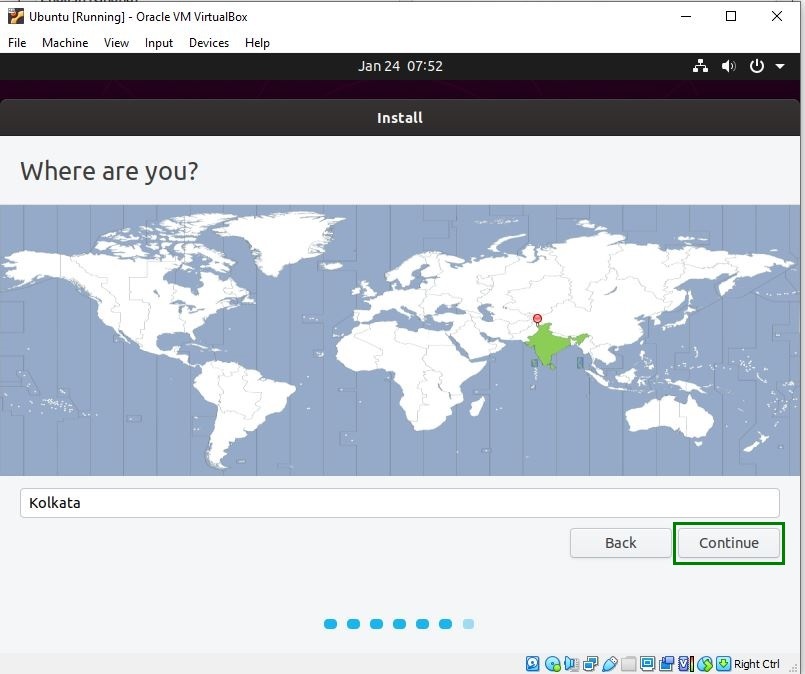
Step 17: Select your Location to set the Time Zone.
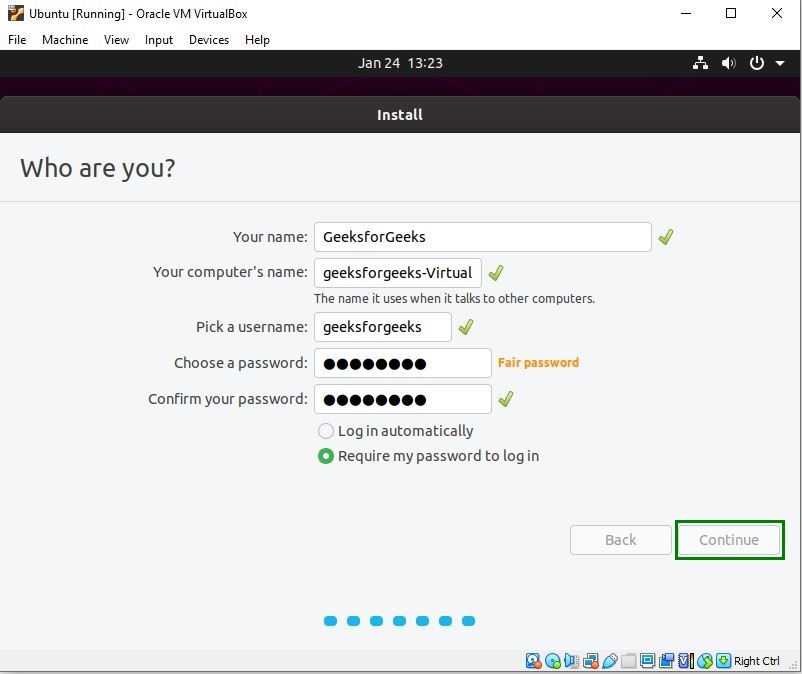
Step 18: Choose a Name for your computer and set a Password to secure login info.
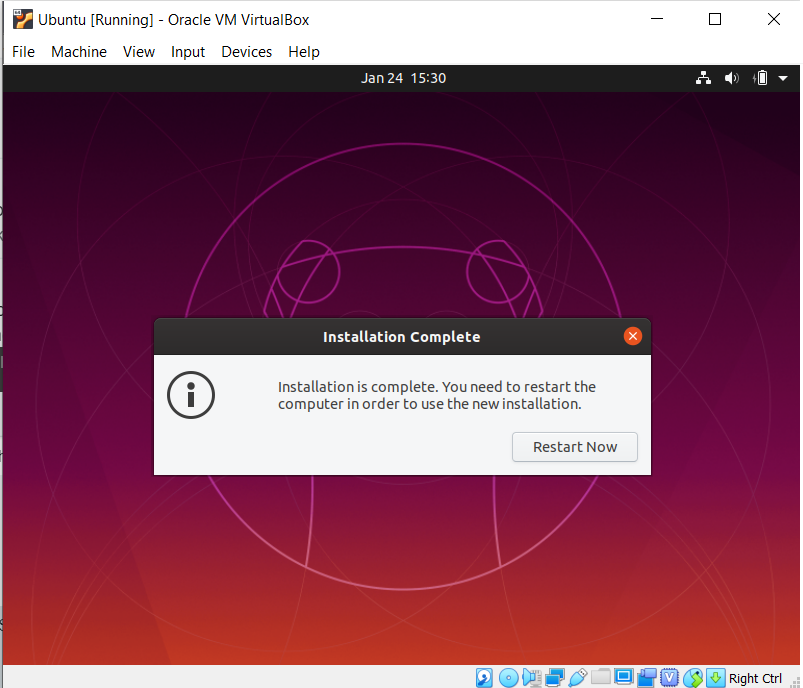
Step 19: Wait for the installation process to complete.

Step 20: Once the installation process is over, reboot your Virtual Machine.
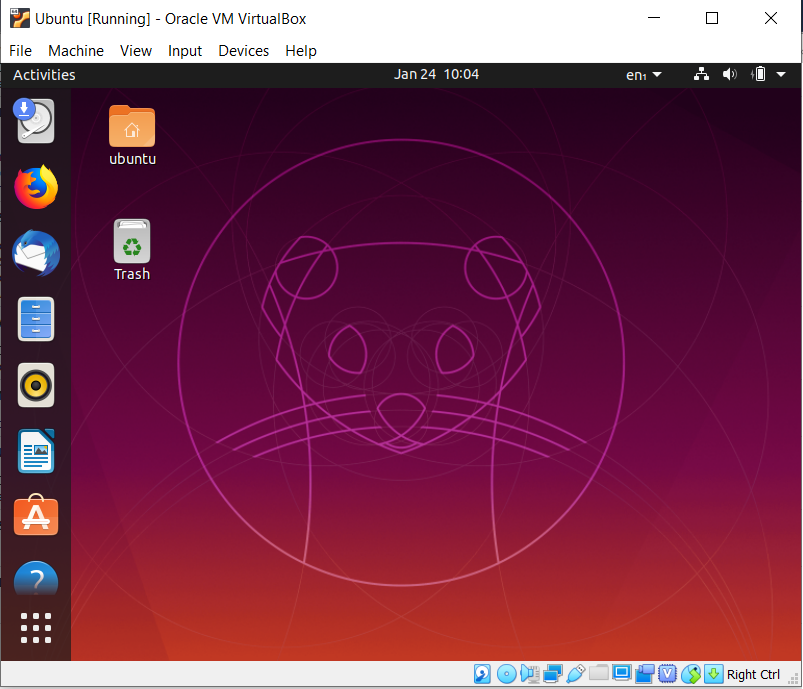
Step 21: Voila!! You’re finished with the installation process. Now you can use Ubuntu along with Windows, without creating a dual boot.
Steps to Make Full Screen of Ubuntu OS on VirtualBox
Note: After installing Ubuntu in Virtual Box, you may find that the Operating System is not suitable for full-screen mode. If you try to make it large by clicking on maximize button, the visual part remains the same and the outside becomes white/black.

Step 1: To overcome this and make Ubuntu fullscreen in Virtual Box, click on Devices then on Insert Guest Additions CD Image.

Step 2: Now you will be able to see a Disk icon on the Taskbar, click on that and it will open the disk

Step 3: Write right-click inside the folder select Open in the Terminal, and run the following commands. It will ask for the user’s password, enter the password, and wait till completion.
sudo apt update
sudo apt upgrade

Step 4: After updating, run the command
./autorun.sh

Step 5: Now it will ask for the password and after checking the password a new tab will open inside the terminal. Enter Yes there.

Step 6: After installation restart Ubuntu and now you can use Ubuntu in Full-Screen Mode.

So, these are some long steps needed to Download & Install Ubuntu on VirtualBox. You should go through the entire steps for successfully Launching Ubuntu on VirtualBox in Full- Screen Mode. If you miss any step or perform any error, the VirtualBox Installation of Ubuntu will not be successful.
FAQs to Install Ubuntu on VirtualBox
How to install Ubuntu on VirtualBox?
The steps required to install Ubuntu on VirtualBox, the following steps will be used properly.
- Install the Ubuntu ISO File from the Ubuntu Official Webpage.
- Open VirtualBox Application
- Click on New Section.
- Upload the Ubuntu ISO File and provide the OS Name.
- Assign the RAM Space
- Create a Virtual Hard Disk.
- Now, the Ubuntu ISO File is ready.
- Click on the Start button of Ubuntu OS to execute it.
- Click on the Install Ubuntu button
- Follow all the on-screen instructions.
How to install VirtualBox?
To install VirtualBox on your device, the following steps should be executed.
- Open VirtualBox Official Page.
- Download the Exe File.
- Click on the Install Button to move ahead in the process.
Do installation of Ubuntu on Virtual is different from Normal Disk Installation?
Yes! The installation of Ubuntu on VirtualBox is different from Normal Disk Installation. In Normal Disk Installation, you have to create new primary disk space by separating it from another driver. In the virtual installation process, there are no such complications present. So, it makes the complete process simple to execute.
Share your thoughts in the comments
Please Login to comment...