How to Install Sourcetree for GIT in MacOS?
Last Updated :
22 Mar, 2022
SourceTree is an amazing GUI client owned by Atlassian that simplifies how you interact with your repositories. Mostly everyone will use Git commands in the command line to interact with their git repositories. However, it is easy to visualize what’s happening each time you enter a command. SourceTree’s GUI makes it easy to visualize and manage all of your repositories. Nowadays SourceTree is very common in the Git and Mercurial DVCS(distributed version control system) world since it’s a free application.
Features of SourceTree:
- Visualize Your Process: You can track the activity of your code, you can add Bookmarks to get a summarized view of your repositories.
- Easy for the beginners: Right out of the box it can work with Git, all commands are accessible with just one click, it offers a simplified distributed version control system.
- Powerful for experts: Perform reviews and save changes, check your outgoing and incoming changesets, apply patches or rebase or put your changesets on shelves.
Installing sourcetree for git in MacOS
To install the sourcetree for git in MacOS follow the following steps:
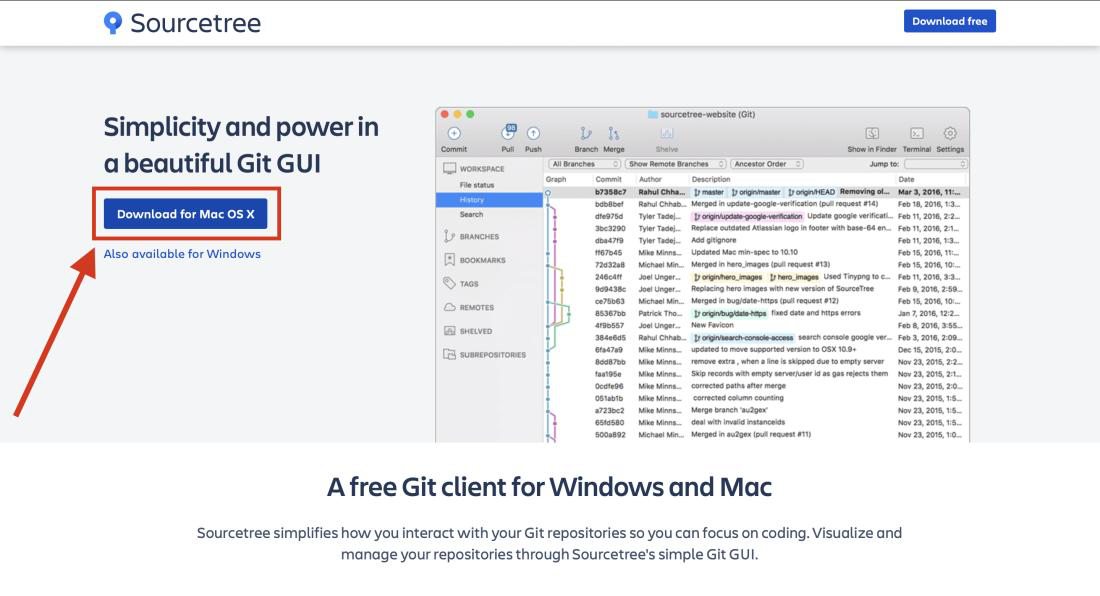
Step 1: To download the latest release of SourceTree from its official website.
Step 2: Click on the Download for Mac OS X button and read their policy and click agree and click download once again.
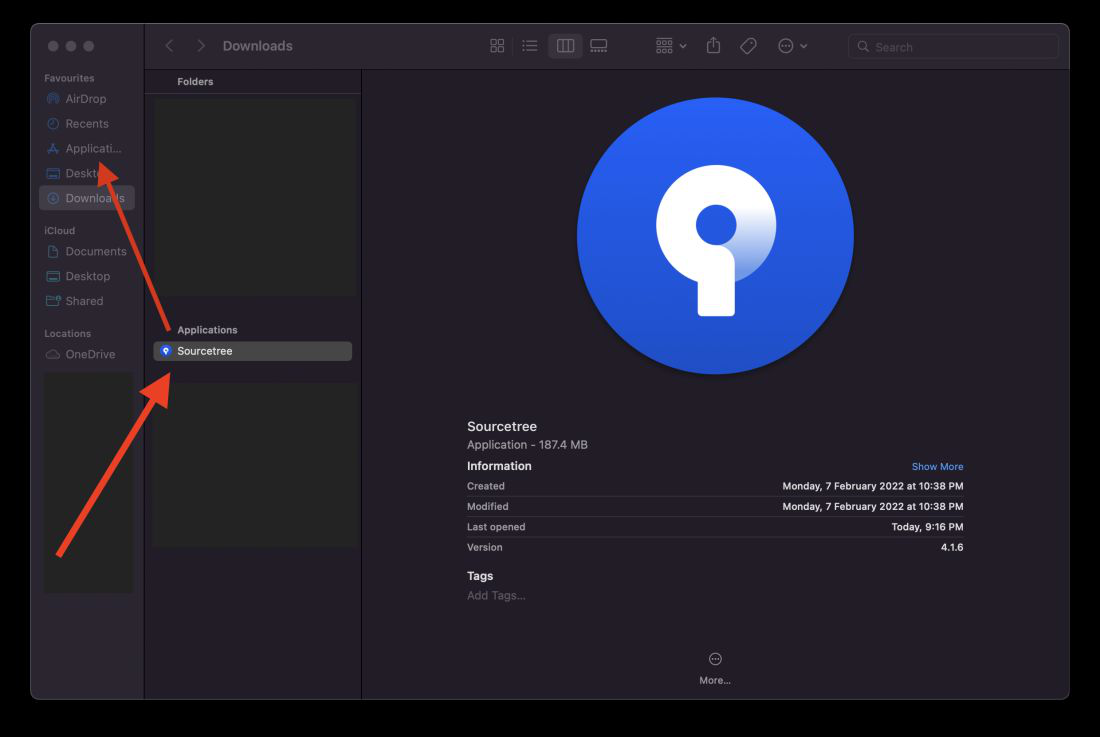
Step 3: The application will be downloaded to your downloads folder. Then drag and drop it to your Application folder to add it to the Launchpad.
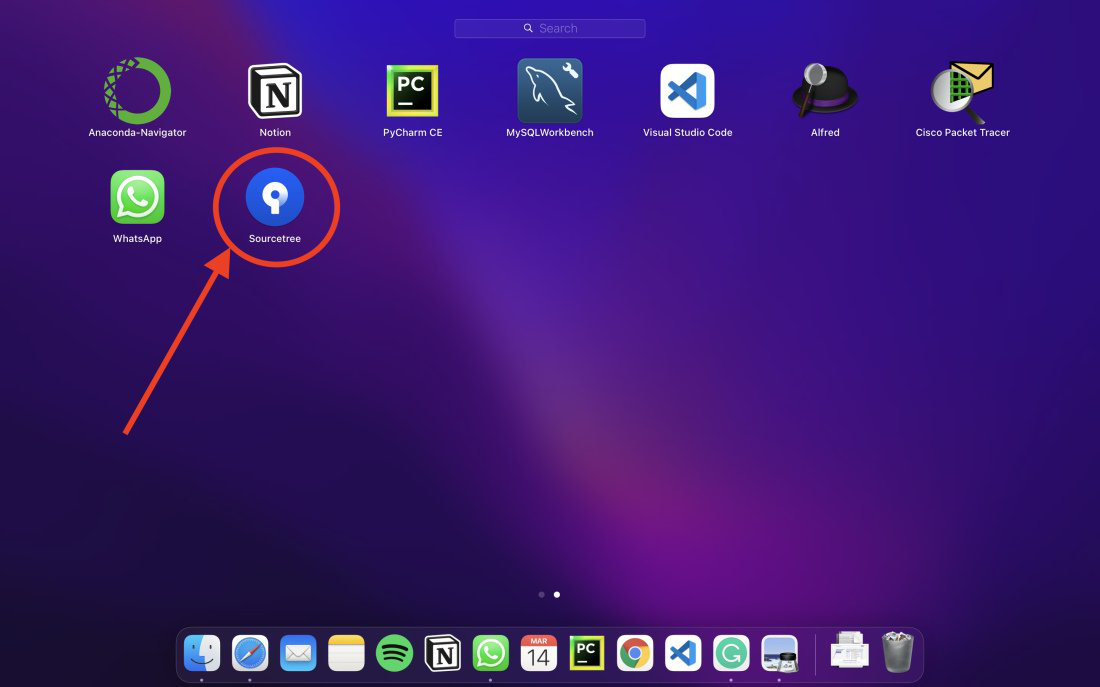
Step 4: Open Launchpad and Double click on the SourceTree Application to open the application.
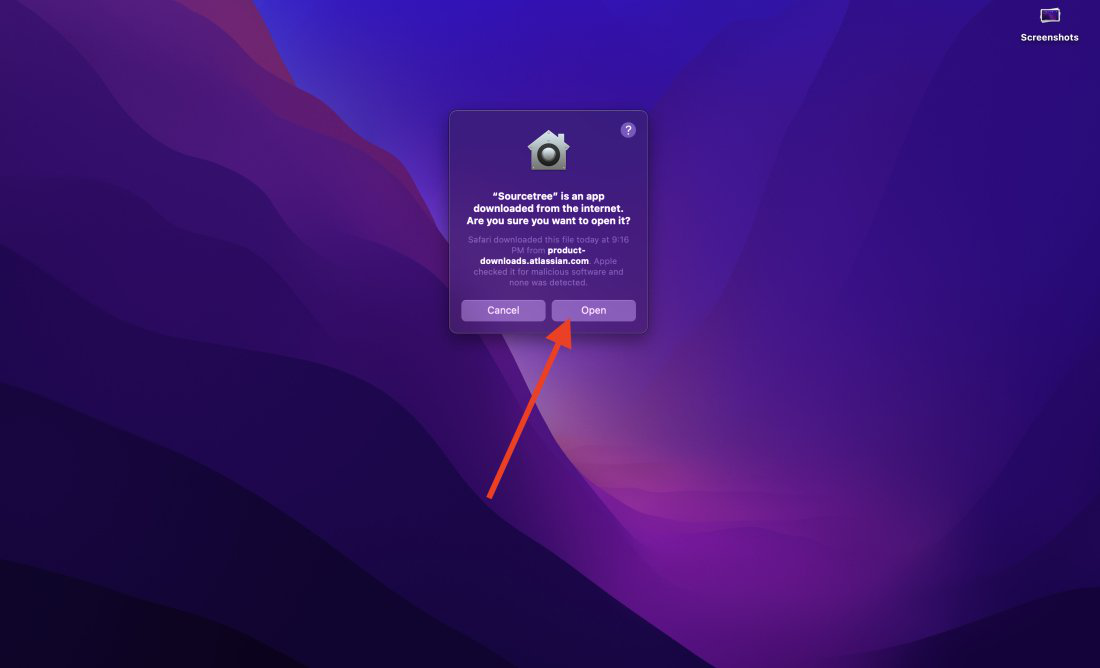
Step 5: A warning message will appear on the screen because it is downloaded from the internet. Now click on open button (Atlassian is a trusted software company so don’t worry about the security).
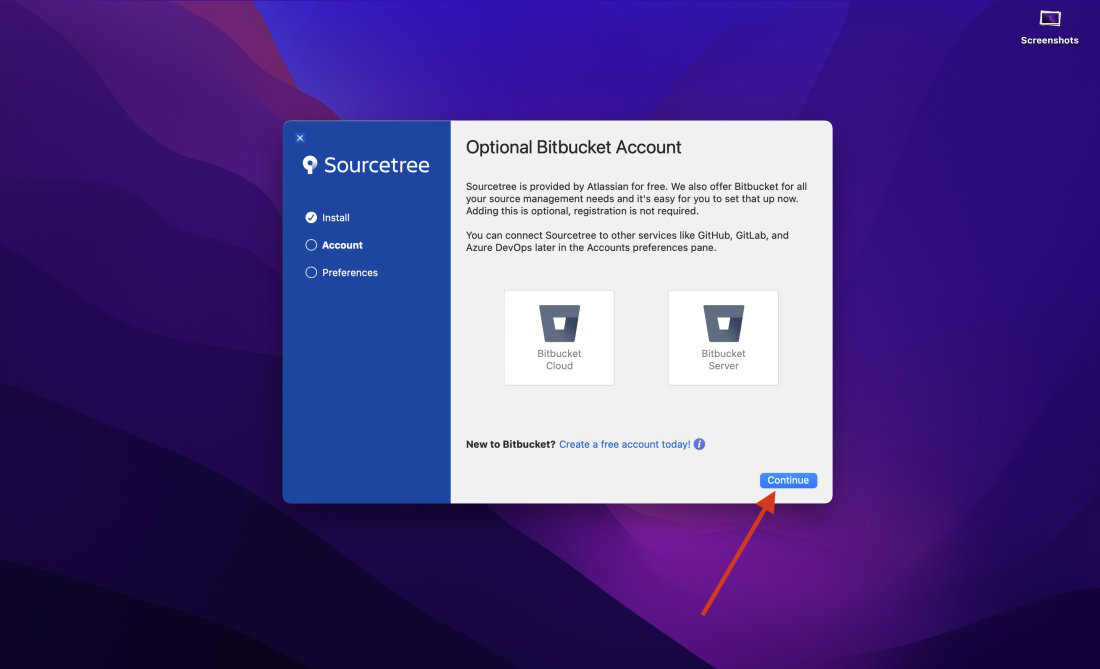
Step 5: The initial installation window will appear. If you have a Bitbucket account then add it otherwise you can click on continue button and finish the process.
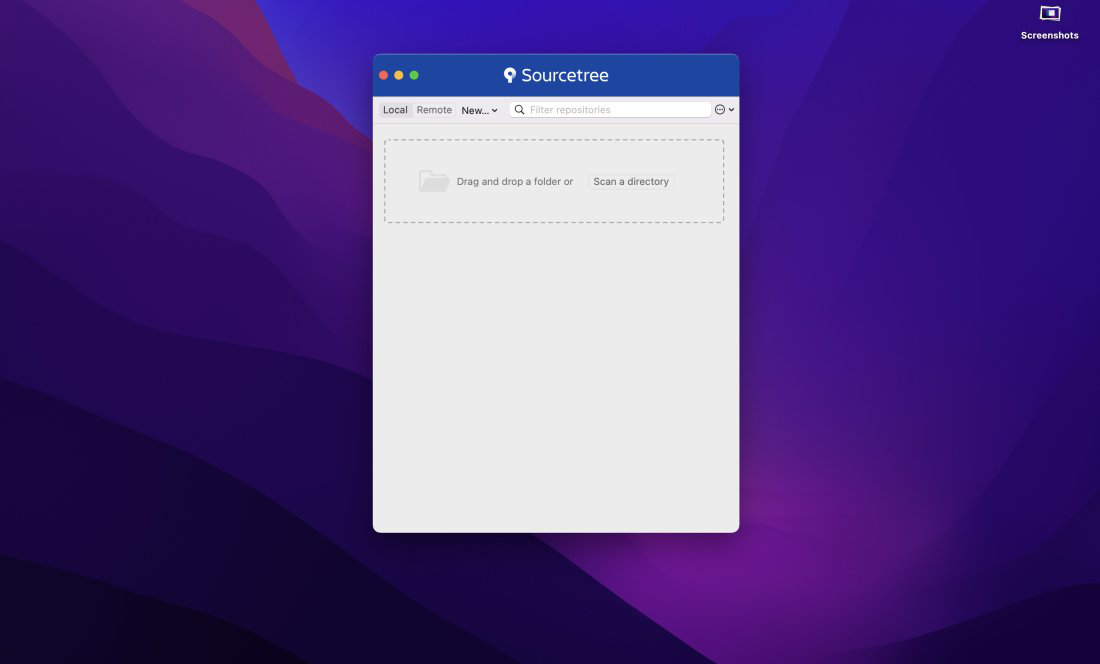
Now, SourceTree is completely installed in your mac. Drag and drop your local repositories to manage it or add remote access to your repositories directly and manage it through SourceTree.
Like Article
Suggest improvement
Share your thoughts in the comments
Please Login to comment...