How to Install Santoku on a Virtual Machine ?
Last Updated :
05 Oct, 2021
Santoku is a bootable Linux distribution that is focused on mobile forensics, analysis, and security. It comes with pre-installed platform drivers SDKs, and utilities and also allows auto-detection and setup of new connected mobile devices. It is a free and open community project sponsored by NowSecure.
Requirements:
- 20GB free disk space on other OS.
- Santoku Linux ISO File which can be downloaded from here.
- Virtual Box on the System Installing the virtual box.
- Minimum of 5-10 GB free space in your HDD.
- A minimum of 8 GB RAM is recommended for best usage.
Features:
Mobile Malware Analysis:
- Has mobile device emulators.
- It provides utilities to simulate network services for dynamic analysis.
- It provides decompilation and disassembly tools.
- Gives access to malware databases.
Mobile Forensics:
- Has firmware flashing tools for multiple manufacturers.
- Also has imaging tools for NAND, media cards, and RAM.
- It provides free versions of some commercial forensics tools.
- It provides useful scripts and utilities designed for mobile forensics.
Mobile Security Testing:
- Provides decompilation and disassembly tools.
- Has scripts to detect common issues in mobile applications.
- Has scripts to automate decrypting binaries, deploying apps, enumerating app details, and more.
Installation:
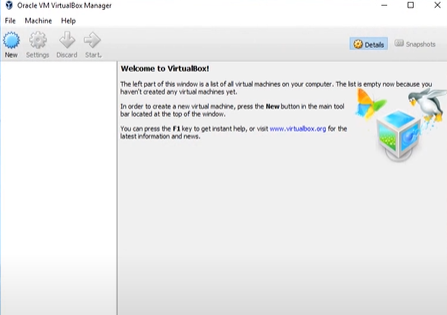
Step 1: Open your Virtual Box and then press on the new button.
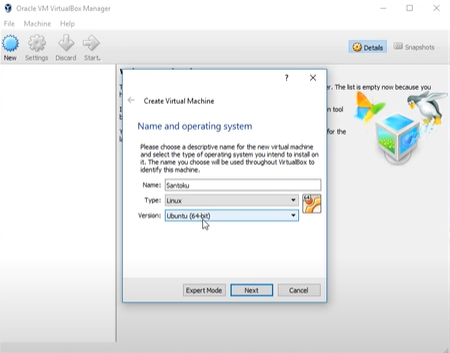
Step 2: Write the name which you prefer for the virtual machine and select it to Debian-based 64bit Linux architecture.
Step 3: Allot the size of RAM memory you want to allocate to the Virtual Machine of Santoku Linux.

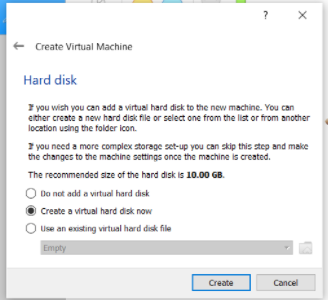
Step 4: Check the option to create a virtual hard disk now and then click on the create button.
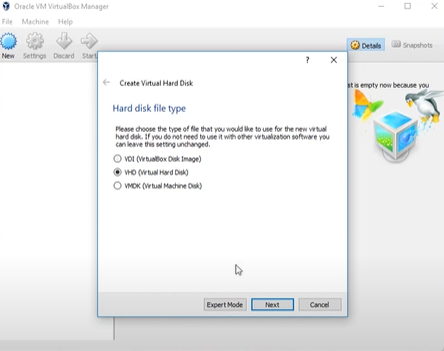
Step 5: Select the Hard Disk File type for Virtual Hard Disk.
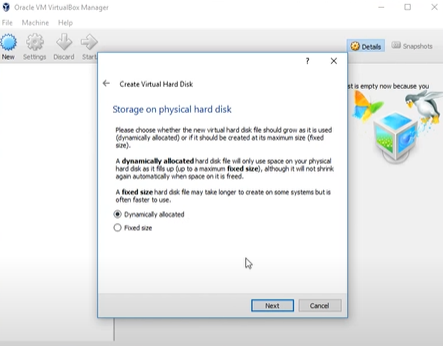
Step 6: Select the type of Physical Hard Disk Storage. ( Usually, Dynamically Allocated is recommended for general purposes).
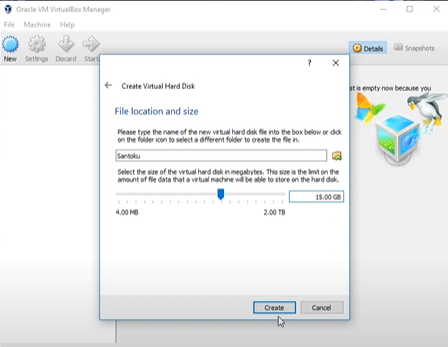
Step 7: Now, you need to select the size of your virtual hard disk and also the location where you want to save your machine and its files.
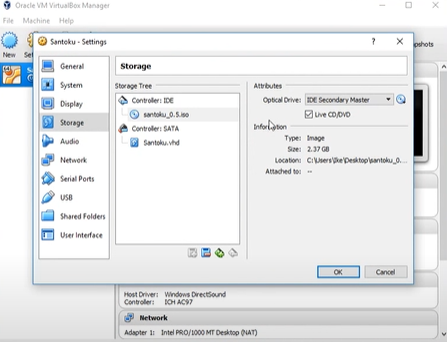
Step 8: Click on the Browse icon option located just above the cancel button and select your downloaded Santoku ISO file and then click on the start button.
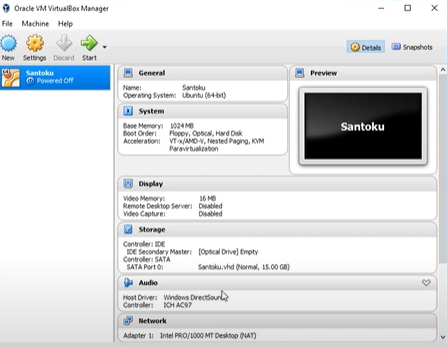
Step 9: When the processing is completed click on the Virtual machine name on the left panel and click on the start button.
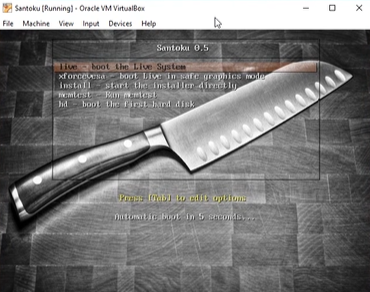
Step 10: Select the first option and hit enter.
Step 11: Double-click on Install santoku 14.04.

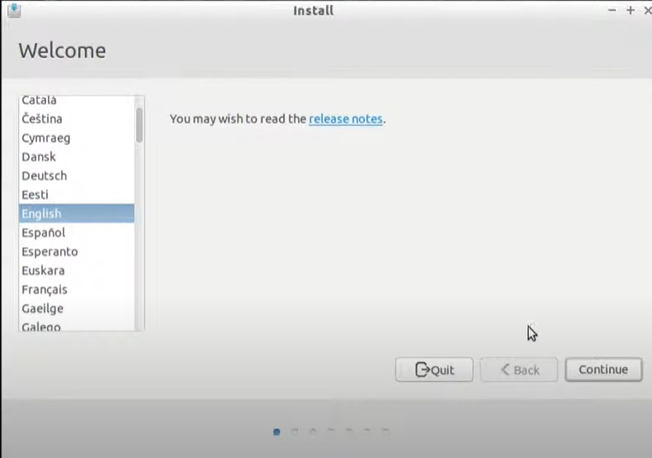
Step 12: The next step is to select a language, select your respective one.
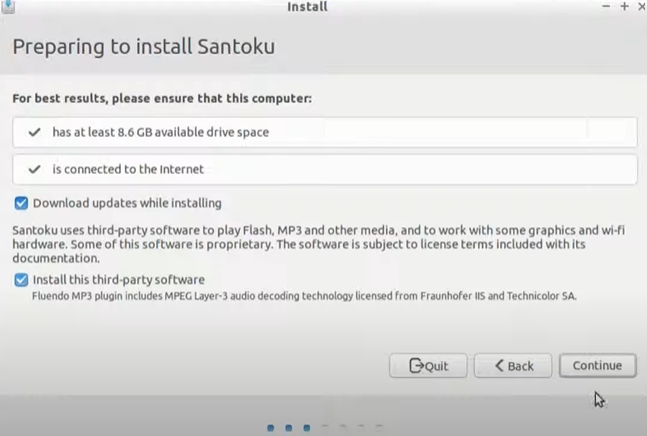
Step 13: Check both the boxes and click on continue.
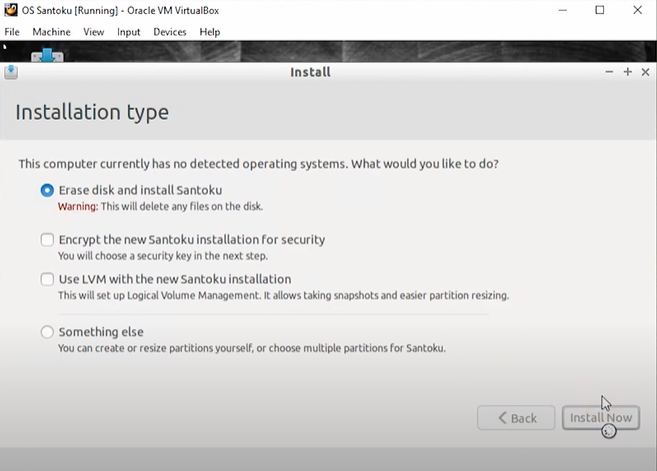
Step 14: Click on install now.
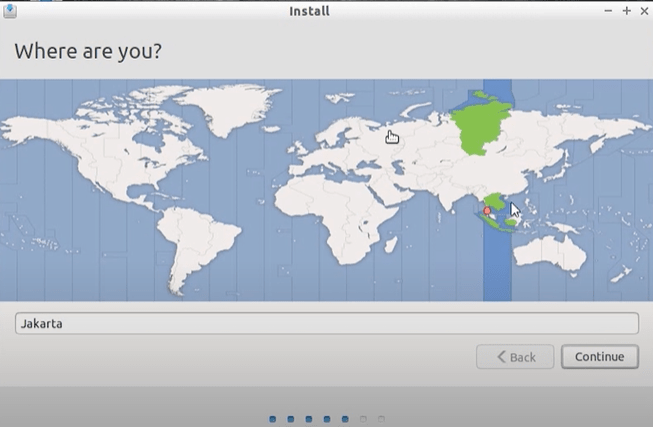
Step 15: Select your location and hit continue.
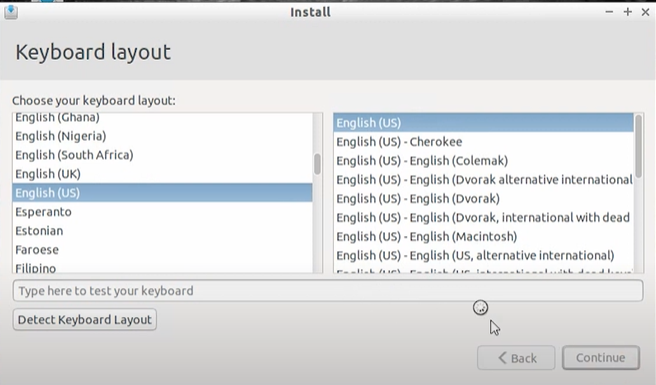
Step 16: Select your keyboard layout and hit continue.
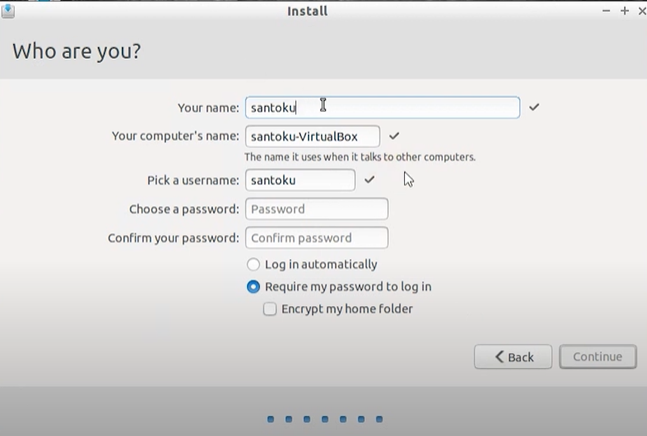
Step 17: Type your name and computer’s name. Pick a username you want and enter a strong password which will be required whenever you or anybody else tries to access santoku Linux. Then click on continue.
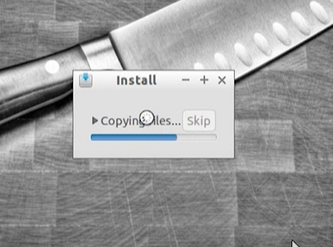
Step 18: Now wait for few minutes for santoku Linux to get installed on your system.
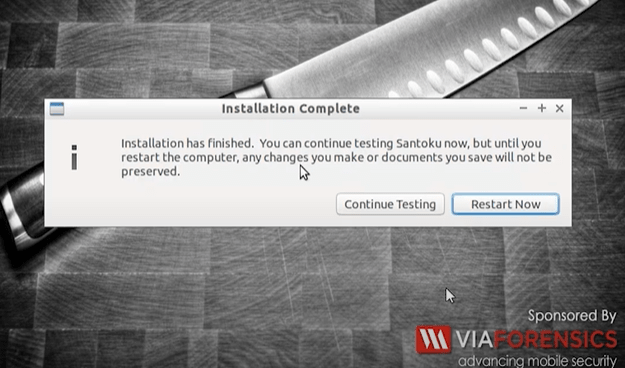
Step 19: Now click on the restart to restart your santoku Linux.
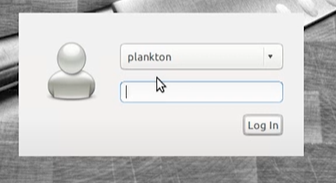
Step 20: Enter your password to log in.
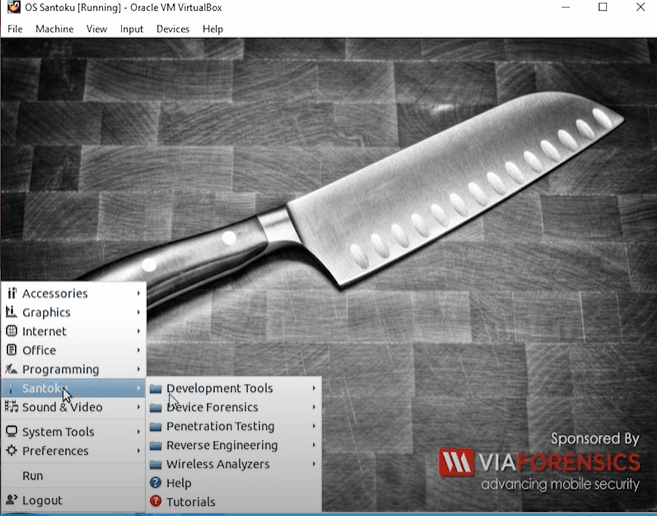
Now you can go ahead and explore what santoku Linux has to offer.
Share your thoughts in the comments
Please Login to comment...