How to Install Python Tensorflow in Windows?
Last Updated :
05 Sep, 2022
Tensorflow is a free and open-source software library used to do computational mathematics to build machine learning models more profoundly deep learning models. It is a product of Google built by Google’s brain team, hence it provides a vast range of operations performance with ease that is compatible with human behavior for ML and DL. It can run on multiple CPUs and GPUs.
Features of Tensorflow:
- Computational Framework – It is a platform that provides huge computational framework at one place. In this, computation is approached as a dataflow graph.
- Mobile Deployment – It is an easy way to build projects with mobile deployment
- High Performance – Due to its ease and varying toolkits, it gives high-performance user experience.
Downloading and Installation:
Tensorflow can be downloaded from its official Website tensorflow.org and can be installed with the help of following steps: Step 1: Click on Install on top navigation bar of Tensorflow website. 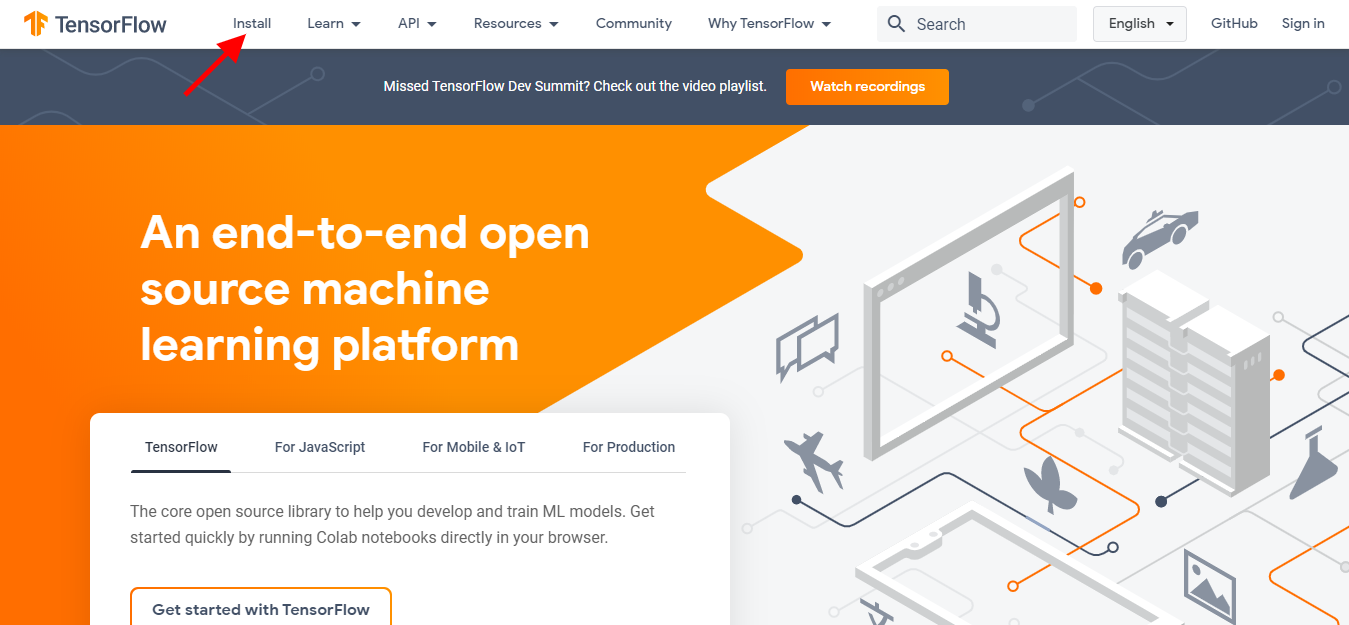 Step 2: Before proceeding we need to get python environment. Choose pip in the left side and go to python section and install python environment to work on it.
  Step 3: Python environment can be downloaded from python.org. To install python on windows refer to: How to install Python on Windows?
Step 4: To install Tensorflow, we need pip for python. Usually, pip comes already installed if the python version is 3 or above. To know more about pip installation please refer: How to install pip in Windows? For all OS users check the pip section of TensorFlow as shown in the following screenshot: 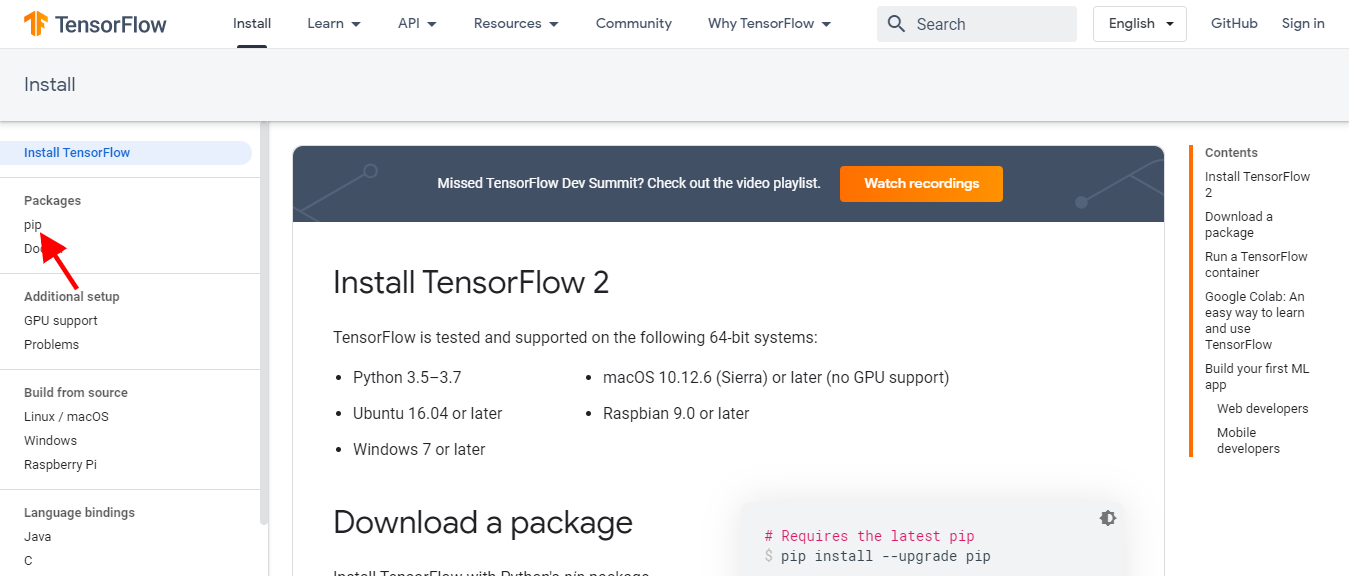 Tensorflow can also be downloaded for installation on different OS:
 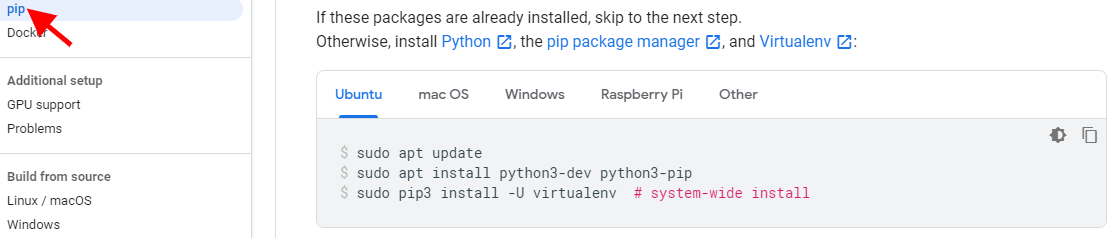 Step 5: Creating a Tensorflow virtual environment
 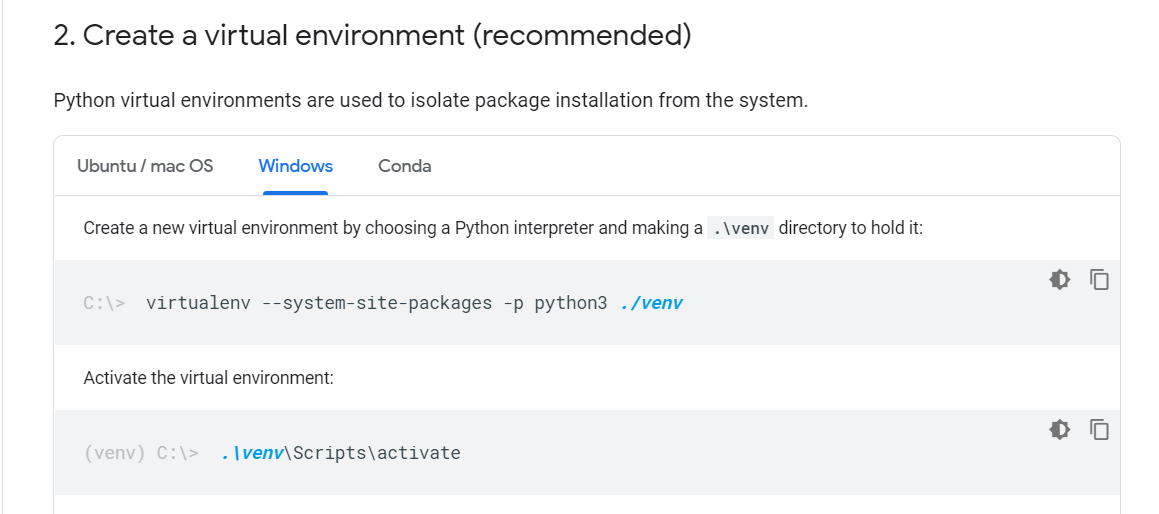 This can be done with the use of the following command:
pip install --user virtualenv
 You can also create a virtual environment using Anaconda (refer here) or its lightweight installer (without graphical user interface) Miniconda (refer here)After successful installation by following instructions provided on the official website (links provided above), use this command to create a new virtual environment using conda.
conda create -n virtualenv
This will create a conda environment named “virtualenv” with the latest python version available installed on your system.

creating a new conda environment
If you want to install a specific python version, try the following:
conda create -n virtualenv python=3.7

creating environment with specific python version
Now, to activate the newly created environment, run
conda activate virtualenv
Now everything you install for your project will be installed inside this environment and you will not face conflicting dependencies with your other projects.
It is recommended that you create a new virtual environment for every project so that you don’t run into setup, installation and dependency issues.
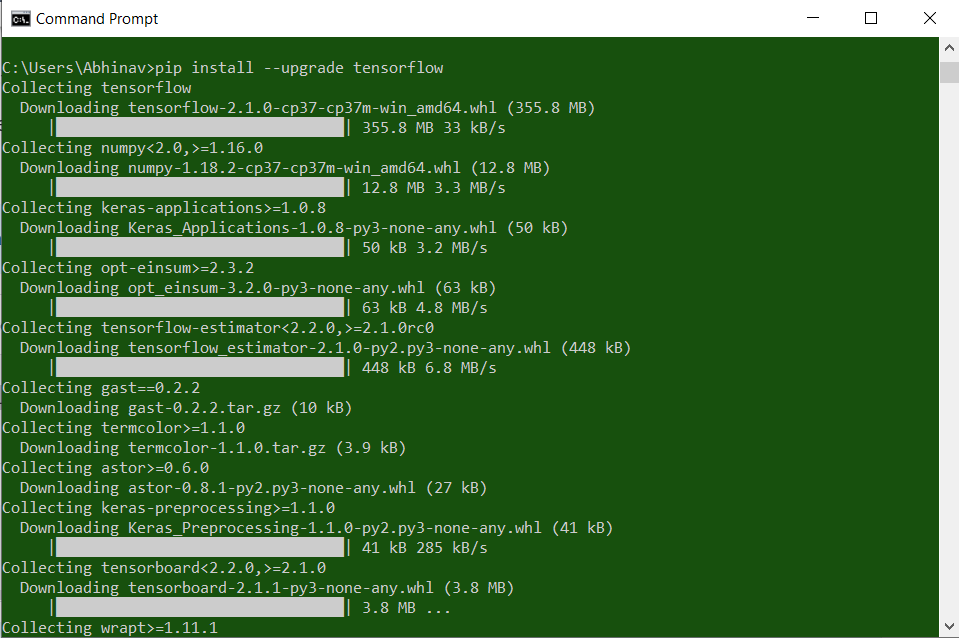
Step 6: After setting up the virtual environment, use the following command to install Tensorflow pip package:
pip install --upgrade tensorflow
 Once installed you can import TensorFlow in your python programming environment as you choose(here python IDE as stated in step 5).
Like Article
Suggest improvement
Share your thoughts in the comments
Please Login to comment...