AWS Lambda Layer is a zip file archive that contains the required additional code (libraries, dependencies, or custom runtimes) or data to run your AWS Lambda function. AWS Lambda function can then pull this required content in form of lambda layers. When an AWS Lambda function is invoked, the layer with all the dependencies is loaded along with it during the runtime.
Why do we need lambda layers?
AWS Lambda function supports only some standard libraries during its runtime. Therefore it becomes problematic when you have to use external libraries (for example pandas) with your lambda function. In such cases, we can make use of lambda layers or a deployment package. But using a lambda layer as compared to a deployment package is rather useful.
Advantages of using lambda layers
Using AWS Lambda Layers has the following benefits:
- Reusability: One lambda layer can be used across many different AWS Lambda functions.
- Code-sharing: Lambda layers enable us to share the common code or functions, libraries, and dependencies among various lambda functions.
- Using Lambda layers helps you focus on your main code or business logic. Additionally, it helps keep your Lambda function code smaller.
- Using Lambda layers helps reduce deployment package size.
- If there is a need to update your common code or any dependency you can do so in one place rather than making changes in individual lambda functions.
- Since lambda layers provide a feature to store different versions you can use the older version of a package or a new version as per the requirements.
Note: A lambda function can have up to 5 layers. In this tutorial, we will see how to install python packages for AWS Lambda Layers. Note that regardless of which python package you want to use with your lambda functions, the below steps will be the same.
Steps to add python packages in AWS lambda layers
Step 1: Go to the AWS management console.
Step 2: Click on create function.

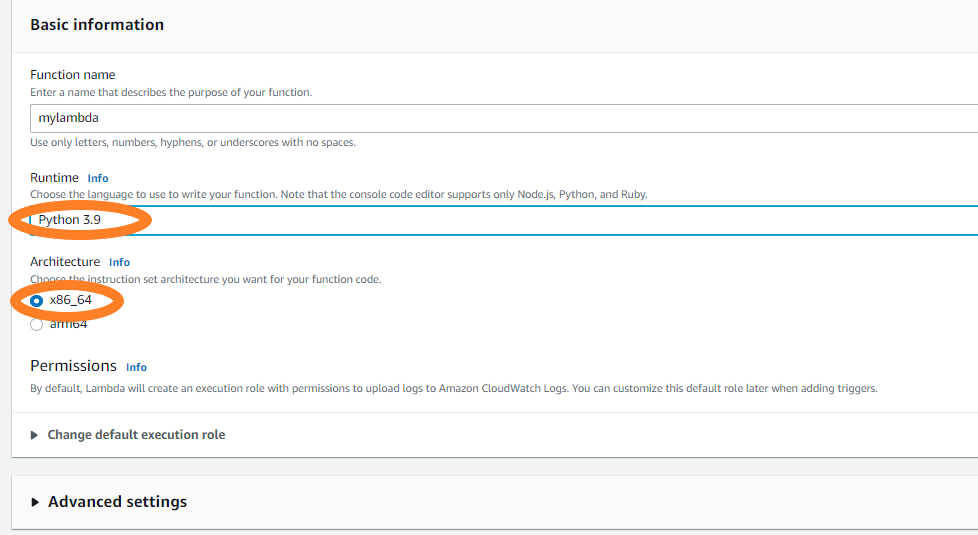
Step 3: Create a lambda function named “mylambda”
Step 4: Choose Python 3.9 and x86_64 architecture and click on create a function
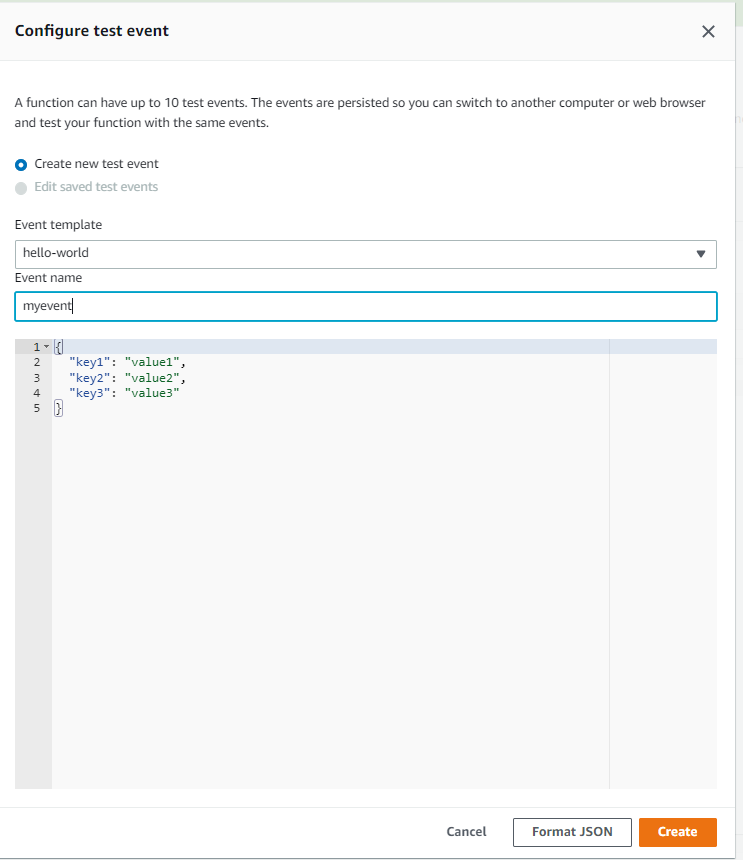
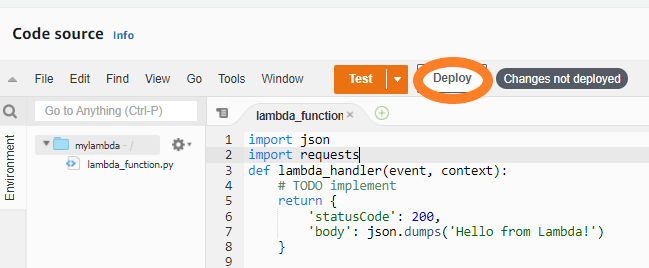
Step 5: Now try importing the requests module in your lambda function. So, create an event named “myevent” by clicking the down arrow on the test button.

Step 6: Deploy the function.
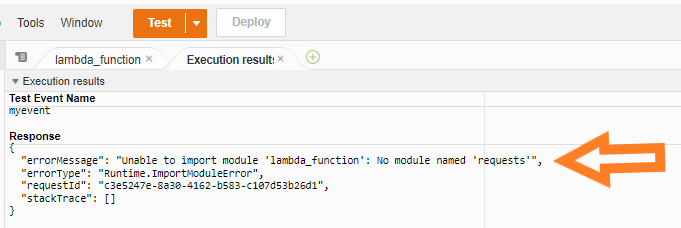
Now click on test. As soon as you click on the test, you will see an error message.
To create a lambda layer we need to create a zip file containing all the dependencies for the ‘requests’ package and upload it to our layer. To create this zip file we will make use of docker.
Why docker?
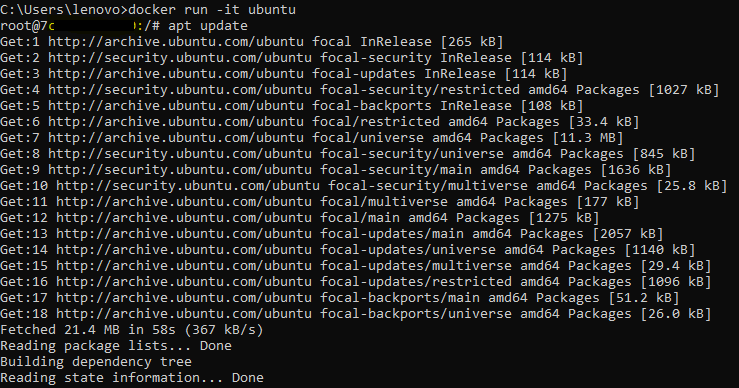
Since lambda uses the Amazon Linux environment, if you are using windows and create a zip file of dependencies it might not work while you run your lambda function. After you finish setting up docker, open the command prompt and run:
docker run -it ubuntu
The flag “-it” is used to open an interactive shell.
Note: If you get an error after running the above command check if you have an ubuntu image. To check for the docker images, use the command:
docker images
Now run the following commands to update, install the required Python version and install pip.
apt update
apt install python3.9
apt install python3-pip
Since we also have to make a zip file afterward, install zip.
apt install zip
Create a directory where we want to install our requests package.
mkdir -p layer/python/lib/python3.9/site-packages
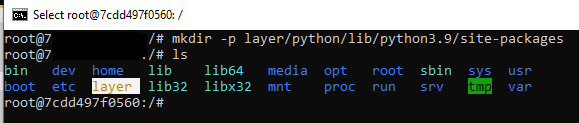
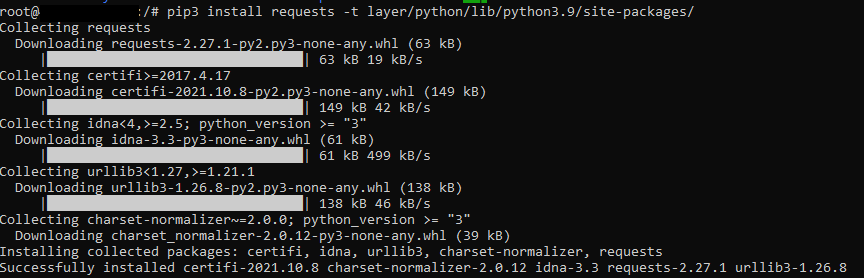
This will create a folder named: “layer”. Finally, install the requests package by using the command:
pip3 install requests -t layer/python/lib/python3.9/site-packages/
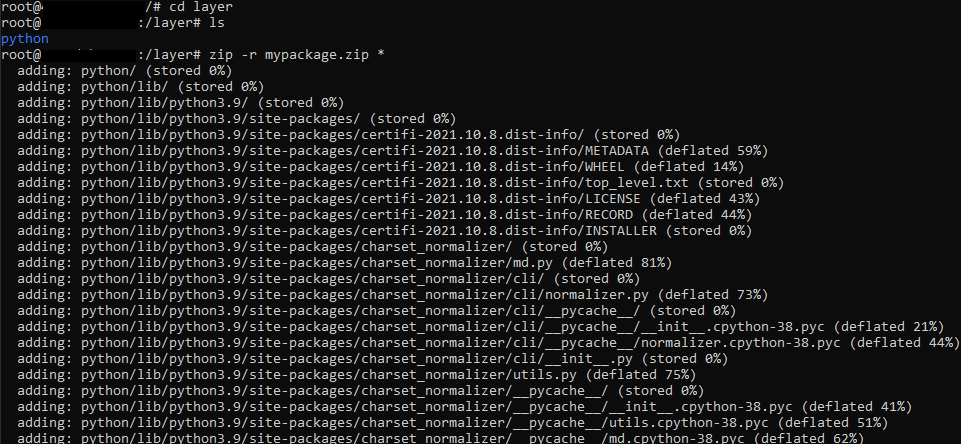
Now go to the “layer” folder
cd layer
If you do ‘ls’ you will see a folder named python here.
Now create the zip folder of the installed package in the layer directory.
zip -r mypackage.zip *
Now we have to copy the zip file mypackage.zip to our local folder.

To do that, open a new command prompt and get the container ID by running:
docker ps -a

Now use the below command to copy the zip file from your container to a local folder.
Format:
docker cp <Container-ID:path_of_zip_file> <path_where_you_want_to_copy>
Example:
docker cp 7cdd497f0560:/layer/mypackage.zip C:\Users\lenovo\Desktop\layer

Now you will have a ‘mypackage.zip’ file in the path you described.

Now let’s create a lambda layer. On the left side of the console click on layers
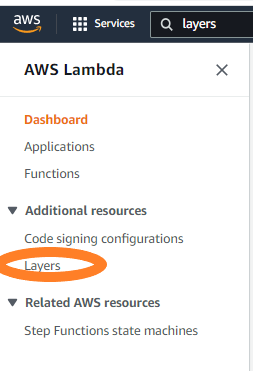
Click on create a layer button.

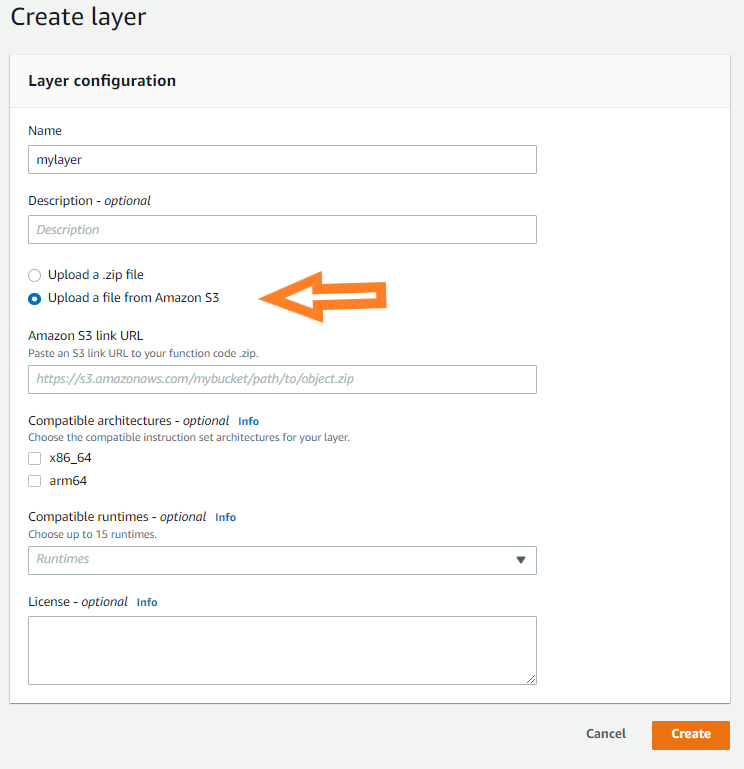
Name your layer as “mylayer”. Notice that you have an option to upload a zip file or upload a file from amazon s3. If files are larger then upload them on s3 and give the link to the zip file.
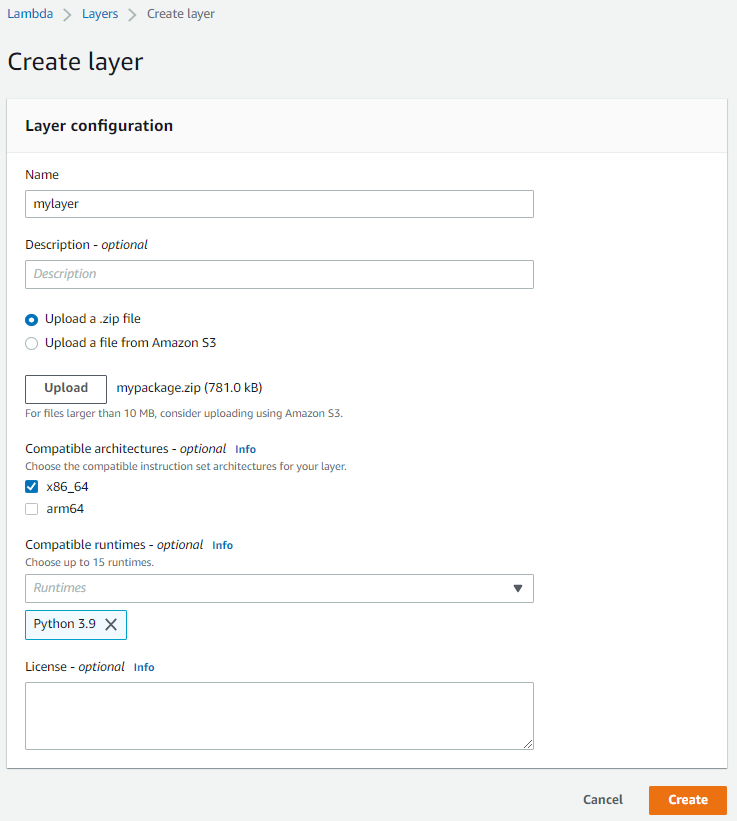
In this tutorial, we will directly upload it as a zip file. Choose compatible architecture as: x86_64. Since we selected the same while creating our lambda function. And choose compatible runtime as python3.9, upload zip file, and click on create.
A lambda layer will be successfully created. Now we just need to attach this with our lambda function. If you are creating the layer for the first time your version number will be reflected as 1. (Value of Lambda Layer version is immutable that is the version number is incremented by 1 each time you create a new layer).
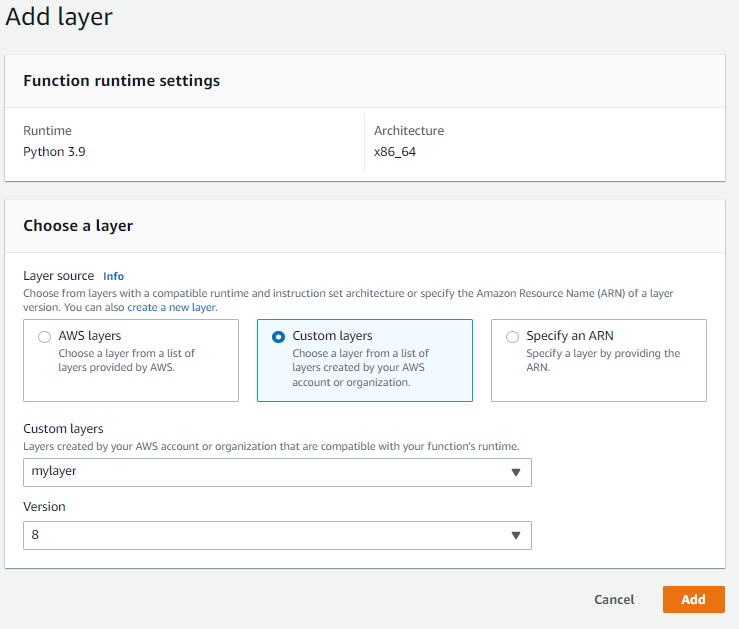
Navigate back to the lambda function. Scroll down to the bottom and click on add a layer (Under Layers section).

Click on the custom layer and select ‘mylayer’, select the version and click on add.
Now it’s time to test it! Click on test.
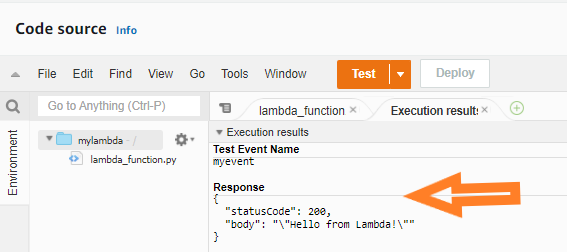
Your lambda function will now run successfully!
Some important points:
- The unzipped files from the lambda layer will be present in the /opt directory in the Lambda runtime.
- You can also use AWS Cloud9 environment to create the zip file instead of docker.
Like Article
Suggest improvement
Share your thoughts in the comments
Please Login to comment...