How to Install Power BI on Windows?
Last Updated :
21 Apr, 2022
Power BI: Power BI is an analytical software which is developed by Microsoft. BI means business intelligence. It is available only for Windows operating system. It was first released in 2011 and its stable release was in 2021. It is used for a variety of purposes like data visualization, data mining, making graphs and charts of available data, etc. It also gives advanced data warehousing capabilities which include data cleaning, data preparation, data discovery, etc.
Installing Power BI on Windows:
Follow the below steps to install Power BI on Windows:
Step 1: Visit the official website on any web browser.
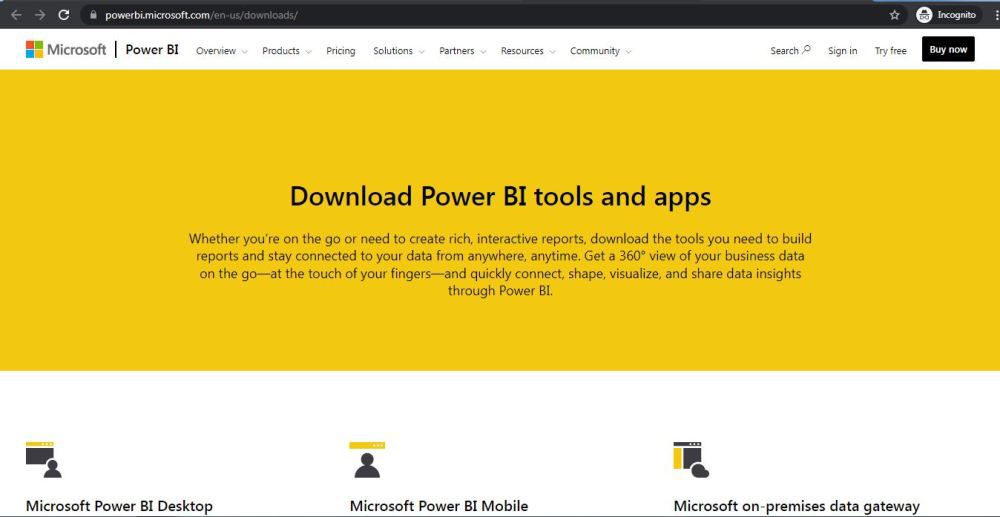
Step 2: Click on Microsoft Power BI desktop application.
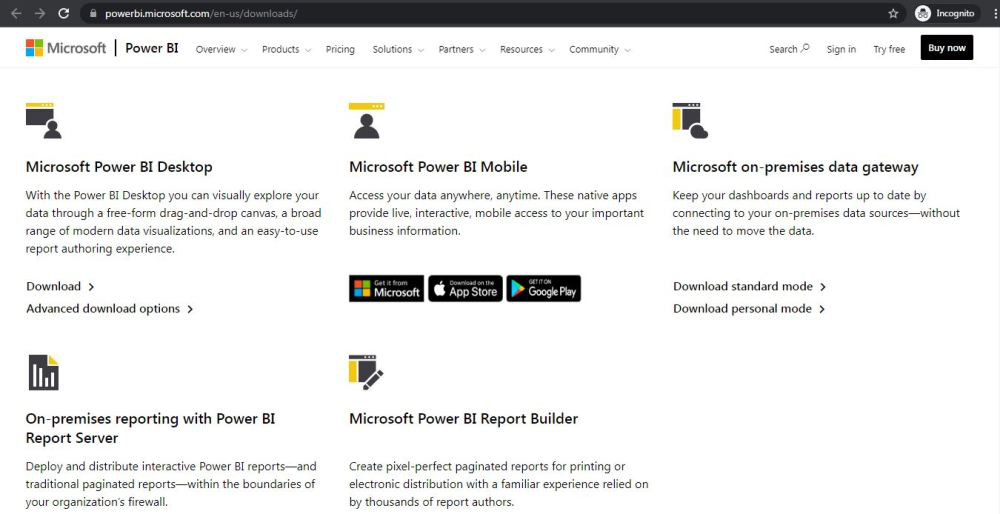
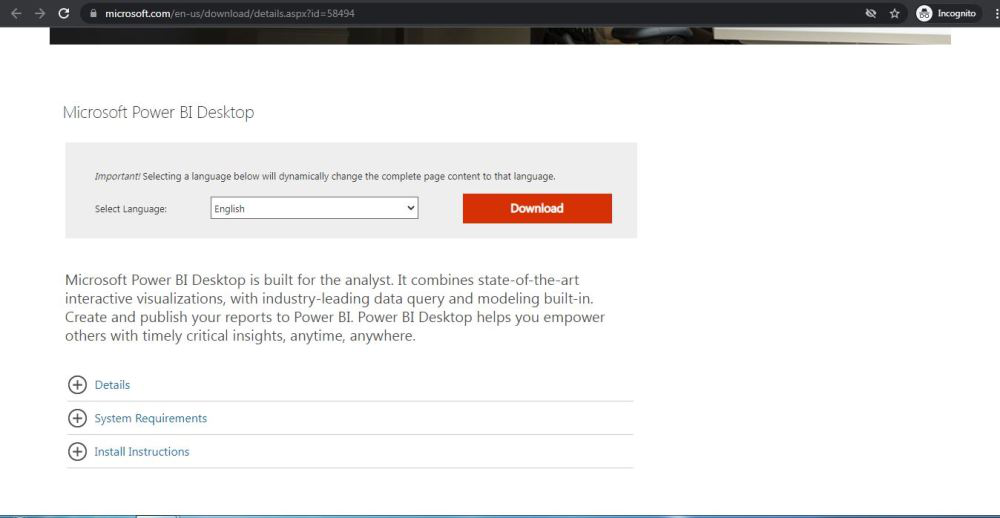
Step 3: Next webpage will open, click on Download Button.
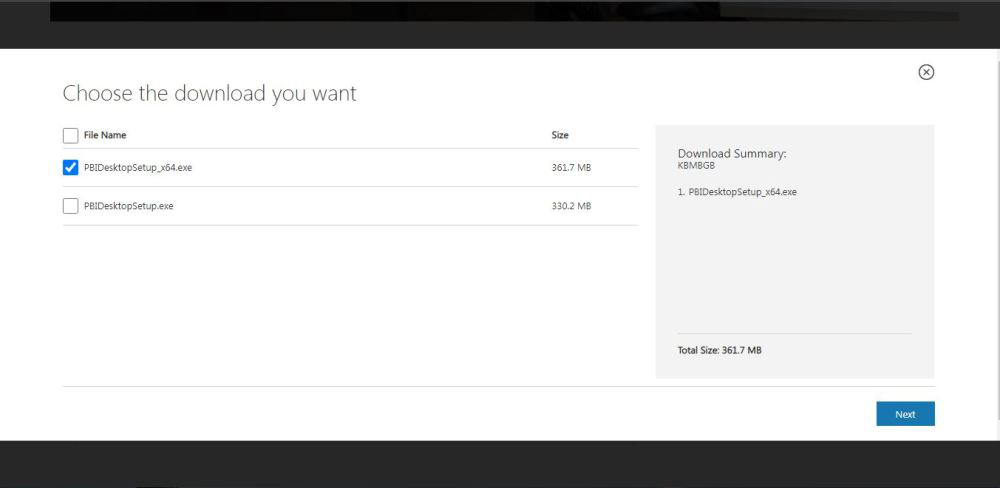
Step 4: On the next webpage choose the setup option according to your system configuration, let’s take the first setup, click on the Next button. Downloading of the executable file will start shortly. It is a big 361.7 MB file that will take some minutes.
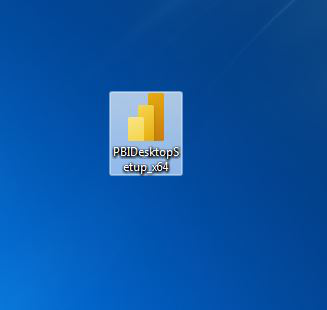
Step 5: Now check for the executable file in downloads in your system and run it.
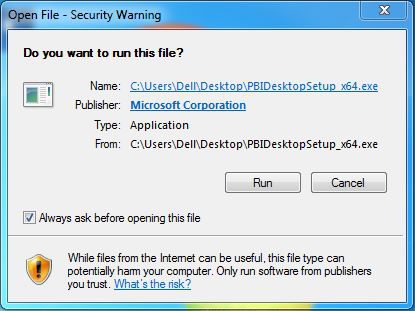
Step 6: It will prompt confirmation to run the file on your system. Click on Run.
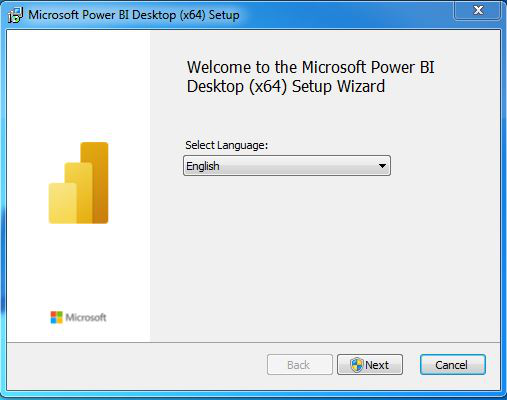
Step 7: Next screen will appear, select language, and click on Next.
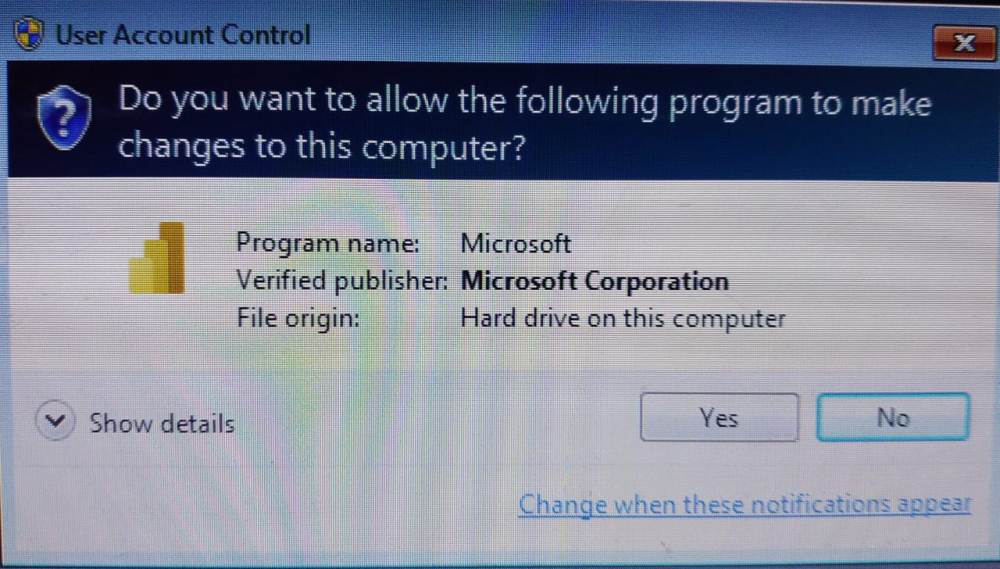
Step 8: It will prompt confirmation to make changes to your system. Click on Yes.
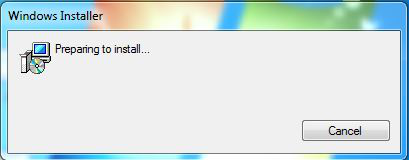
Step 9: The system will prepare for installation.
Step 10: Setup screen will appear, click on Next.

Step 11: The next screen will be of License Agreement, check the box, I accept the terms in License Agreement and click on Next.

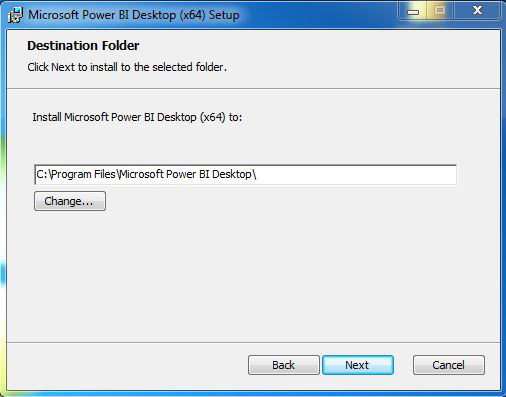
Step 12: Choose the destination folder and click on Next.
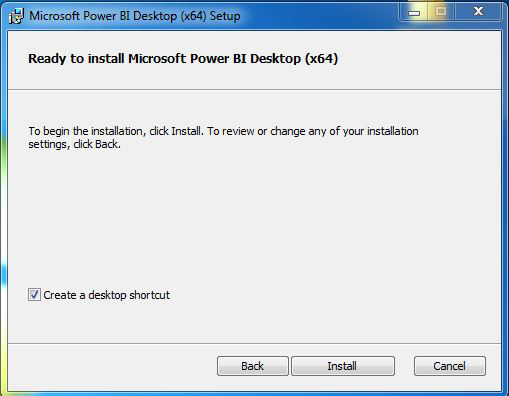
Step 13: The last screen will appear to click on the Install button.
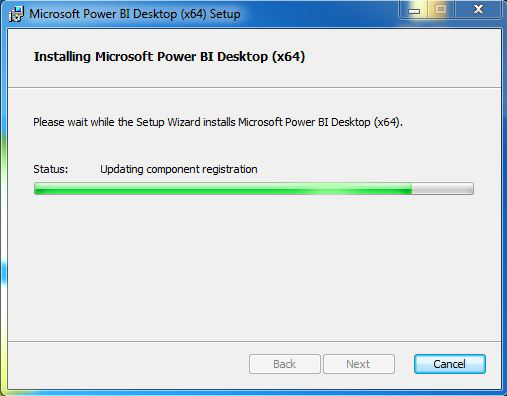
Step 14: After this installation process will start and will hardly take a minute to complete the installation.
Step 15: Click on Finish to finish the installation process.
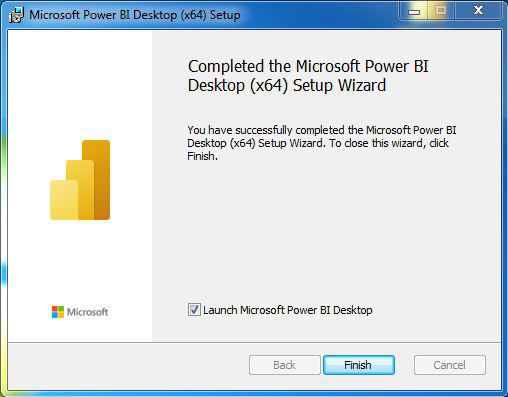
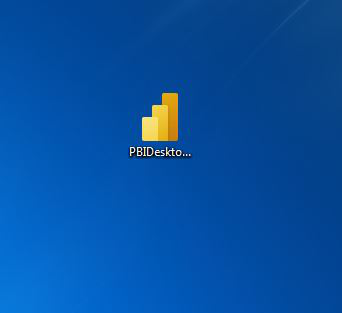
Step 16: Power BI is successfully installed on the system and an icon is created on the desktop.
Step 17: Run the software and see the interface.
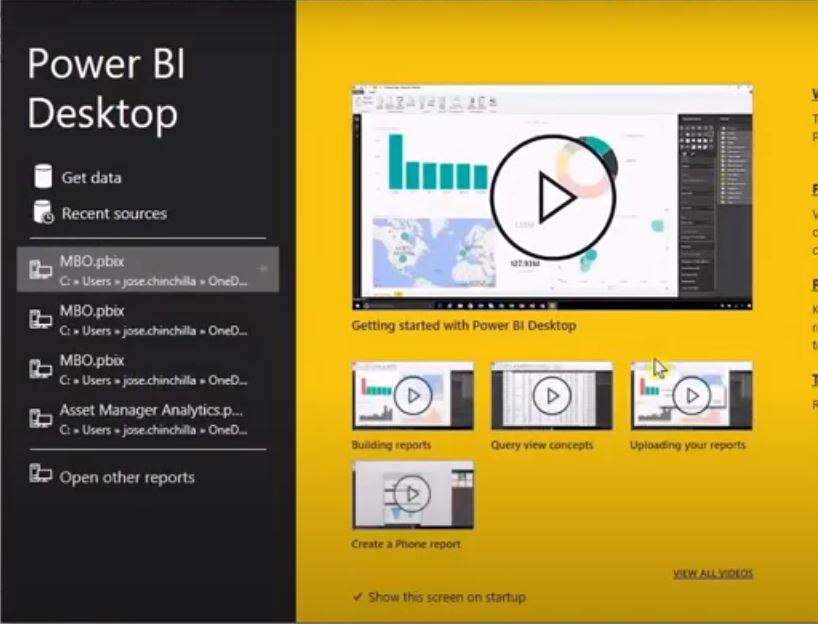
Congratulations!! At this point, you have successfully installed Power BI on your windows system.
Like Article
Suggest improvement
Share your thoughts in the comments
Please Login to comment...