How to Install Packages in Python on MacOS?
Last Updated :
16 Oct, 2021
To get started with using pip, you should install Python on your system. Make sure that you have a working pip.
Installing Packages in Python on MacOS:
Follow the below steps to install python packages on MacOS:
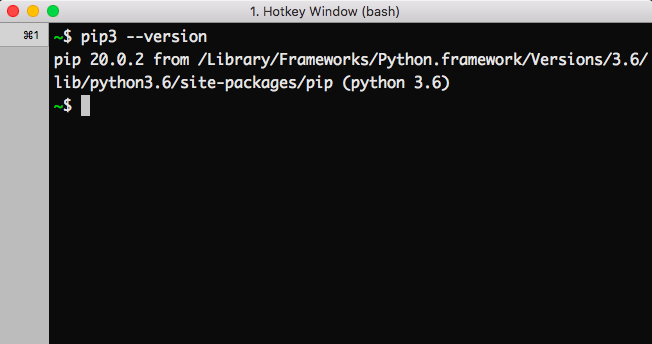
Step 1: As the first step, you should check that you have a working Python with pip installed. This can be done by running the following commands and the output will be similar to like this:
$ python --version
Python 3.N.N
$ python -m pip --version
pip X.Y.Z from ... (python 3.N.N
If the output looks like this, You have a working pip in your environment.
If your output doesn’t look like this then refer to this pip document. It provides guidance on how to install pip within a Python environment that doesn’t have it.
Installing a package
Step 2: To install a package, run the following commands in the terminal:
python -m pip install SomePackage            # latest version
python -m pip install SomePackage==1.0.4     # specific version
python -m pip install 'SomePackage>=1.0.4'     # minimum version
Note: replace the SomePackage with the package name which you want to install.

By default, pip will fetch packages from Python Package Index, a repository of software for the Python programming language where anyone can upload packages.
Installing a package from Github
Run the following commands:
$ python -m pip install git+https://github.com/pypa/SomePackage.git@main
[...]
Successfully installed SomePackage

Upgrade a package:
Use the below command to upgrade an installed package:
$ python -m pip install --upgrade SomePackage
Uninstalling SomePackage:
  [...]
Proceed (y/n)? y
Successfully uninstalled SomePackage

Uninstalling Packages
To uninstall a Python package use the below command:
python -m pip uninstall SomePackage

Note: replace the SomePackage with the package name which you want to install.
Like Article
Suggest improvement
Share your thoughts in the comments
Please Login to comment...