How to Install OBS Studio on Windows?
Last Updated :
31 Jan, 2022
OBS Studio is open-source software, used for cross-platform screencasting and streaming app. It is developed by Hugh “Jim” Bailey and his team and was initially released on 1 September 2012. It is available in 59 different languages and written in C, C++. It also supports real-time capture, scene composition, recording, encoding, and broadcasting using Real-Time Messaging Protocol (RTMP), etc. It is used to stream videos of any RTMP-supported platform like YouTube, Instagram, etc. The main user interface of OBS studio is divided into five sections: scenes, sources, audio mixer, transitions, and controls. It is easy to use.
Features of OBS:
- It allows its users to capture their screen in HD quality.
- It supported video recording.
- It manages the quality of the captured video.
- It provides different types of configuration options so that users can add new sources very easily and manage their properties.
- It allows you to switch between an unlimited number of scenes very seamlessly.
Installing OBS Studio on Windows
Follow the below steps to install OBS Studio on Windows:
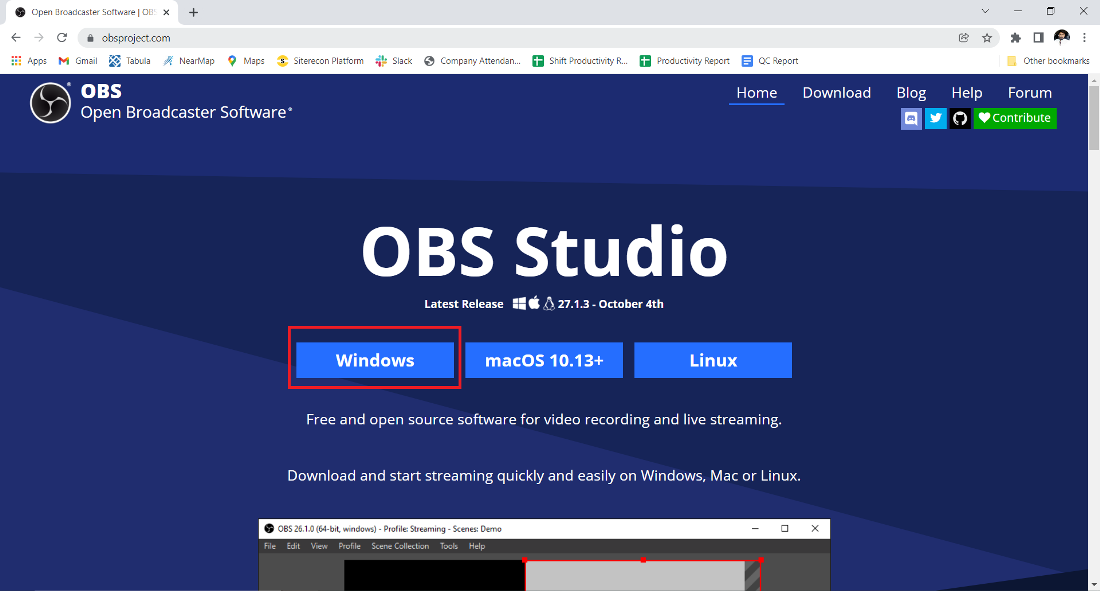
Step 1: Visit the official website using any web browser that you like.

Step 2: Click on the Windows button as shown in the below image.
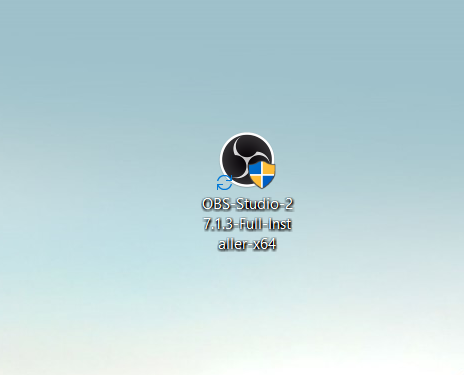
Step 3: Now find the executable file in the downloads folder in your system and open it to start the installation process.
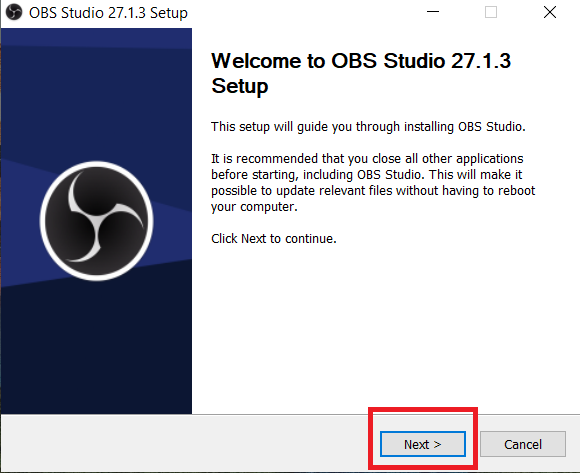
Step 4: It will prompt confirmation to make changes to your system. Click on Yes.
Step 5: The setup will start, now click on the Next button.
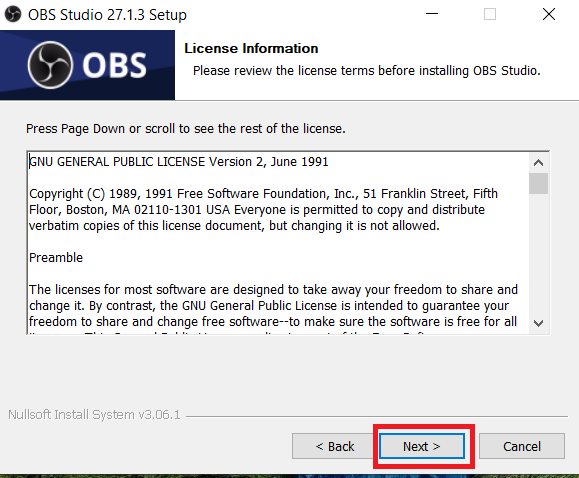
Step 6: The next window will be of License Agreement, so click on the Next button.
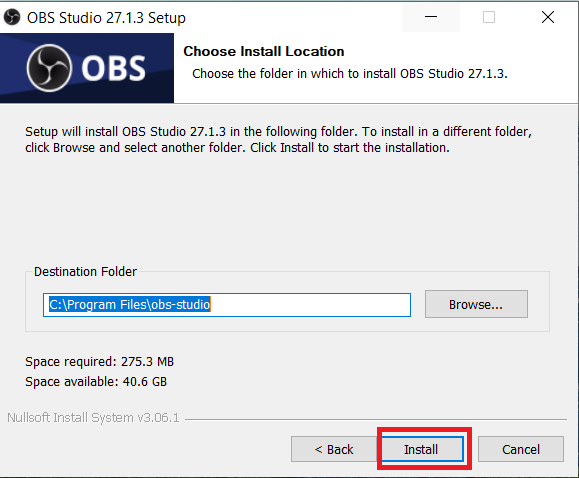
Step 7: The next window will be of selecting installing location. So select the drive in which you want to install OBS. But make sure that the drive must have sufficient memory space for installation. It required roughly 275.3 MB of memory space. Now click on the Install button.
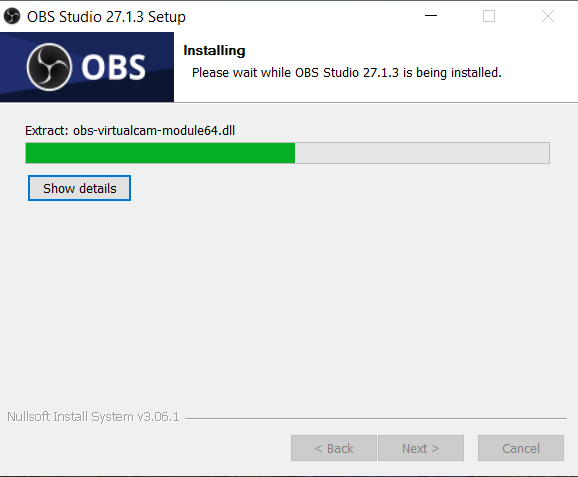
Step 8: After this installation process will start and it might take 2-5 minutes depending on your computer speed and specification to complete the installation process of OBS.
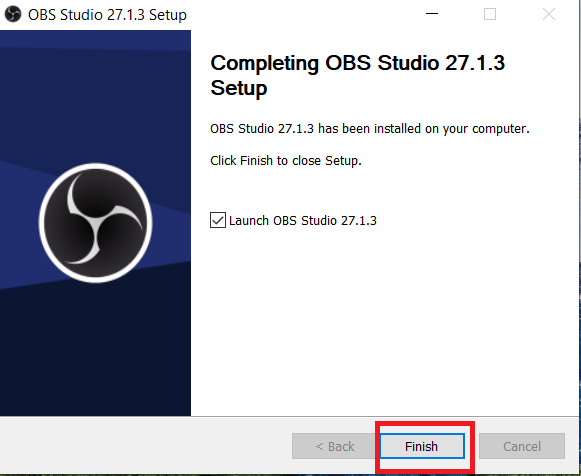
Step 9: Click on the Finish button after the installation process is complete successfully.
Now the software automatically opens at this point you can see the interface of OBS Studio.
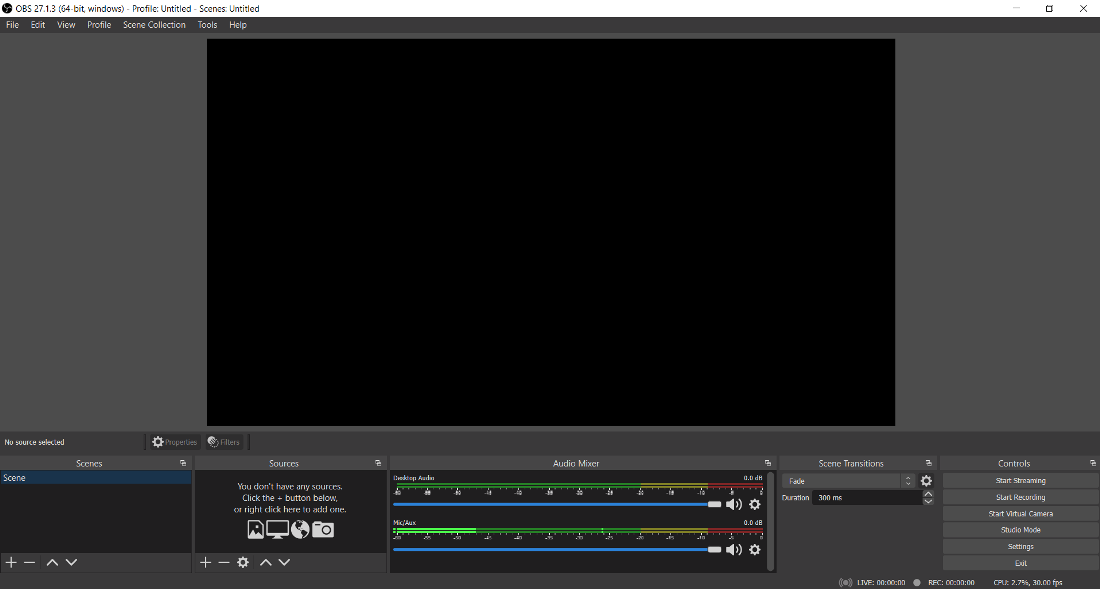
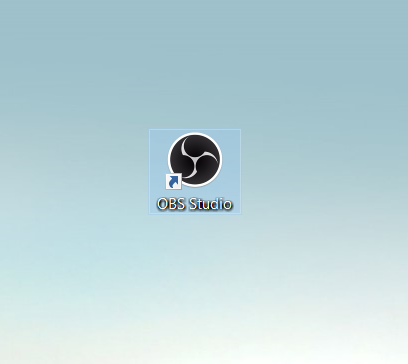
At this point, OBS Studio is successfully installed on the system and an icon is created on the desktop.
Congratulations!! At this point, you have successfully installed OBS Studio on your Windows system.
Like Article
Suggest improvement
Share your thoughts in the comments
Please Login to comment...