How to Install NuGet from Command Line on Linux?
Last Updated :
09 Jun, 2022
NuGet is the package manager for the .NET framework. It’s very much useful for developers as developers can create, publish and consume packages. The package format of NuGet consists of a single ZIP file with the extension of .nupkg and which is the DLL compiled code like the package’s version number. A NuGet package manager is a cross-platformed manager which can work with various operating systems like Windows, Linux, and Mac. So, in this article, we will be installing the NuGet packager manager for .NET in Linux operating system by using a terminal or command line.
Installing a NuGet on Linux using Terminal
To install the NuGet in Linux we have to follow the following steps:
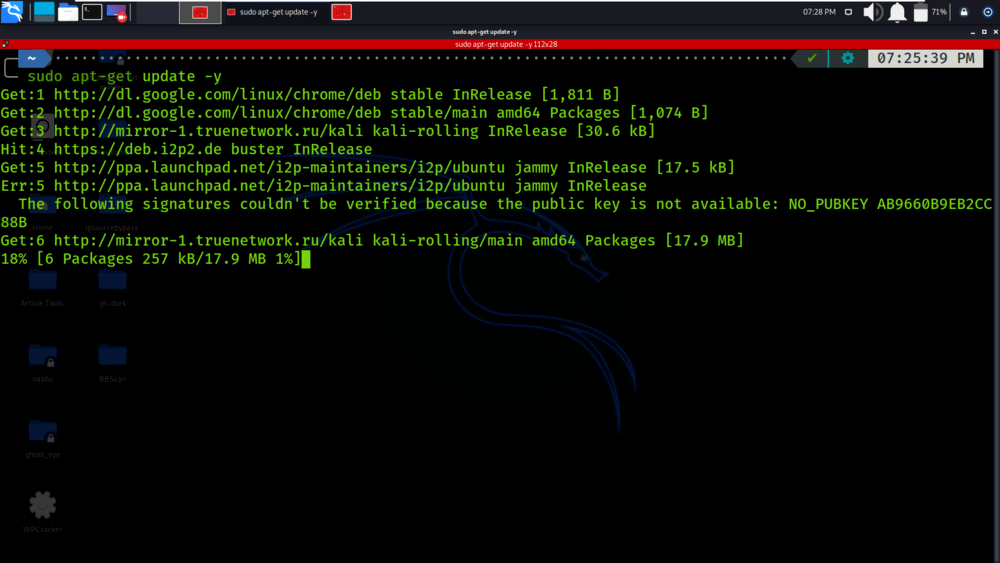
Step 1: First of all we update the Linux system using the given command:
sudo apt-get update -y
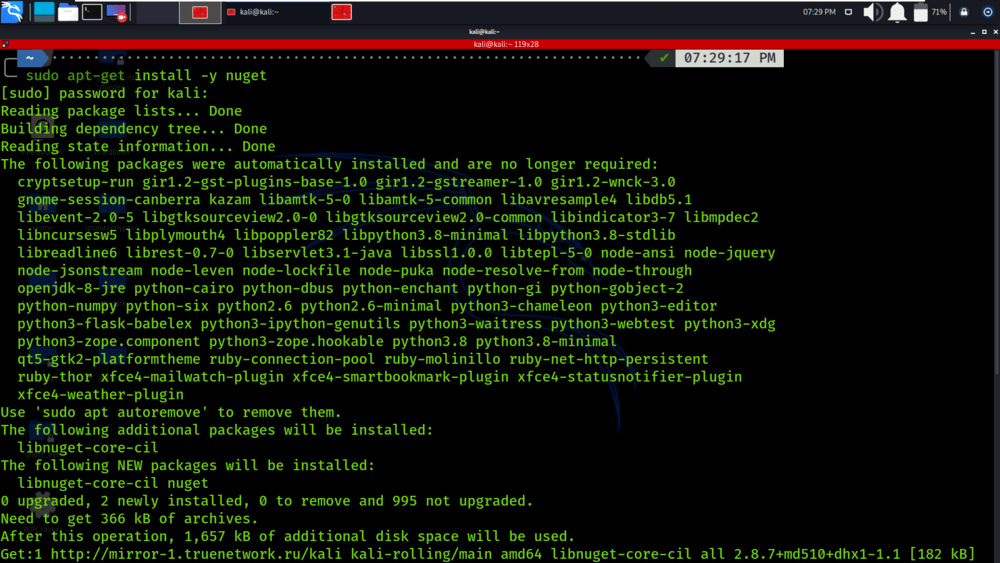
Step 2: Now we use the following command to install the NuGet Package Manager:
sudo apt-get install -y nuget
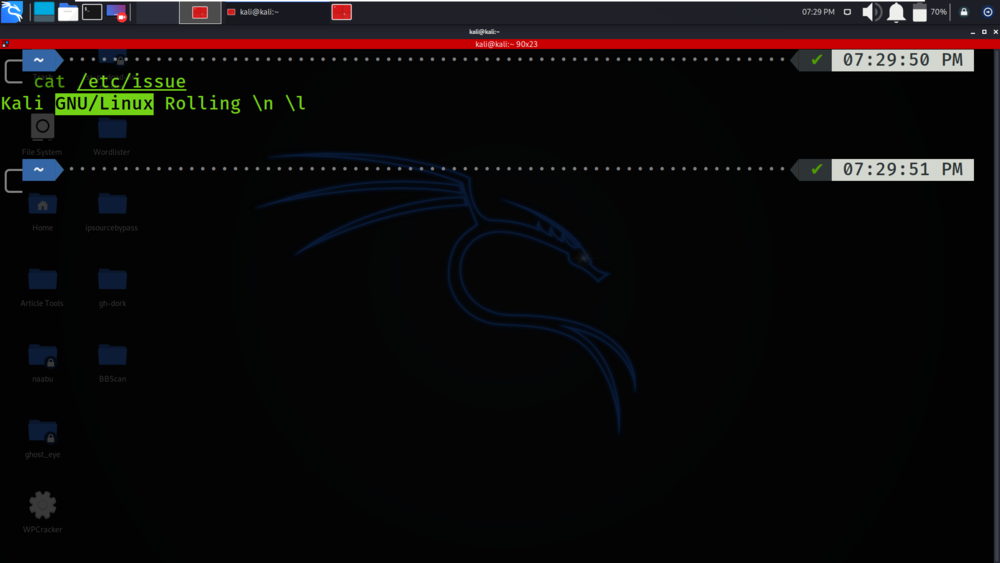
Step 3: Checking the details of the operating system.
cat /etc/issue
Verifying NuGet installation on Linux
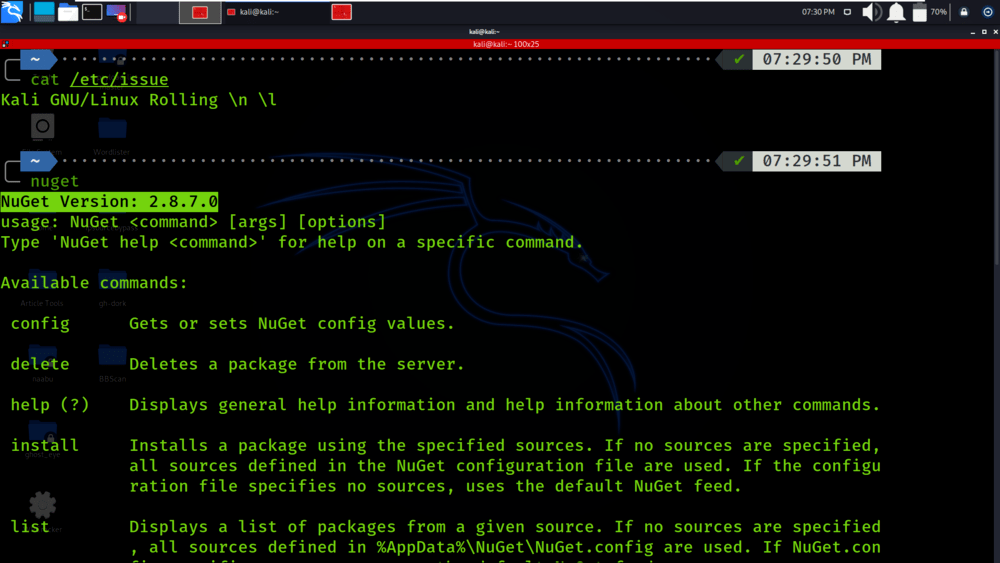
To verify if the NuGet has been successfully installed in your system run the below command in Terminal:
nuget
You’ll get the following output if the installation of NuGet is completed successfully in your system.
Uninstalling NuGet from Linux using Terminal
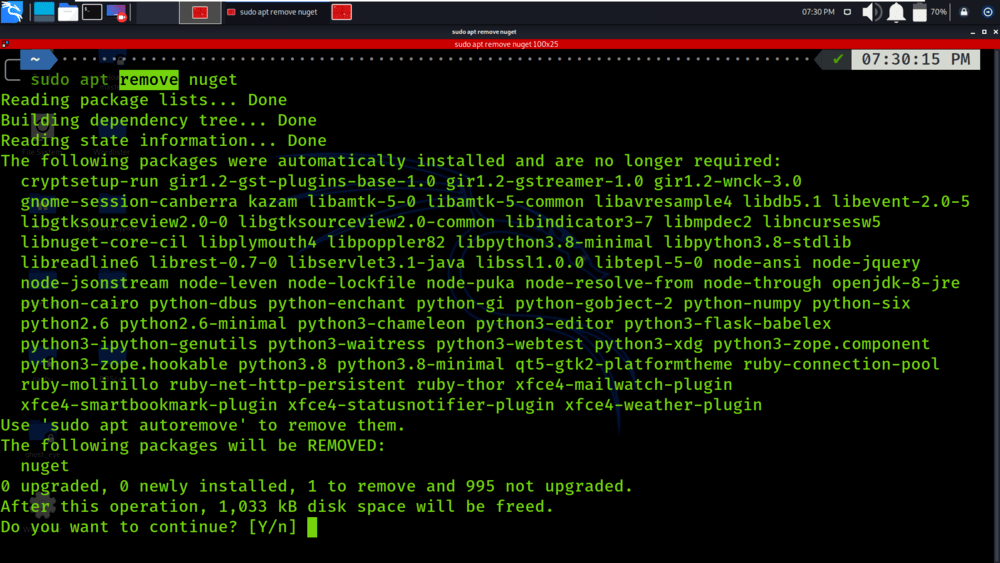
Step 1: To permanently remove the NuGet from Linux we use the following command in the terminal:
sudo apt remove nuget
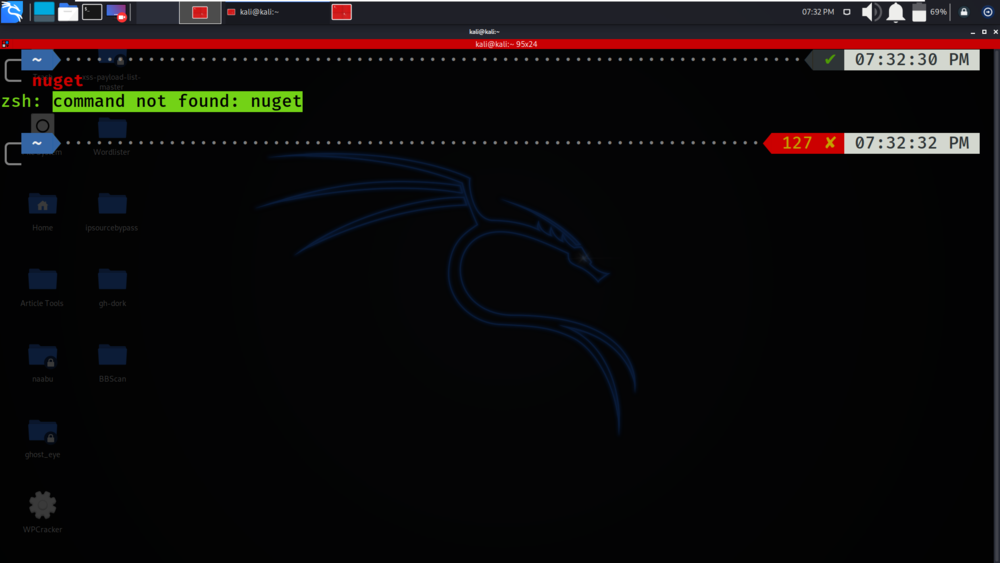
Step 2: You can see that NuGet has been removed from Linux as when we run the command “nuget” we get the error “command not found: nuget”.
Like Article
Suggest improvement
Share your thoughts in the comments
Please Login to comment...