How to Install Nose 2 in Python on Linux?
Last Updated :
31 Jan, 2022
Nose 2 is a successor of the Nose package. It is used for testing Python applications. It provides different types of methods, modules, classes, test case levels, etc. It also provides built-in plugins which fulfill the specific need of the developer like tests coverage, profiling, etc. In this article, we will look into the steps of installing the Nose2 Package on the Linux Operating System.
Requirements:
Installing Nose 2 package on Linux using PIP
To install the Nose 2 package in Linux we have to follow the following steps:
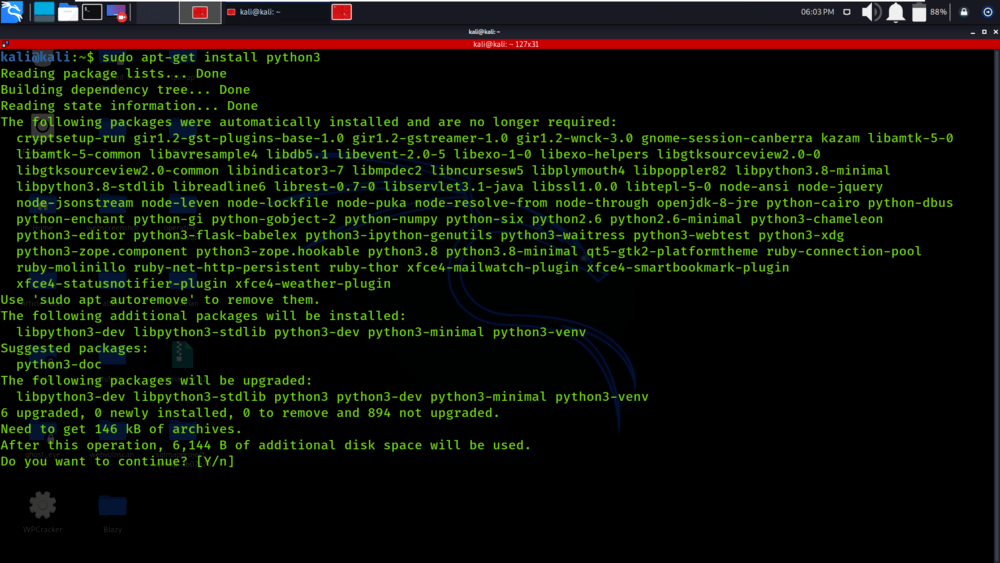
Step 1: First of all, we will install Python3 on our Linux Machine. Use the following command in the terminal to install Python3.
sudo apt-get install python3
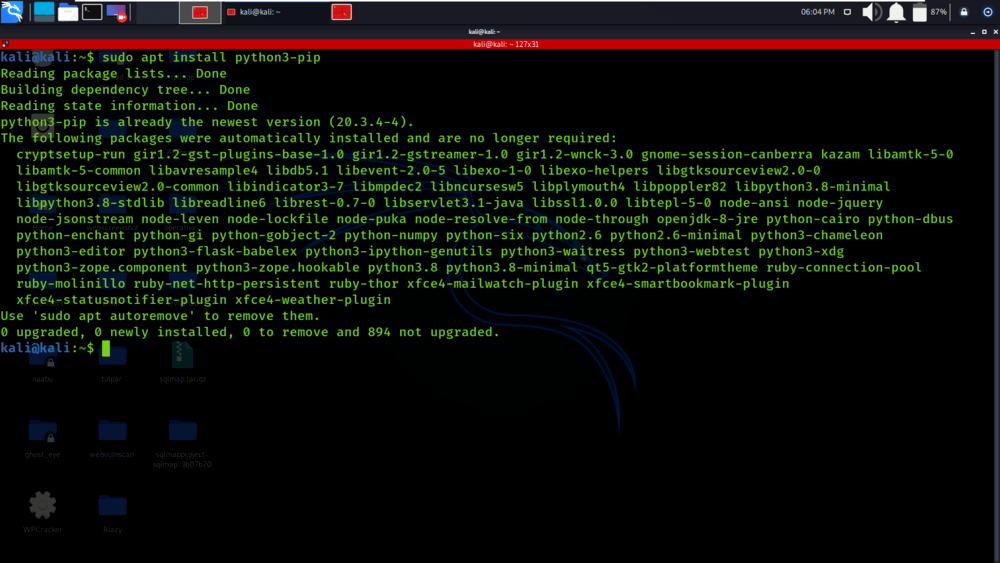
Step 2: Now, install the pip module which is required to install the packages in Python3. So we use the following command for installation:
sudo apt install python3-pip
Step 3: Now, install the Nose 2 package by using the following command.
sudo pip3 install nose2

Verifying Nose 2 package Installation on Linux using PIP
To verify if the Nose 2 package has been successfully installed in your system run the below command in Terminal:
python3 -m pip show nose2
You’ll get the below message if the installation is completed successfully.

Like Article
Suggest improvement
Share your thoughts in the comments
Please Login to comment...