How to Install NodeJS on MacOS?
Last Updated :
26 Nov, 2021
In this quick tutorial, we’ll take a quick look at how to get Node.js on macOS.
Installing Node.js on MacOS:
Follow the below steps to install Nodejs on MacOS:
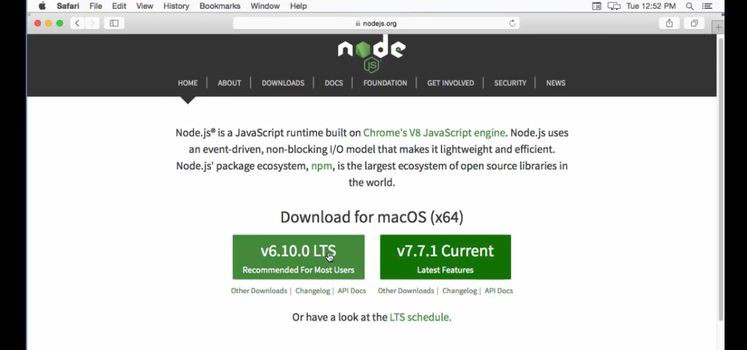
Step 1: Download the Node.js from this link, here you will be able to see two versions one is LTF which stands for long term version and the other is the latest version so we need to download the LTS version because it is supported for the long term, it is a stable version.
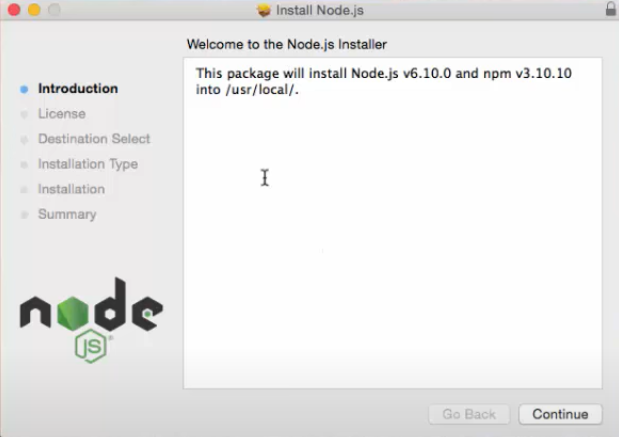
Step 2: Run the Node.js Installer.
This is going to start this installation wizard so it’s really easy to follow this wizard once this wizard is open you just need to click continue.
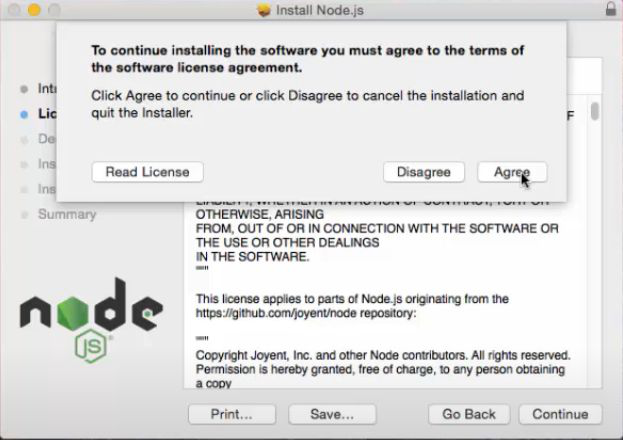
Step 3: click on the “Agree” button
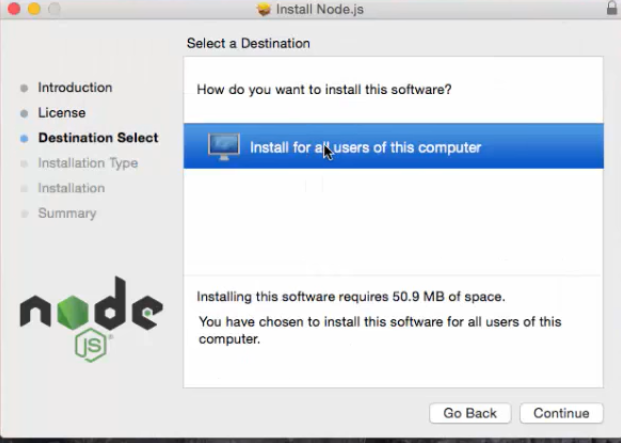
Step 4: Click on the “Install for all users of this computer”.
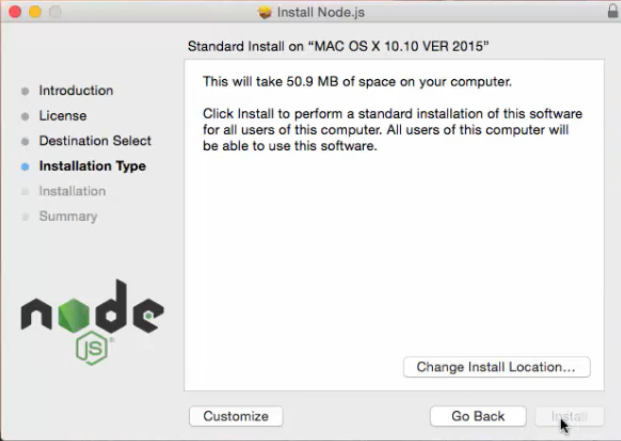
Step 5: Now click on the “install” button.
Step 6: Now enter your system password and click on “install software”

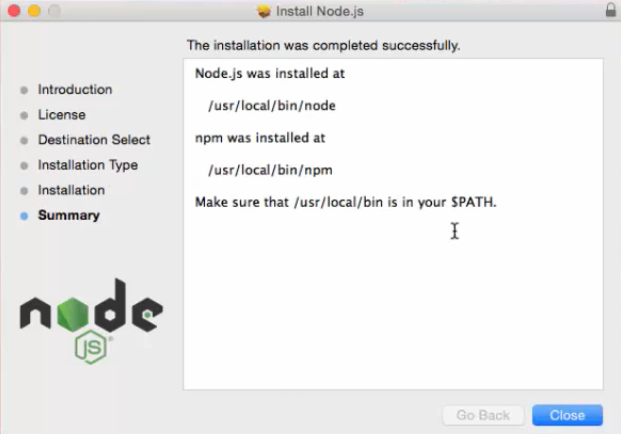
Step 7: After installation completion, this window will show up, Now click on the “close” button
Verifying Node.js Installation:
Follow the below steps to verify the Nodejs installation:
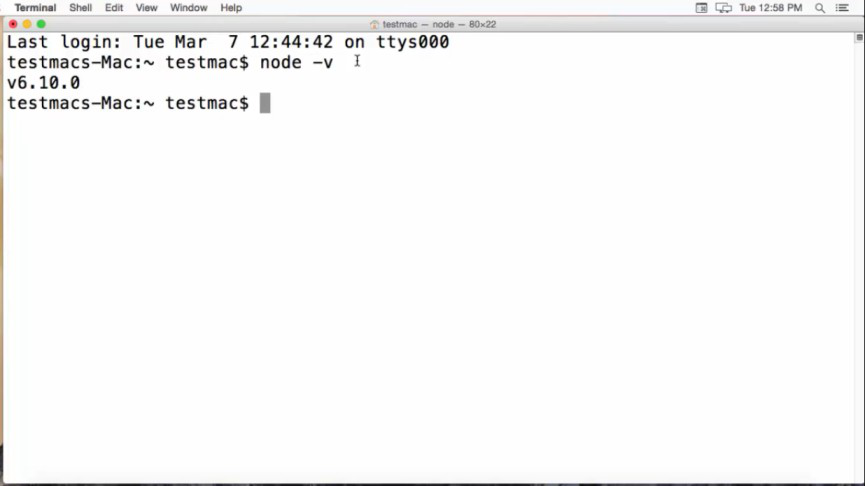
Step 1: Now open the Terminal and write the following command
$ node -v
If Node.js was properly installed, you’ll see something close to (but probably not exactly) this:
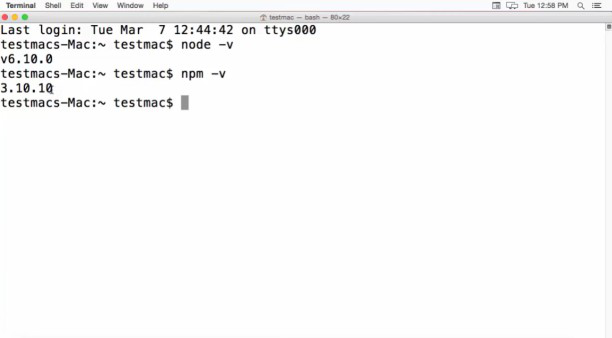
Step 2: now we will see the version of node package manager which is NPM so just type
$ npm -v
and it’s also going to give you the version of NPM which is 3.10.10 in my case, you’ll see something close to (but probably not exactly)
Share your thoughts in the comments
Please Login to comment...