How to Install MongoDB on GoormIDE?
Last Updated :
24 Feb, 2022
GoormIDE is a simple web-based cloud programming tool and MongoDB is a document-oriented NoSQL database, they are used to make efficient software anytime and anywhere. as here during the development of any website or software one required a need of database i.e. MongoDB. so below we discussed two methods to install MongoDB in our goormIDE.
Installing MongoDB in a new container
Well, installing MongoDB on goormIDE in a new container is not a difficult task, you just have to follow some steps.
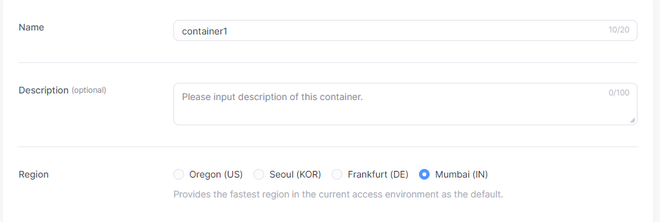
Step 1: When creating a new container, give the name of your container whatever you want. for example, I’ve given it container1.
Step 2: Scroll down and select node.js in the stack,

Step 3: Then, check [Install MongoDB] in [Additional Modules / Package].

Step 4: Then click on the “create” button, when the container with MongoDB is created, just open it.
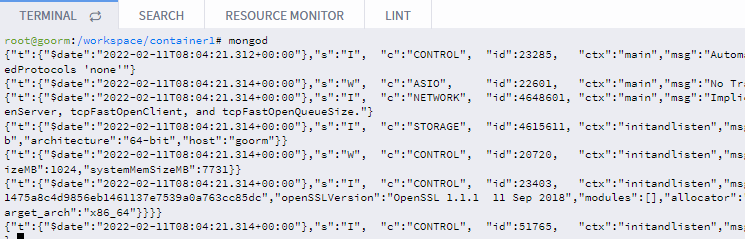
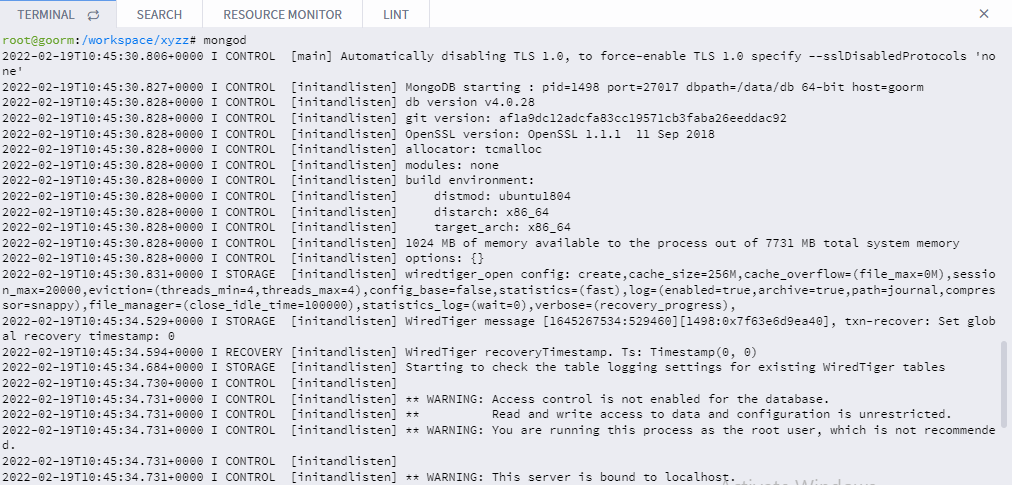
Step 5: In the terminal run “mongod” command, it will look something like this
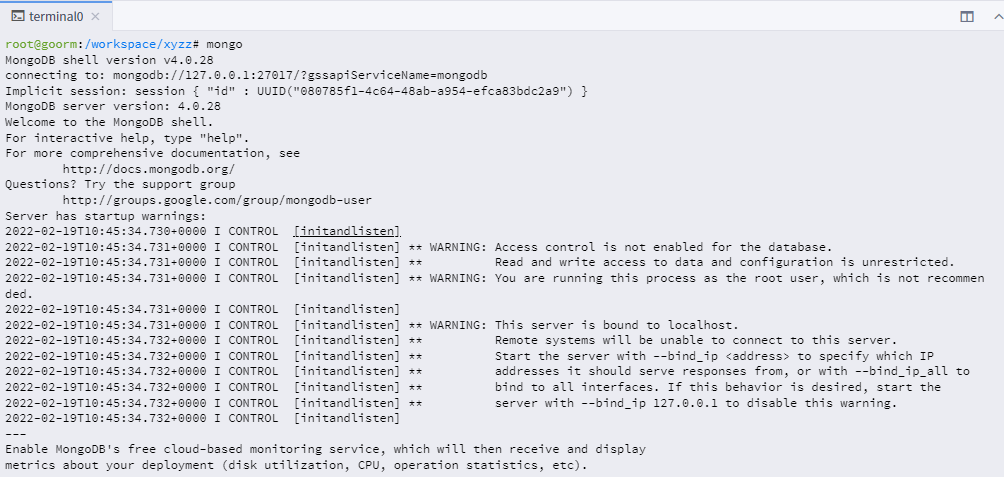
Step 6: Then open a new terminal from window->new terminal window option or alt+shift+T(MAC:⌥⇧T), and run the “mongo” command.
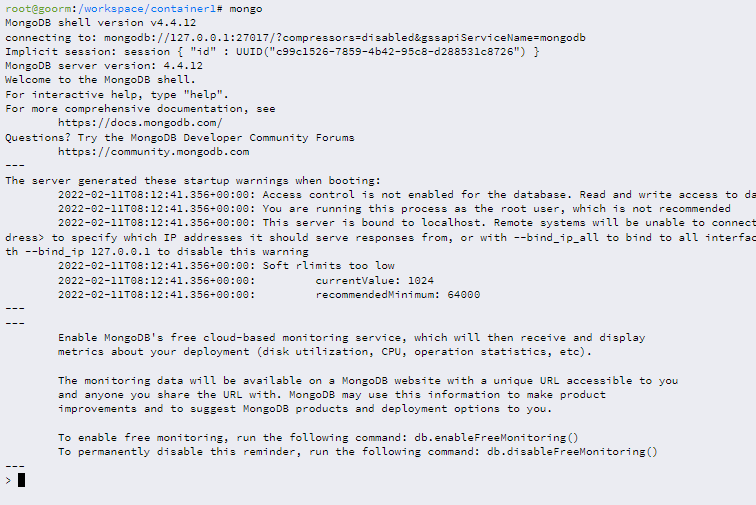
If the above command runs successfully then it shows a blinking cursor at the end of the terminal. to quit that you can run the “exit” command there it goes back to your bash terminal. As you can see MongoDB is working fine in the newly created container here. To quit just run “ctrl+D” and “ctrl+C” in terminal 1 where you have run mongod command. That’s it.
Now if you already have a container and want to install MongoDB in it then follow these steps
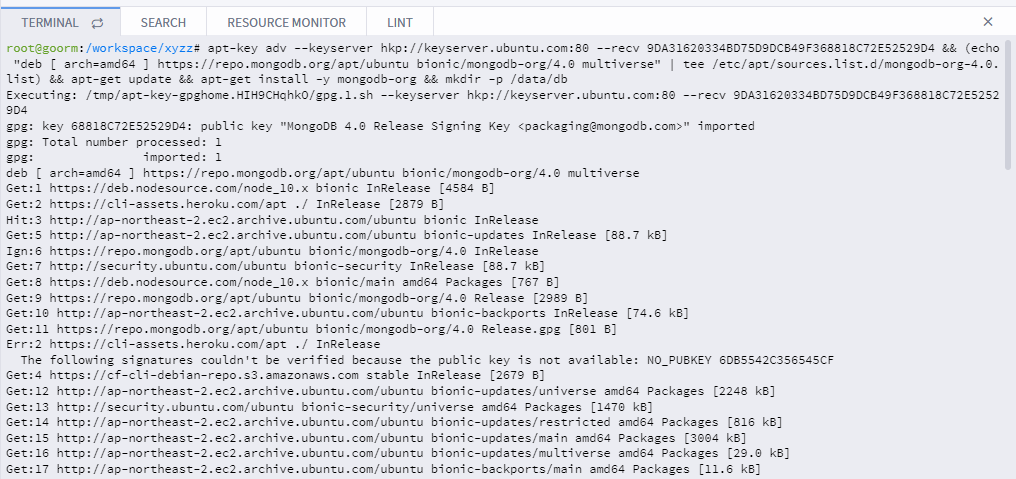
Step 1: Open the 1st terminal and type the following command to install MongoDB:
apt-key adv –keyserver hkp://keyserver.ubuntu.com:80 –recv 9DA31620334BD75D9DCB49F368818C72E52529D4 && (echo “deb [ arch=amd64 ] https://repo.mongodb.org/apt/ubuntu bionic/mongodb-org/4.0 multiverse” | tee /etc/apt/sources.list.d/mongodb-org-4.0.list) && apt-get update && apt-get install -y mongodb-org && mkdir -p /data/db
This process will take some time, when it’s done, the terminal will look something like this
Step 2: Run “mongod” at the 1st terminal to run the MongoDB server. In the end, you will see a blinking cursor which means our server has started.
Step 3: Open the 2nd terminal from window-> new terminal window option or alt + shift + T(MAC:⌥⇧T), and type “mongo” to run MongoDB client.
As you can see now the MongoDB is working fine here. To check, you can run commands like “show dbs”, which will show the databases that we have. That’s it, you are done!!
Share your thoughts in the comments
Please Login to comment...