How to Install Krita on Windows?
Last Updated :
29 Dec, 2021
Krita is a free and open-source raster graphics editor designed primarily for digital painting and 2D animation. It runs on Windows, macOS, Linux, Android, and Chrome OS. It is developed by Krita foundations. It is written in C++ using Qt. It is released on 21 June 2005. The size of the software is 11-201 MB ( it varies by operating system ). It has an easy-to-use interface. The project’s name “Krita” is primarily inspired by the Swedish words Krita, meaning “crayon” (or chalk), and Rita which means “to draw”.
Installing Krita on Windows :
Follow the below steps to install Krita on Windows :
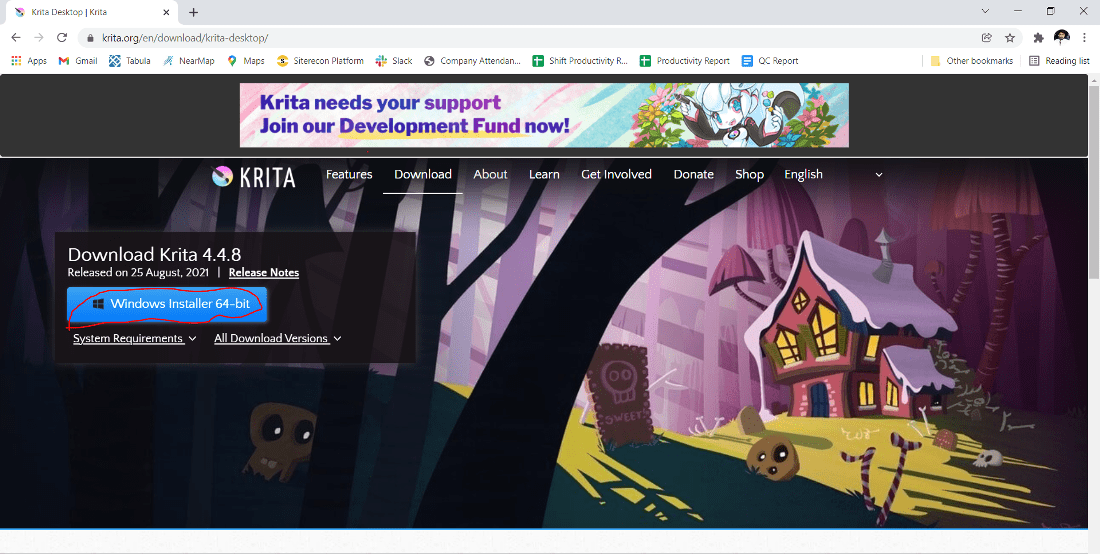
Step 1: Visit the official Krita website using any web browser.

Step 2: Click on Get Krita Now.

Step 3: Next web page will open after. Click on Windows installer 64 bit.
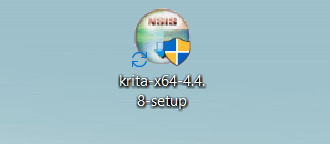
Step 4: Now check for the executable file in downloads in your system and run it.
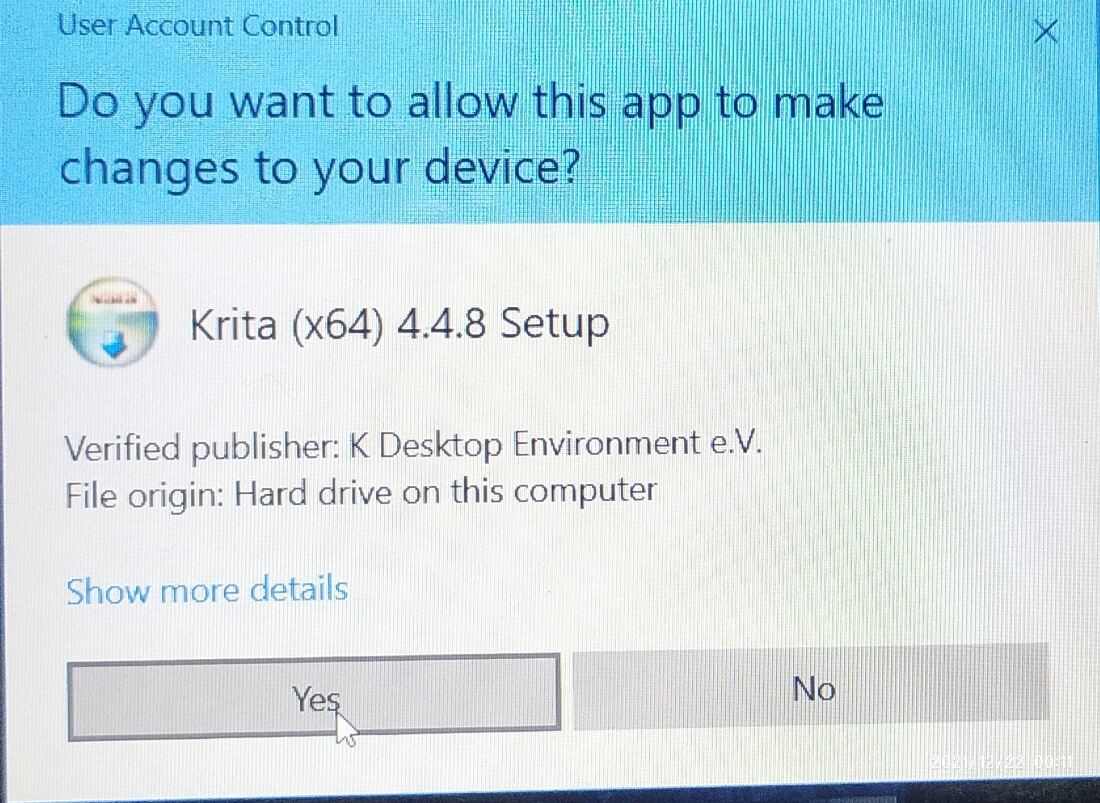
Step 5: It will prompt confirmation to make changes to your system. Click on Yes
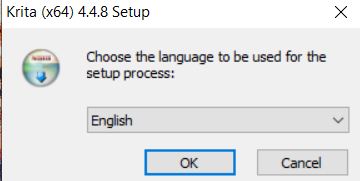
Step 6: The next screen is to choose your setup language which you want to choose and click on OK.
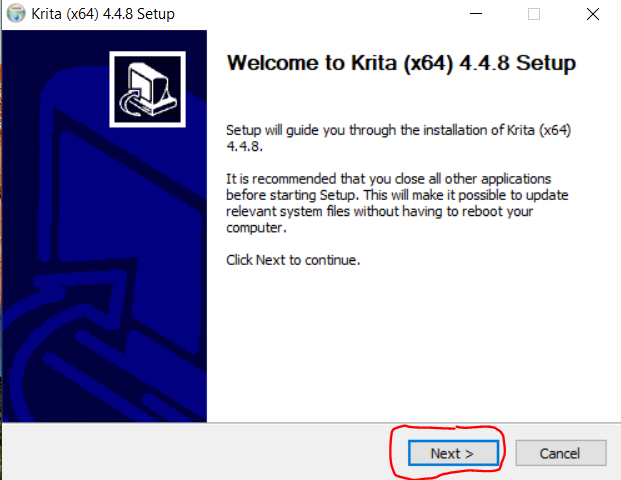
Step 7: The setup will start now click on next.
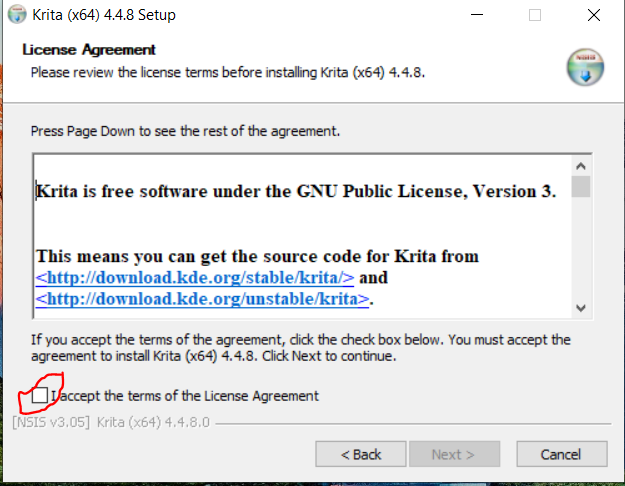
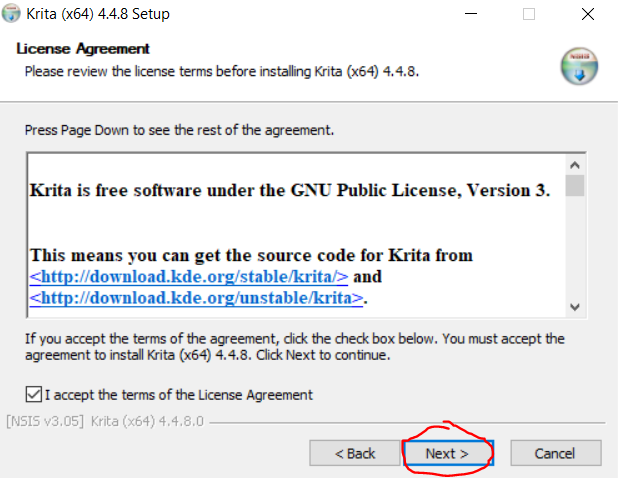
Step 8: The next screen will be of License Agreement, click on I Accept the terms of the License Agreement.
Step 9: Now Click on Next.
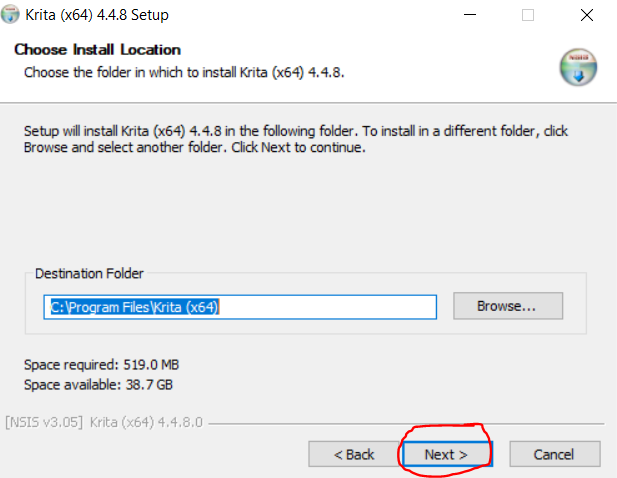
Step 10: The next screen will be of installing location so choose the drive which will have sufficient memory space for installation. It needed a memory space of roughly 519 MB. Click on the Next button.
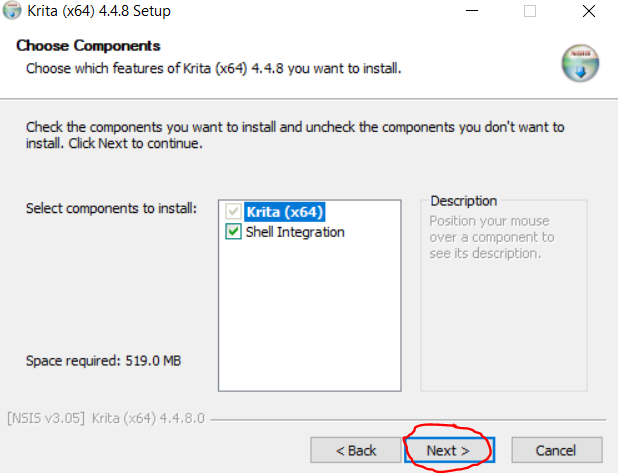
Step 11: Next screen is of choosing components, all components are already marked so don’t change anything just click on the Next button.
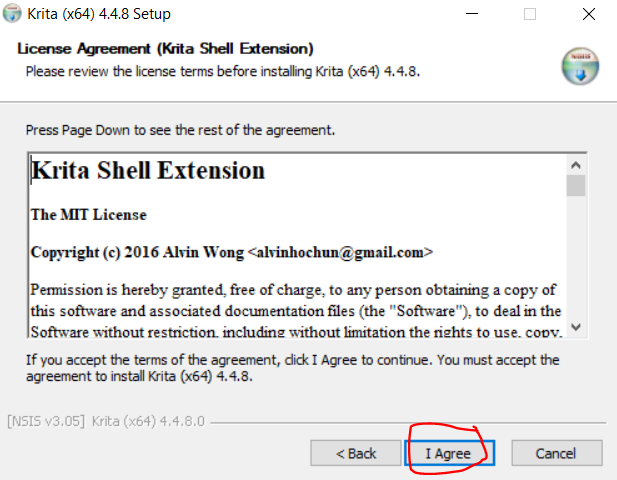
Step 12: The next screen will be of License Agreement, click on I Agree.
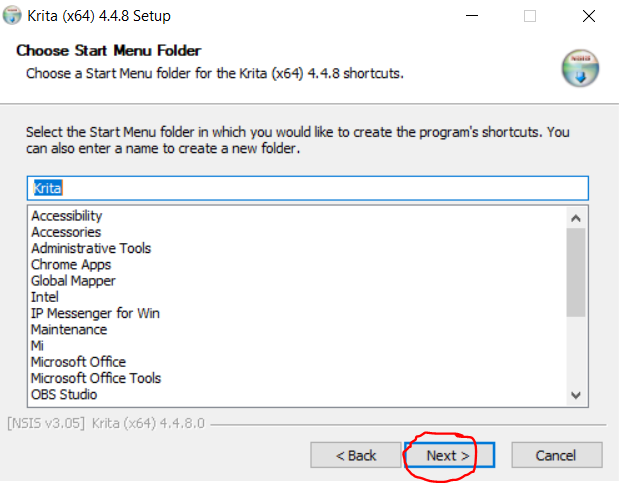
Step 13: Next screen will be Choose Start Menu Folder Take any Name you want otherwise click on Next.
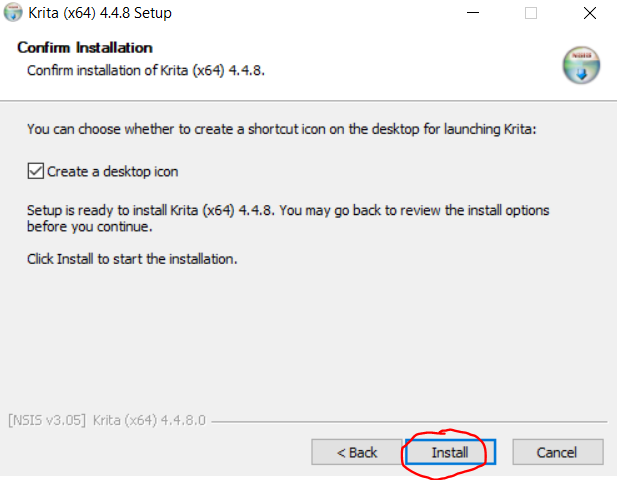
Step 14: Next Screen shows to make desktop icon it already clicked if you don’t want on desktop remove the tick mark from the column and click on Install.
Step 15: After this installation process will start and will hardly take a minute to complete the installation.

Step 16: Click on the Finish button after the installation process is complete.
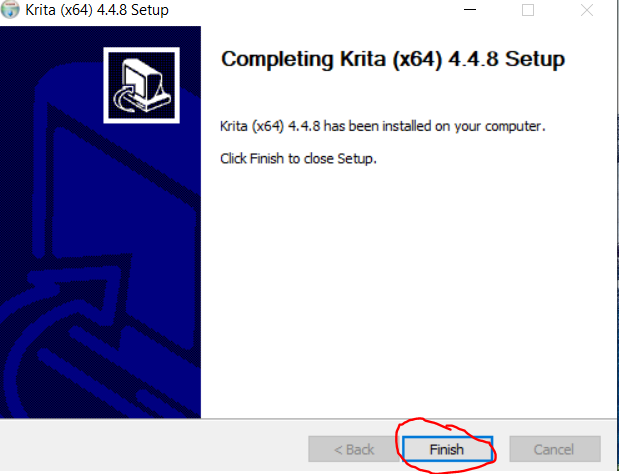
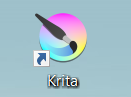
Krita is successfully installed on the system and an icon is created on the desktop.
Now Run the software and see the interface.
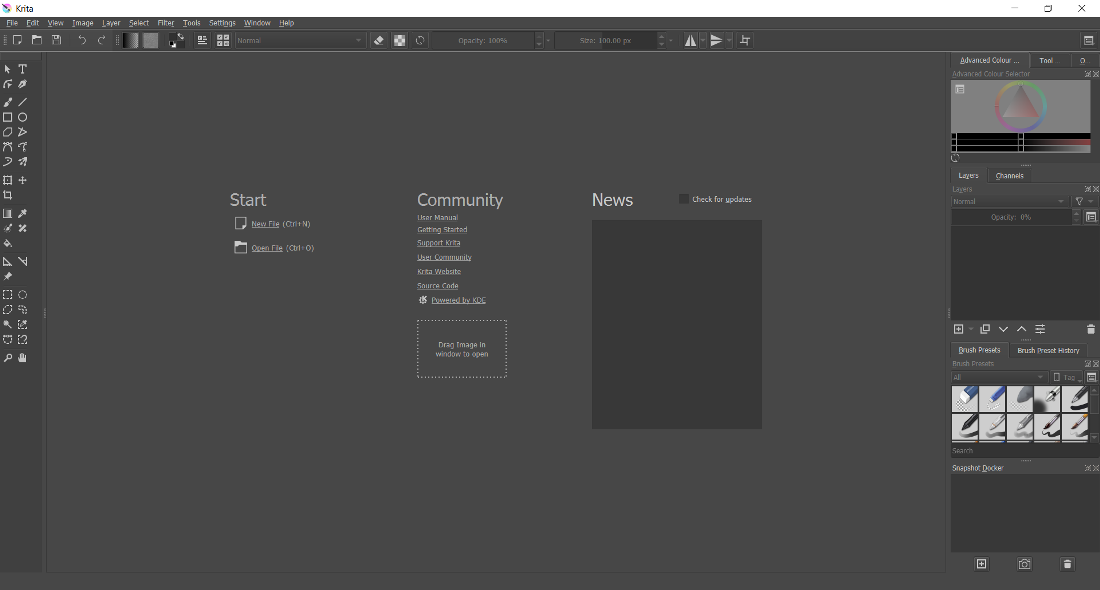
Congratulations!! At this point, you have successfully installed Krita on your windows 10 system.
Like Article
Suggest improvement
Share your thoughts in the comments
Please Login to comment...