How to Install Java JDK9 on Linux?
Last Updated :
06 Oct, 2021
As we all know Java is widely used in tech industries, with around 4 billion devices currently using java. This Java installation is going to be very easy and beginner-friendly. In this article, we are going to see a step-by-step guide on how you can install java on your Linux machine.
Step-By-Step Process For Installation
Step 1: Downloading JAVA archive binary file head to the link, download and save this archive file on your computer.
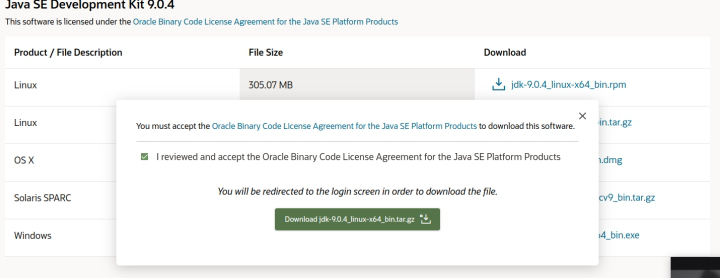
Downloading archive binaries
Step 2: Create an empty directory where you want to install JAVA and copy the downloaded file to that directory.
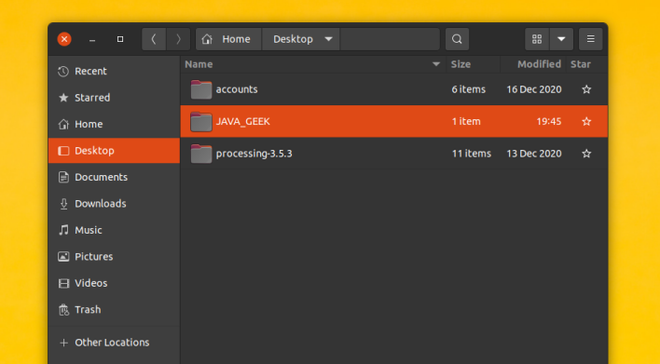
Created a new Folder (JAVA_GEEK)
Here we created a new folder with the name JAVA_GEEK ( you can name anything), and copy the archive file (jdk-9.0.4_linux-x64_bin.tar.gz) from downloads to the JAVA_GEEK folder.
We can copy and paste through the terminal or by simply drag a file from downloads to the JAVA_GEEK folder. Here is the command to do so through the terminal.
Syntax:
$ cp '/home/amninder/Desktop/JAVA_GEEK/jdk-9.0.4_linux-x64_bin.tar.gz' /home/amninder/Desktop
After Copying folder should look like this:
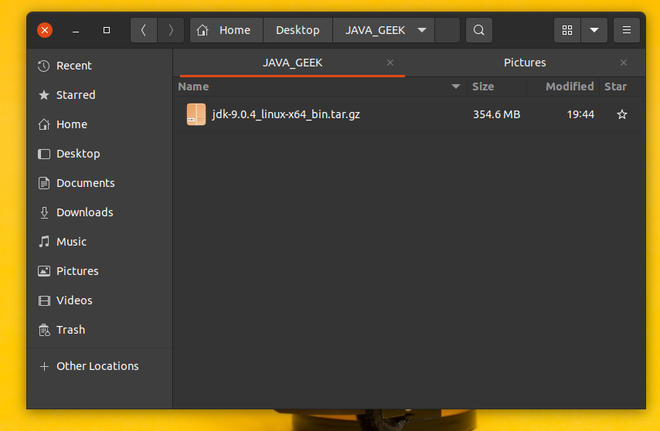
Successfully Copied
Step 3: Extract the archive file (jdk-9.0.4_linux-x64_bin.tar.gz) using the following command :
$ tar -xf jdk-9.0.4_linux-x64_bin.tar.gz
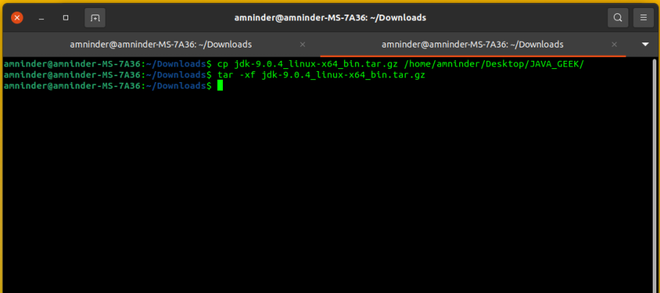
Extracting binary archive
This command with extract the binary file and after extracting the file structure should look like this:
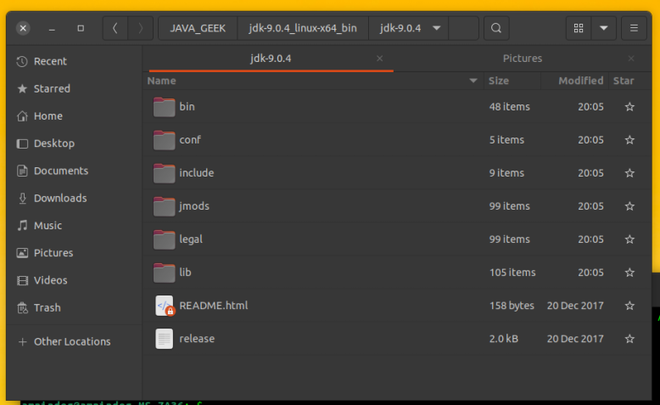
After Extracting.
Step 4: Setting JAVA environment variables
Why Setting environment variables ?
We set some environment variables to make some things easier. Suppose we don’t set environment variables, in that case if we have to compile a program every time we have to specify the full path of the java bin.
For example: you’re compiling a Helloworld program then you have compiled it like this.
$ /home/amninder/Desktop/JAVA_GEEK/jdk-9/bin javac Helloworld.java
But after setting up variables same thing we can achieve by using javac program-name
For Example: Compiling a Helloworld program.
$ javac Helloworld.java
As we can see the difference now, and we know why we should set up variables.
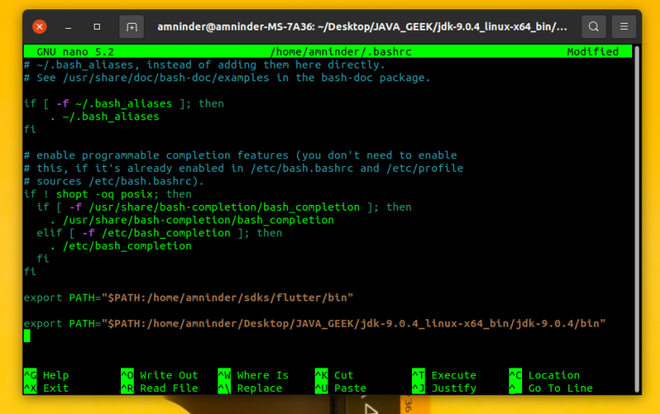
Setting of Java Environment Variables
Firstly Open up the terminal by pressing Ctrl+Alt+T or you can search the terminal in applications. And then type :
nano /home/amninder/.bashrc
nano is a text editor mostly used in Linux to edit files. Here we are opening the bashrc file is the file where we will provide environment variables, function, and custom alias, this file loads automatically in the background when we open a new terminal every time.
It should look like this, then navigate to the bottom of the file and the type of the JAVA bin path like this:
export PATH="$PATH:/home/amninder/Desktop/JAVA_GEEK/jdk-9.0.4_linux-x64_bin/jdk-9.0.4/bin"
Setting JAVA Path
After writing the command, press Ctrl+X and type y, and exit the shell.

Step 5: Setting up default JVM :
Now to inform the system where java and its executable is installed we have to use the update-alternatives command as follows(if you have more than one JDK installed):
$ sudo update-alternatives –install /usr/bin/java java /home/amninder/Desktop/JAVA_GEEK/jdk-9.0.4_linux-x64_bin/jdk-9.0.4/bin/java 100
Update-alternatives is a special command that is in use to updates the links in “/etc/alternatives” to point to other programs.
Similarly, we can do the same for javac also:
$ sudo update-alternatives –install /usr/bin/javac javac /home/amninder/Desktop/JAVA_GEEK/jdk-9.0.4_linux-x64_bin/jdk-9.0.4/bin/javac 100
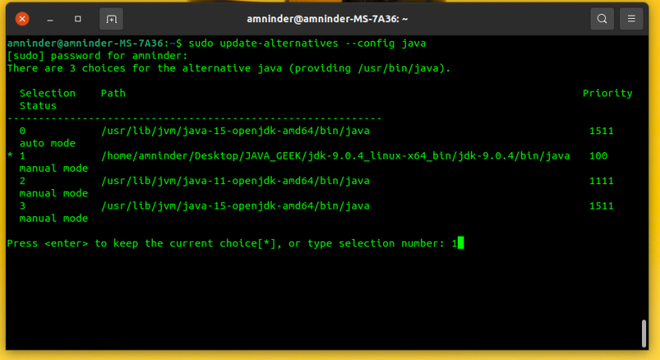
After creating links, now we can choose between different installation version of java by running the following command:
$ sudo update-alternatives --config java
After that, it will ask you to choose a default JAVA:
Selecting default java
You have to select the corresponding number as 0 shows for the first version,1 for second so on…
Step 6: Verifying Installation
Finally, the JAVA has been successfully installed on your Linux system, to verify the installation type the following command:
java -version

JAVA Installed successfully
How to Uninstall jdk9?
Remove the java link
$ sudo update-alternatives –remove java /home/amninder/Desktop/JAVA_GEEK/jdk-9.0.4_linux-x64_bin/jdk-9.0.4/bin/java
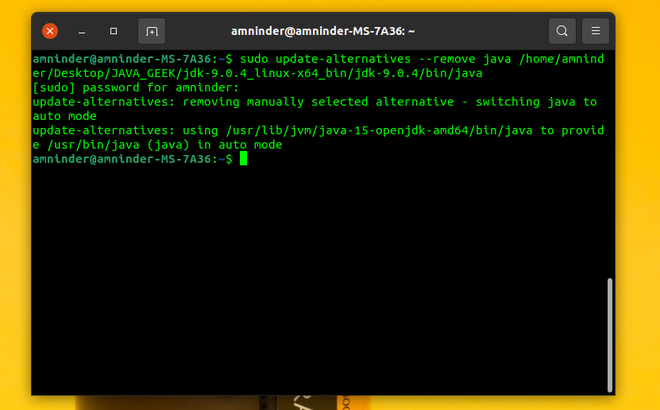
Removing java from alternative links
Remove the javac link
$ sudo update-alternatives –remove javac /home/amninder/Desktop/JAVA_GEEK/jdk-9.0.4_linux-x64_bin/jdk-9.0.4/bin/javac
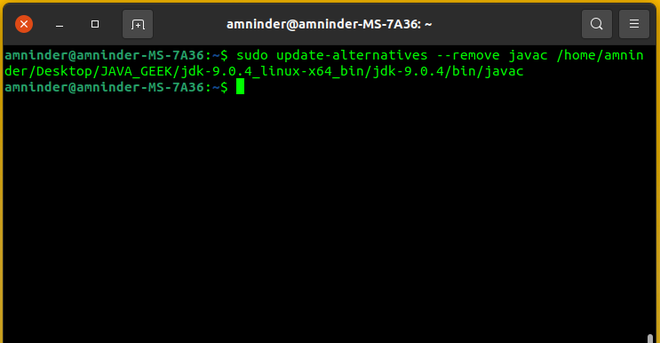
Removing javac from alternative links
Remove the folder where you installed the java
$ sudo rm -rf /home/amninder/Desktop/JAVA_GEEK/jdk-9.0.4_linux-x64_bin
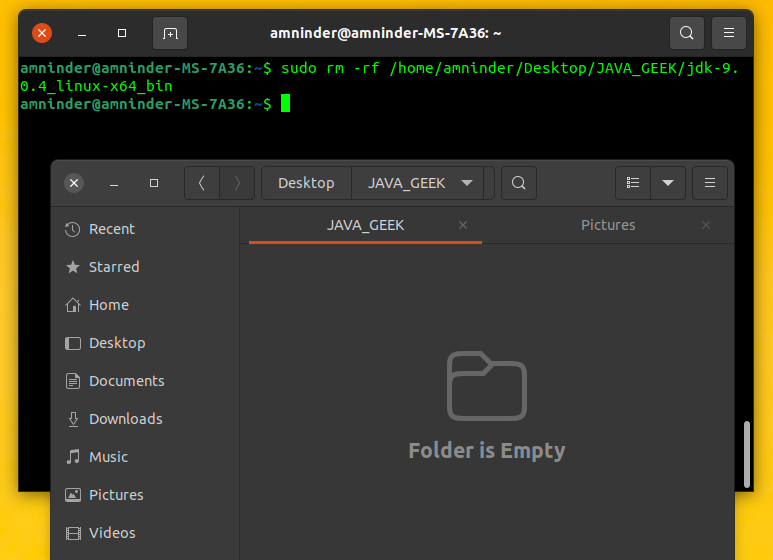
Removing Java folder
Like Article
Suggest improvement
Share your thoughts in the comments
Please Login to comment...