How to Install Git on Windows Subsystem for Linux?
Last Updated :
11 Feb, 2022
Git is an open-source distributed version control system developed to handle everything from simple to complex projects with performance and speed. Git software allows a team or group of developers to work together, with all using the same files and folders. It gradually reduces the confusion that tends to happen when multiple people are editing the same files. Git is a cross-platform software that works with various operating systems. So, in this article, we will be installing the Git software on Windows Subsystem for Linux/Ubuntu operating system.
Note: Make sure you have installed WSL for Linux or Ubuntu on your main Windows System.
Installing Git on WSL(Windows Subsystem for Linux)
To install the Git on WSL(Windows Subsystem for Linux) we have to follow the following steps:
Step 1: First of all we have to launch Windows Terminal Preview or Power-shell on Windows machine and open the Linux or Ubuntu terminal.

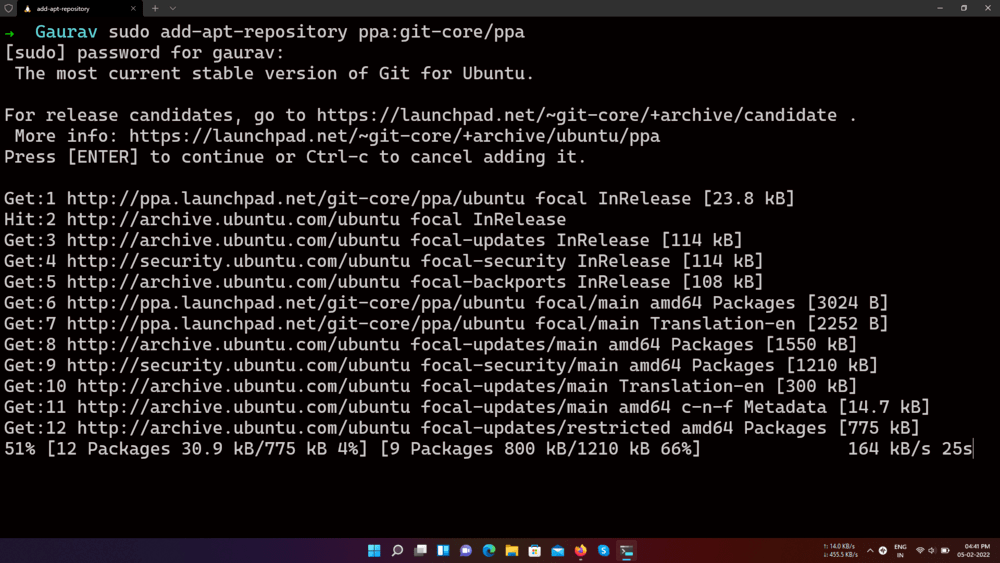
Step 2: Now, add the repositories by using the following command.
sudo add-apt-repository ppa:git-core/ppa
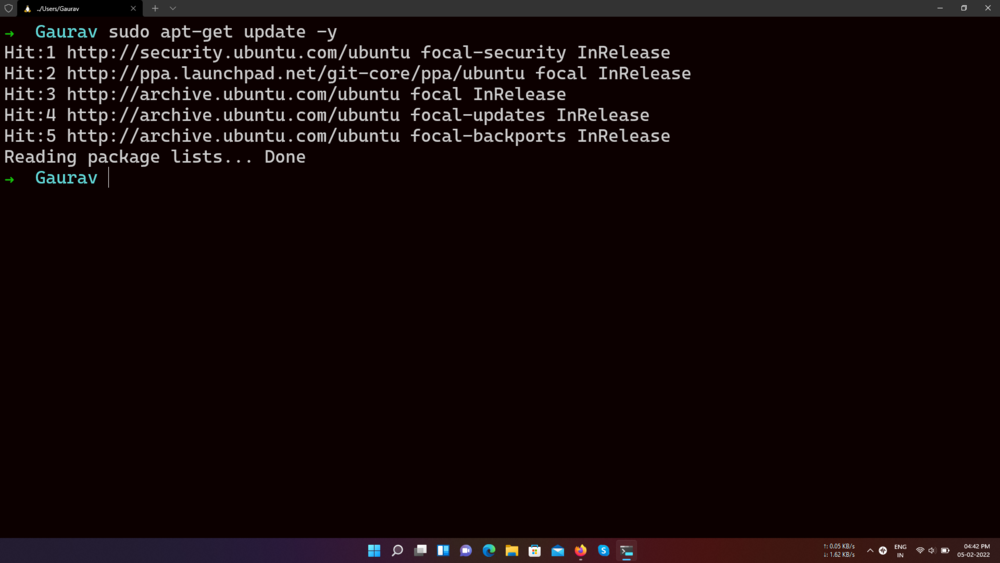
Step 3: Now, we will update the Linux system using the given command
sudo apt-get update -y
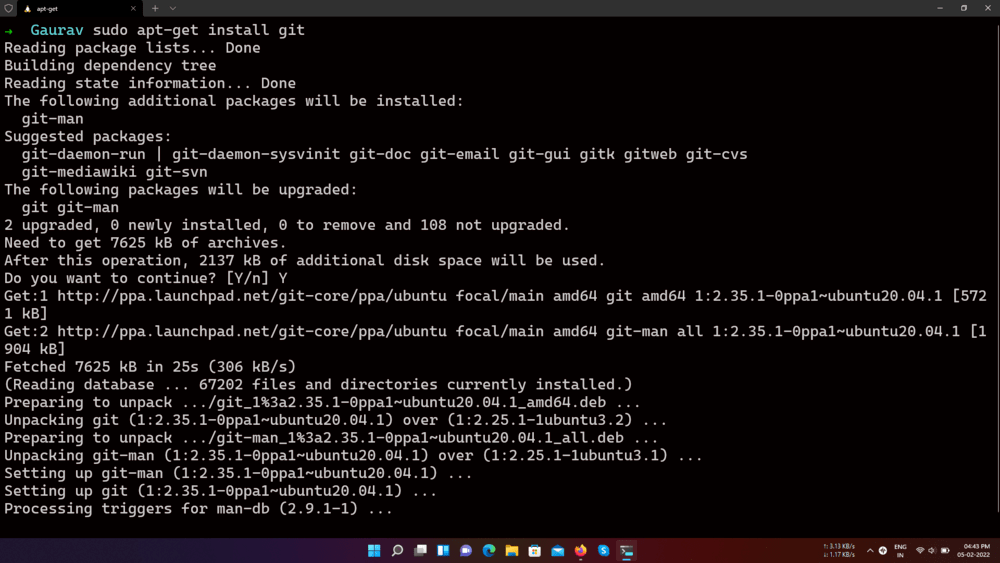
Step 4: Now we use the following command to install the Git package in WSL.
sudo apt-get install git
Verifying installation of Git on WSL(Windows Subsystem for Linux)
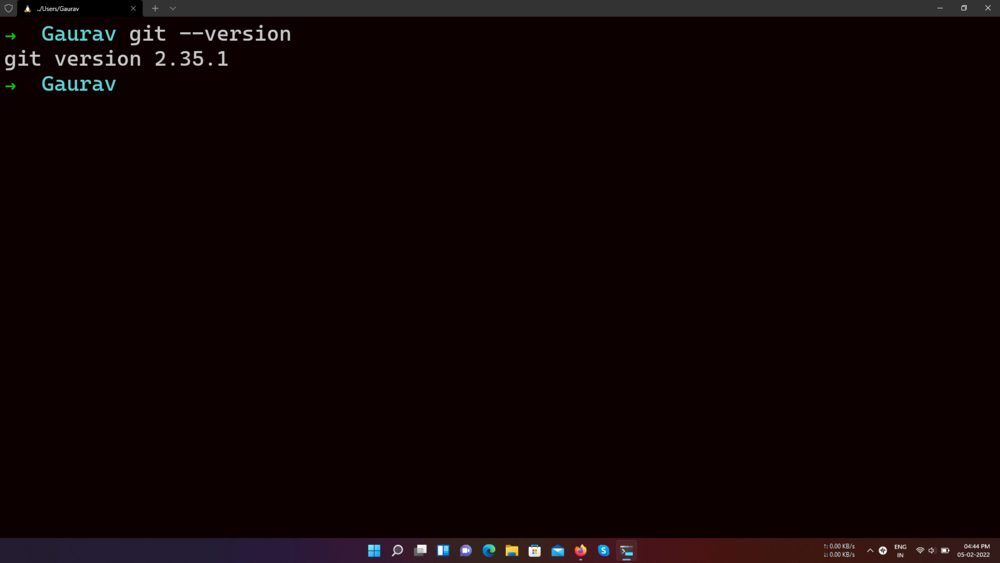
To verify if the Git has been successfully installed in your system run the below command in Terminal:
git –version
You’ll get the following output if the installation of Git is completed successfully in your system.
Like Article
Suggest improvement
Share your thoughts in the comments
Please Login to comment...