How to Install FreeCAD on Windows?
Last Updated :
31 Jan, 2022
FreeCAD is a general-purpose, free, and open-source software. It was initially released on 29 October 2002 and written in C++ and Python languages. It is a parametric 3D computer-aided design (CAD) modeler and a building information modeling (BIM) software that supports the finite element method (FEM). It is generally used for designing mechanical engineering product designs, building architecture, electrical engineering product, etc. It is available for operations systems like Linux, macOS, and Windows. The main file format of FreeCAD is .FCStd(FreeCAD Standard file format), it is a standard zip file that contains the data. It can also support different types of file formats like DXF, SVG, STEP, STL, SCAD, IV, IFC, etc.
Installing FreeCad on Windows
Follow the below steps to install FreeCad on Windows:
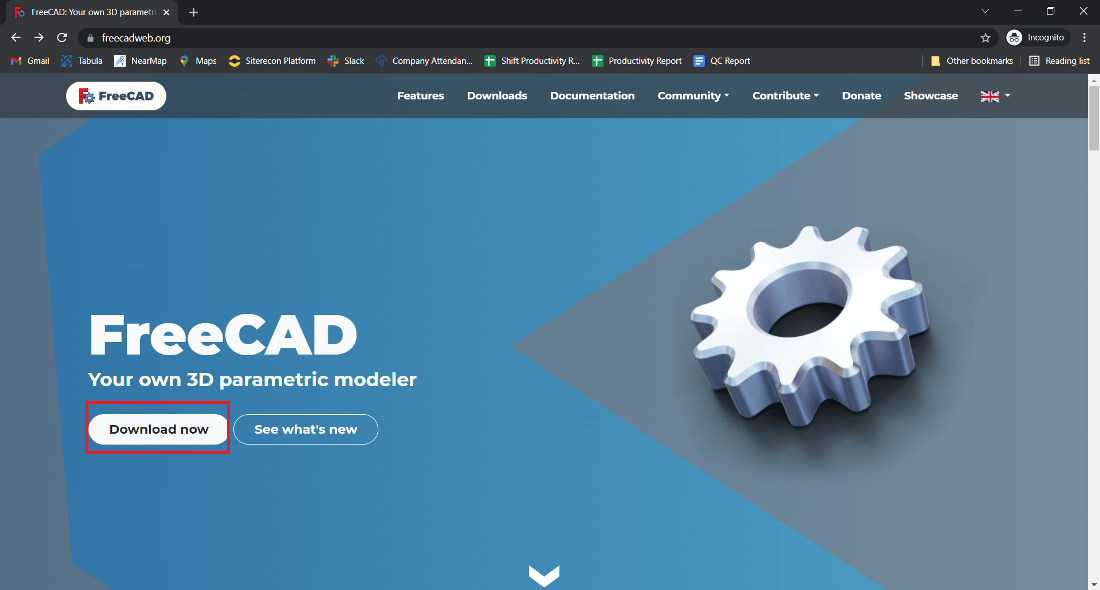
Step 1: Visit the official website using any web browser.

Step 2: Click on the Download Now button.
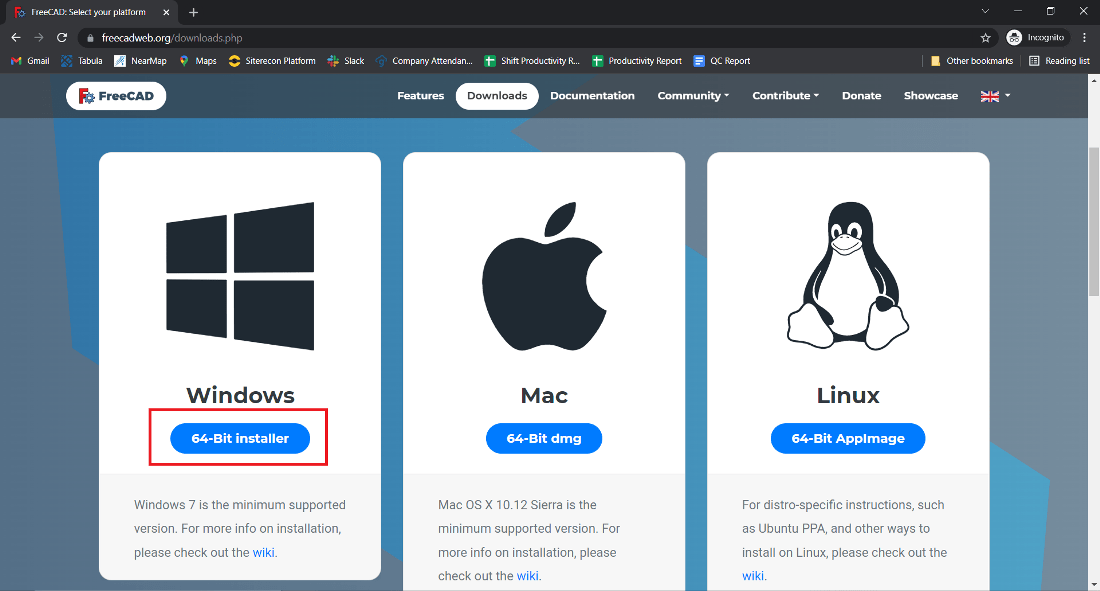
Step 3: Next screen will open now click on the 64-Bit installer button for windows.
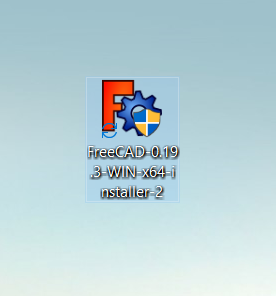
Step 4: Now check for the executable file in the downloads folder in your system and open it.
Step 5: It will prompt confirmation to make changes to your system. Click on the Yes button.
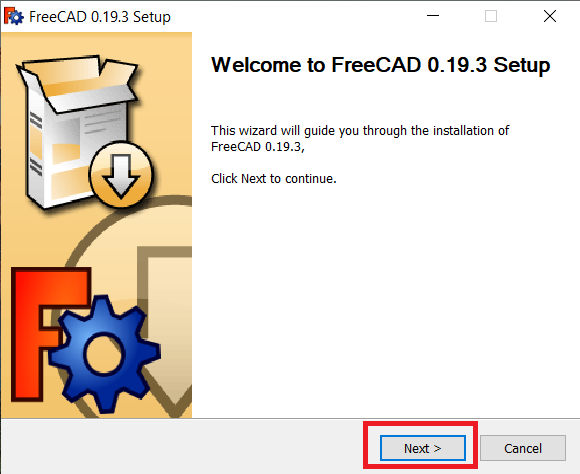
Step 6: The setup will start now click on the Next button.
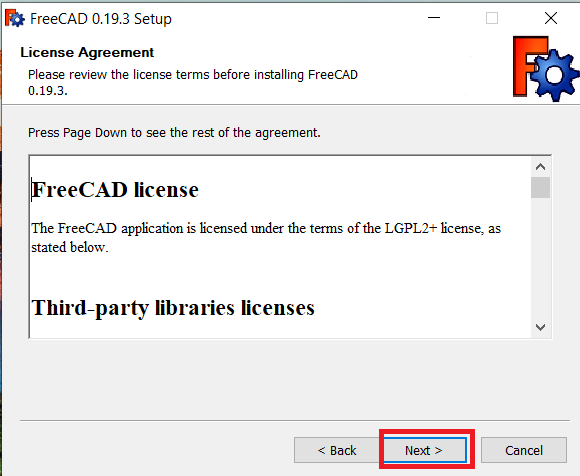
Step 7: The next screen will be of License Agreement, click on the Next button.
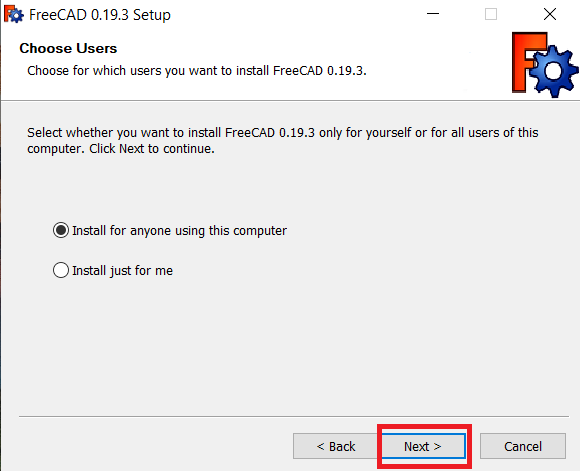
Step 8: Next screen will be of select users you can choose any of them according to your choice and click on the Next button.
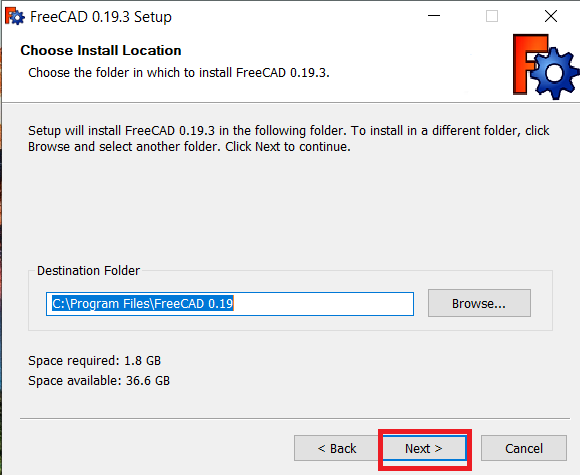
Step 9: The next screen will be of installing location. So choose the drive in which you want to install FreeCAD. It needed a memory space of roughly 1.8 GB. Click on the Next button.
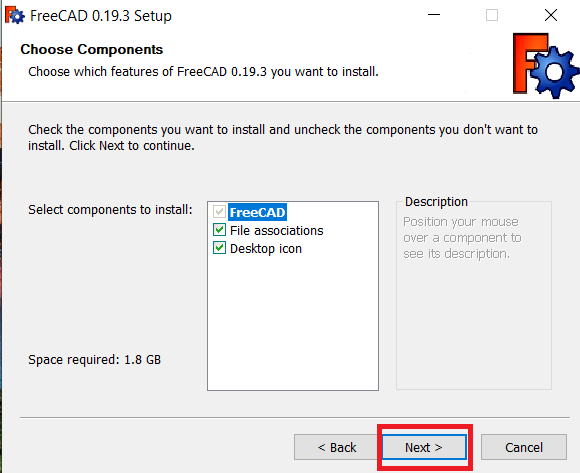
Step 10: Next window is of choosing components, all components are already marked so don’t change anything just click on the Next button.
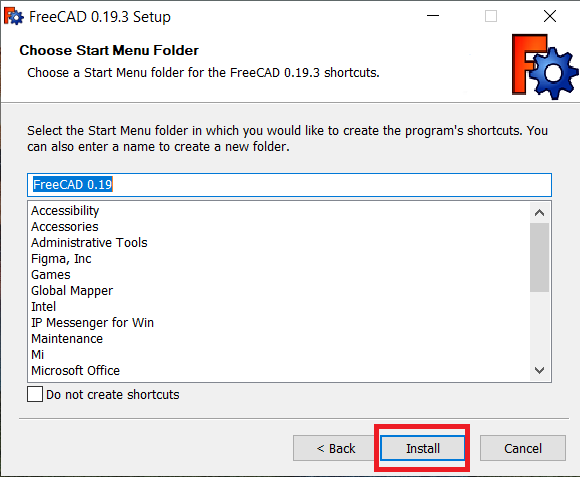
Step 11: Next screen will be of Choose Start Menu Folder. You can take any name you want otherwise click on the Install button.
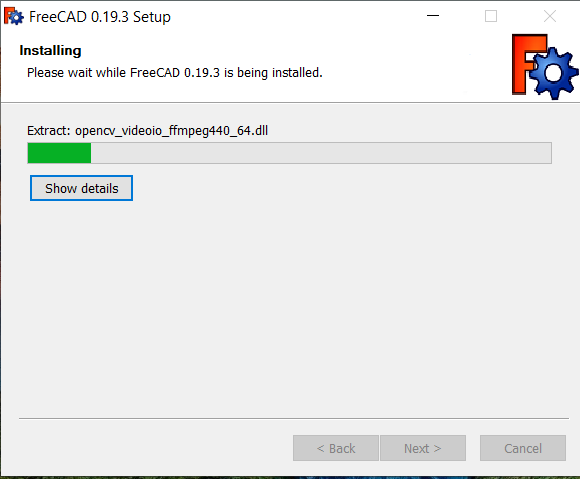
Step 12: After this installation process will start and take approx 5-7 minutes depends on your computer speed and specification to complete the installation.
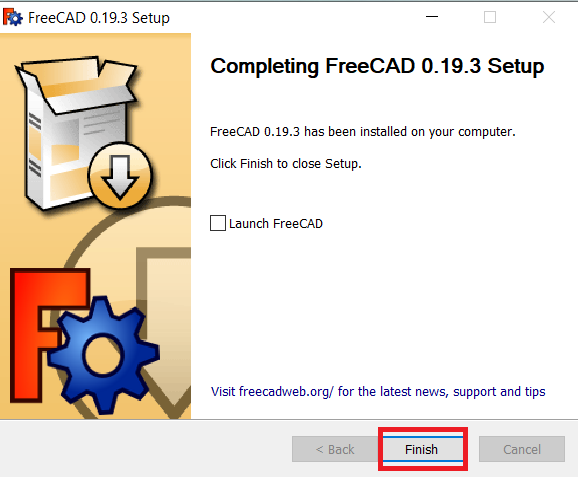
Step 13: Now click on the Finish button after the installation process is complete.
At this point, FreeCad is successfully installed on the system and an icon is created on the desktop.

Run the software and see the interface of FreeCAD.
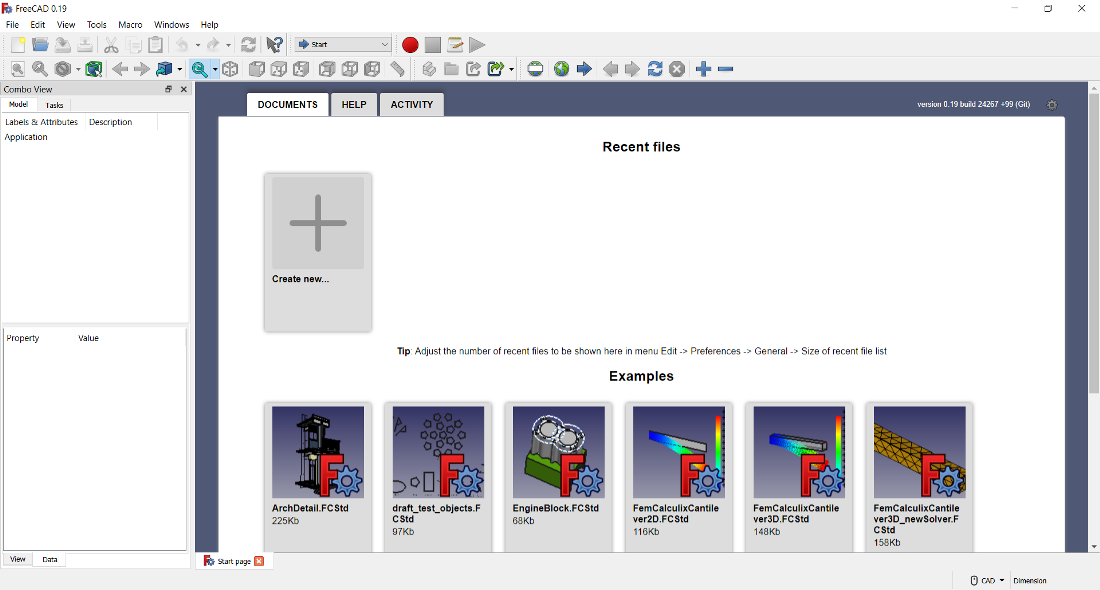
Congratulations!! At this point, you have successfully installed FreeCad on your Windows system .
Share your thoughts in the comments
Please Login to comment...