Flutter is basically Google’s portable user interface (UI) toolkit, used to build and develop eye-catching, natively-built applications for mobile, desktop, and web, from a single codebase. Flutter is free, open-sourced, and compatible with existing code. It is utilized by companies and developers around the world, due to its user-friendly interface and fairly simple, yet to-the-point commands.
In this article, we will look into the process of installing Flutter on Windows.
Installing Flutter on Windows:
Follow the below steps to install Flutter on Windows:
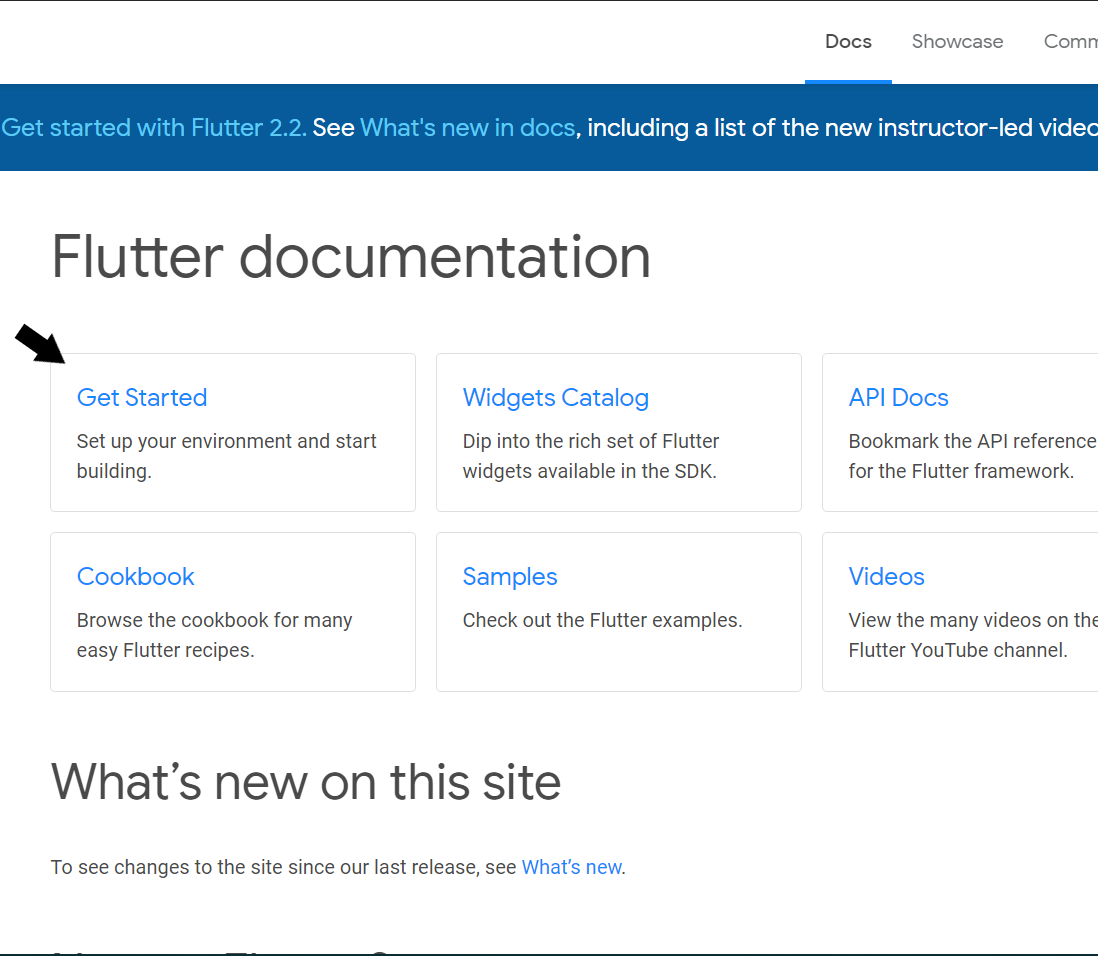
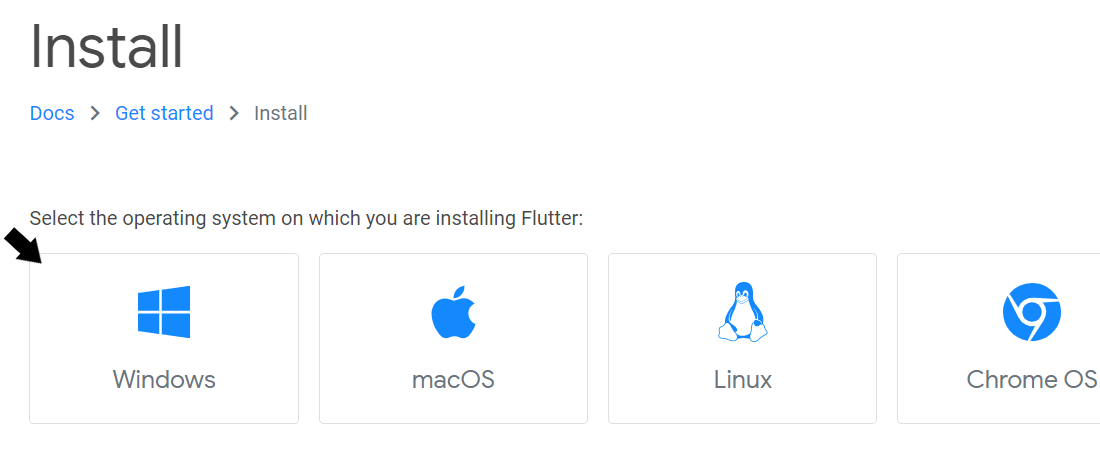
Step 1: Navigate to flutter.dev on your webpage. On the top menu bar, select Docs > Get Started > Install > Windows.
Step 2: Check for the System Requirements. Henceforth, you can begin the installation.
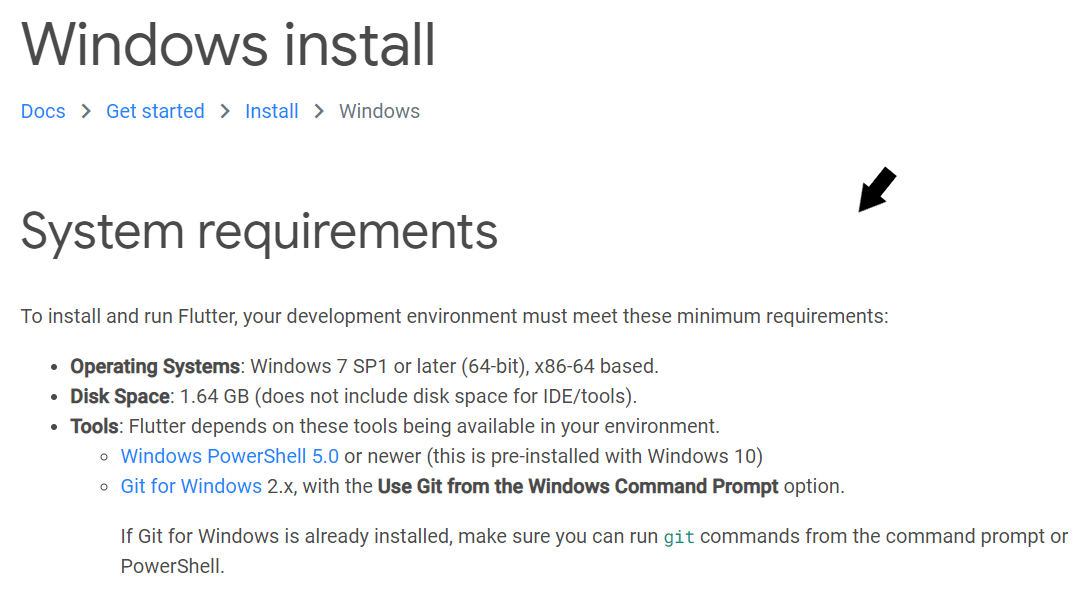
You can get a detailed procedure for installing the latest versions of Windows PowerShell 5.0 and Git for Windows, if not already installed.
Step 3: Restart the system after installing Git on your windows. Once done, let’s get to the installation of Flutter Software development Kit (Flutter SDK). Click on the download link for the latest version (as of today).
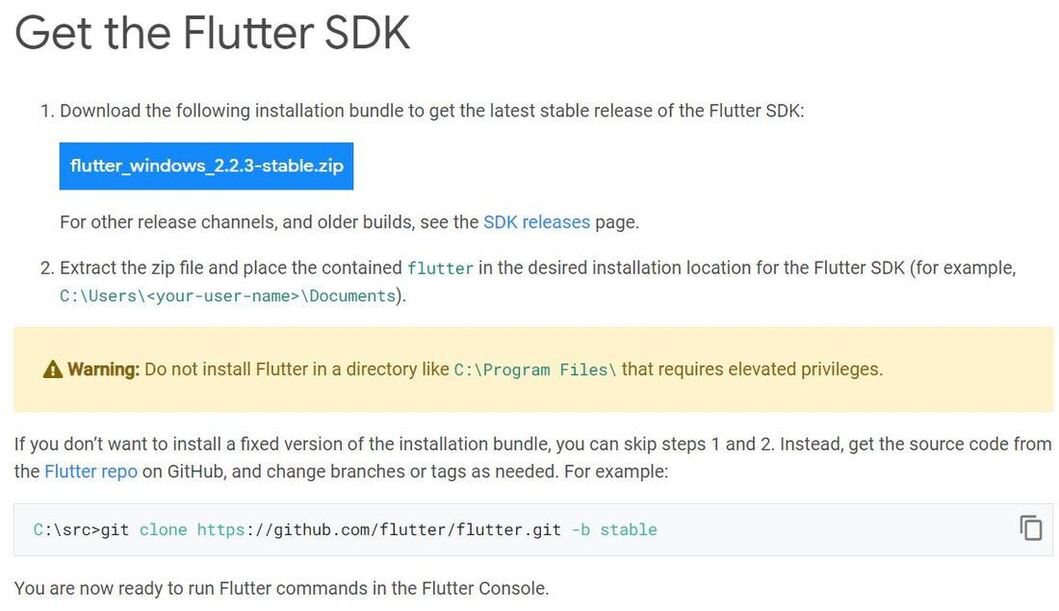
Flutter SDK is the tool that not only allows us to create flutter projects but also build those projects and transform them into native mobile applications. In simpler words, Flutter SDK is the core tool for building a flutter UI.
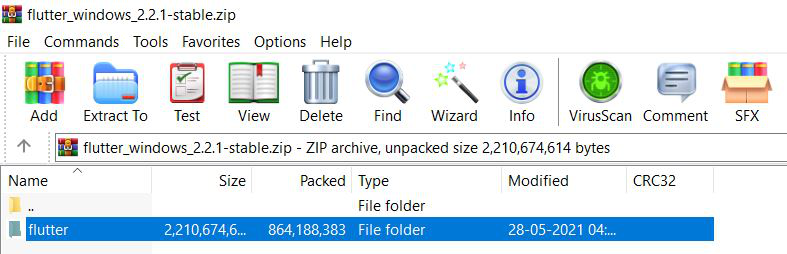
Once the zip file is downloaded, extract the ‘flutter’ folder (drag and drop) to any path/directory of the system where you get the read and write access. Typically, it is better to create a new folder in a separate directory apart from the system drive due to permission issues (In my case, the target destination is D: > development > flutter).
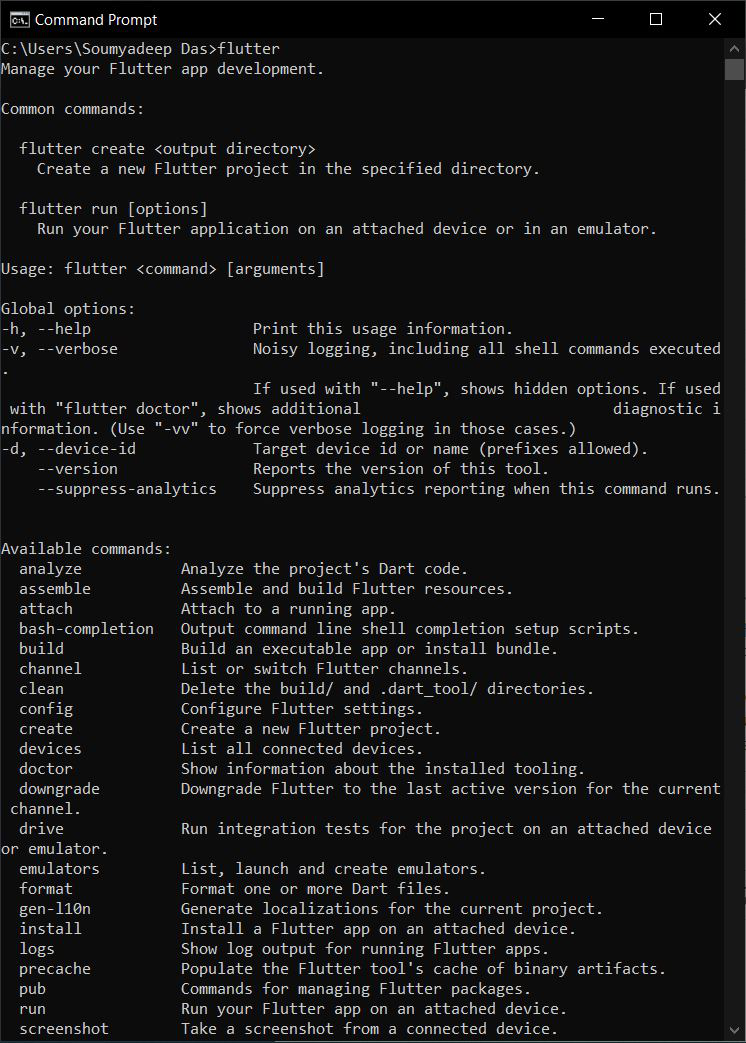
Now double-click on the ‘flutter’ folder. Go to ‘flutter_console.bat’ file and double-click to open a command prompt window. It should look something like this:
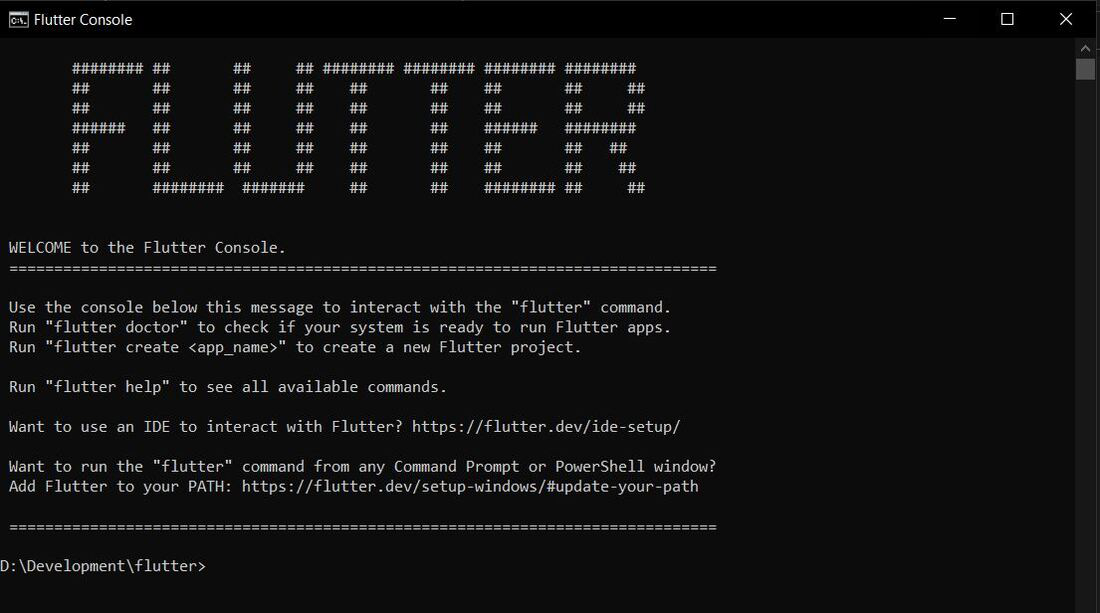
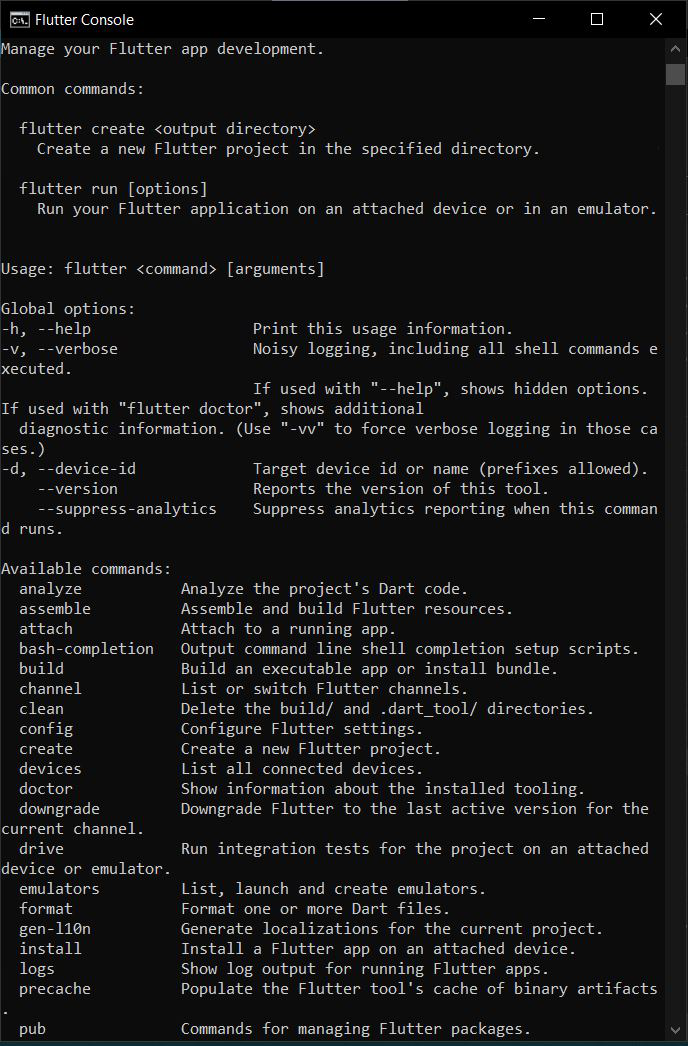
This console is actually a Windows terminal available for the developer to run flutter commands. Type in ‘flutter’ to get a list of all the flutter commands that can be run.
Whilst it is pretty good to have a terminal to execute flutter commands and create projects, it’d still be better and more convenient to store all our flutter projects somewhere else on our system for easy access. Let us steer over to the next step of our journey!
Step 4: Check and edit environment variables for global system access. For this, scroll down to ‘Update your path’ on the official Docs page of the flutter installation page. For this, go to Control Panel > System and Security > System > Advanced System Settings > Environment Variables… . A dialog box displaying a list of the available environment variables appears on your screen.
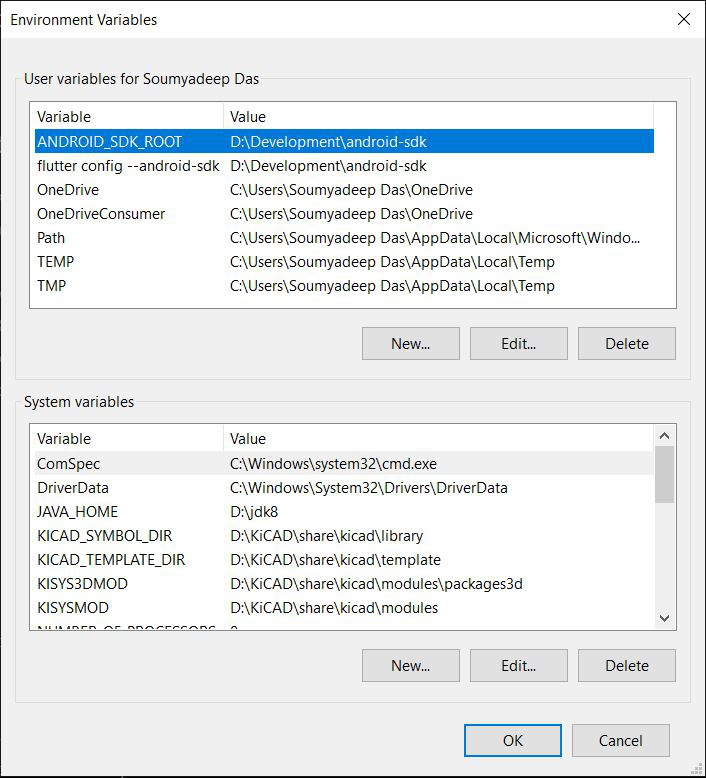
Environment Variables are global system variables present at the root level, which aids in configuring various aspects of Windows. We will now add the flutter tool as an environment variable for direct access (instead of running the .bat executable), and unlock it on the entire PowerShell and Command Prompt of your system.
To do this, glance through the following steps:
- Check for ‘Path’ variable under User Variables list. If not already present, create a new variable (‘New…’) and assign the ‘flutter\bin‘ directory as its value.
- Now double-click on the ‘Path’ variable and add a new entry by double-clicking on a column below. It should look something like this:
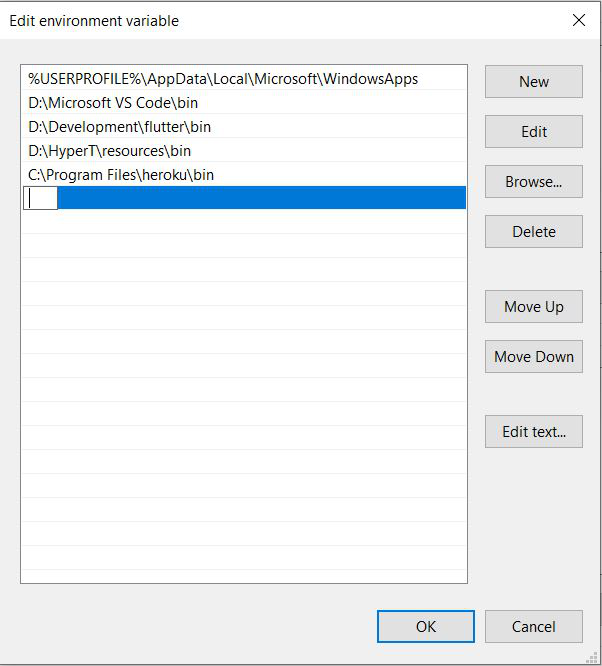
- In the path, copy the entire directory of flutter\bin folder and paste it. Click ‘Ok’ twice to complete the setup. Now, make sure that you have closed any existing Command Prompt/Windows PowerShell windows that are open.
Now, check whether your flutter framework can be accessed globally. To do this, open any terminal (say Command Prompt) and type in ‘flutter‘ and see whether you get the same list of commands as you did get earlier from the .bat terminal. If yes, you have successfully completed setting up flutter on the root level in your system. If not, you might as well consider re-running the setup again.
Step 5: Now, you have to analyze and check whether something is missing/has to be installed further. To do this, under the Command Prompt terminal, type in ‘Flutter Doctor‘ to check for other requirements.

(Since a version has already been installed on my computer, below is an image shown from a previous version, to help you get an understanding of the ‘errors’ that appear after flutter doctor analysis.)

According to the flutter doctor check, we see that flutter was installed successfully in our system, but the Android tools are missing, and so is Android Studio. We also see that there are no connected devices too. Eventually, the next step is about setting up Android tools on your device, to execute the flutter apps built by you.
Step 6: Setting up Android tools and emulator for android devices.
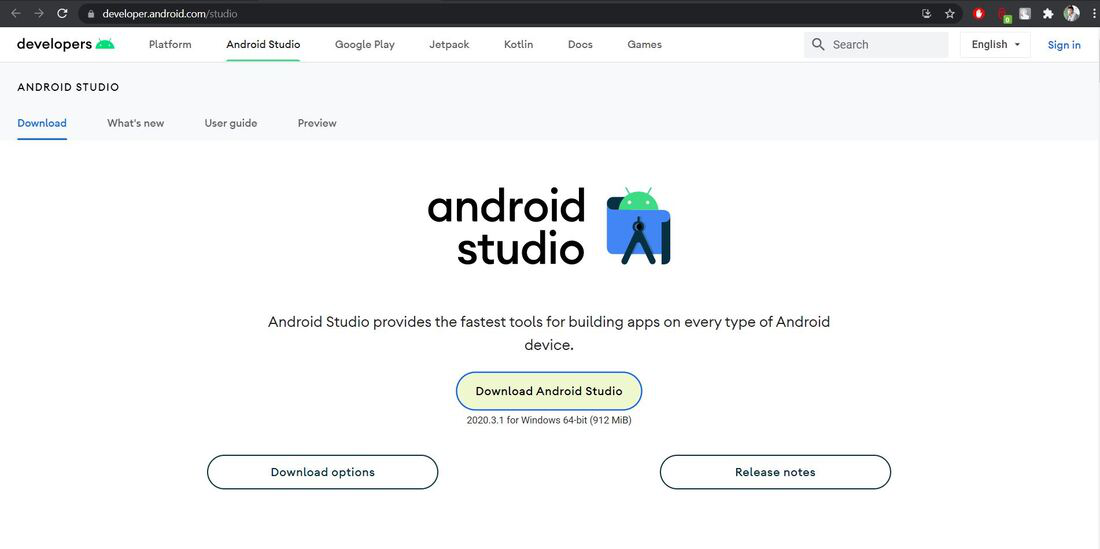
The first step is to download and install Android Studio. To do this, navigate to the official page of Android Studio and click on ‘Download Android Studio‘.
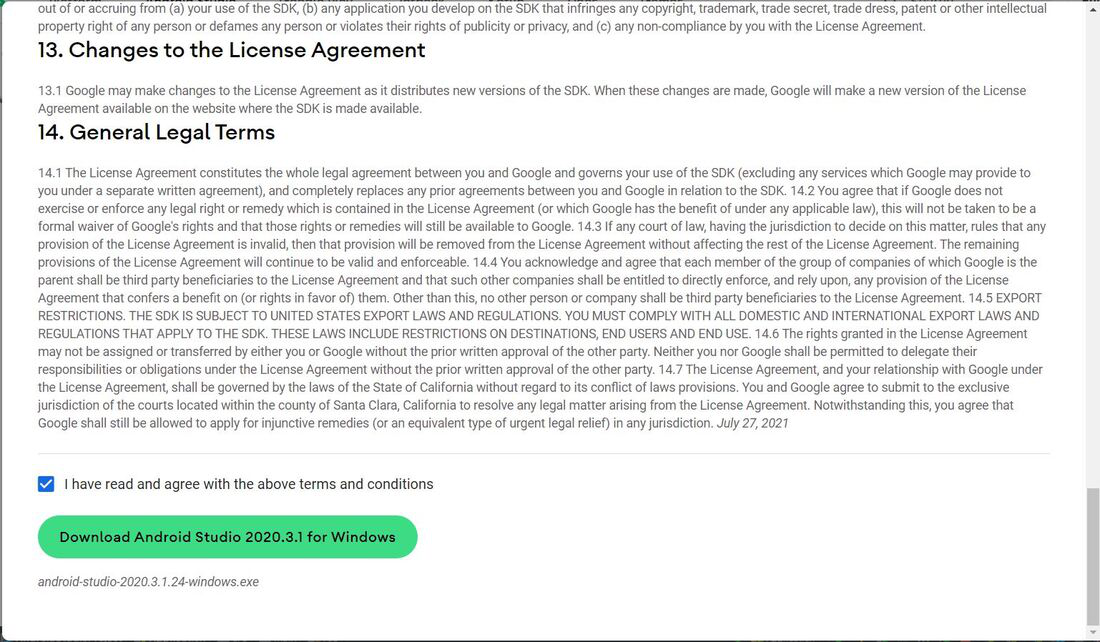
After accepting the license agreements, you are good to go! Click on the final Download button to start downloading.
After the download is complete, let’s move on to the next step, i.e. installation.
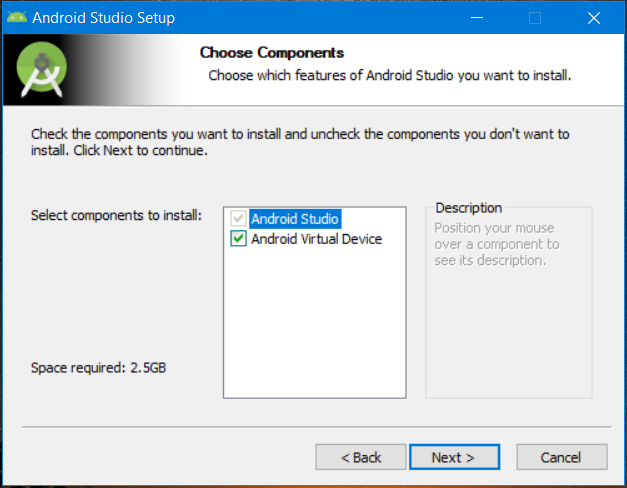
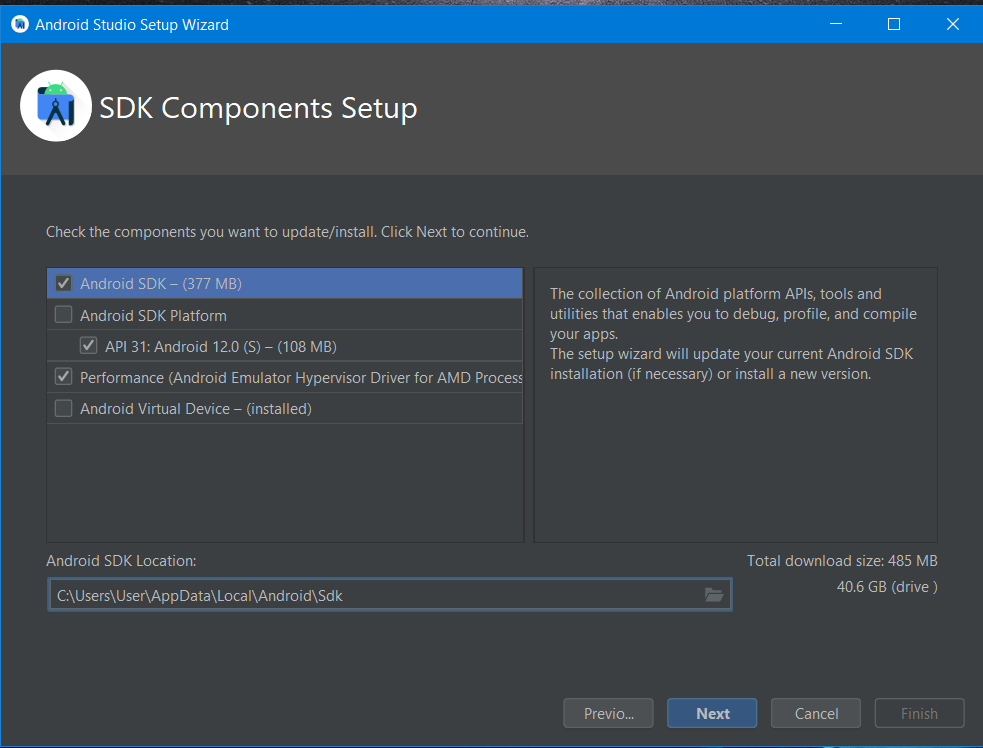
Under ‘Components‘, make sure that both Android Studio and Android Virtual Device are checked, and only then proceed. The Android Virtual Device is an essential tool for running various types and sizes of android emulators to test your flutter project. Henceforth, click on ‘Next‘.
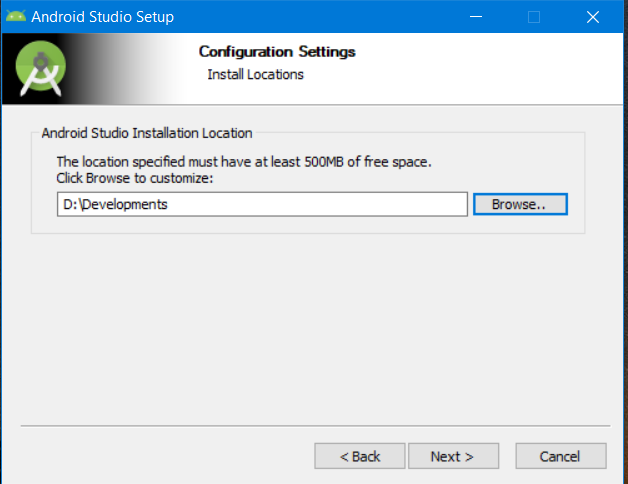
Select the directory you would want your file to be installed in. It is recommended to select some other path apart from the system drive. Once done, click on ‘Next‘.
Finally, click on ‘Install‘. Wait for a couple of seconds for the installation to complete. Check the box beside ‘Launch Android Studio‘. Click on ‘Finish‘.
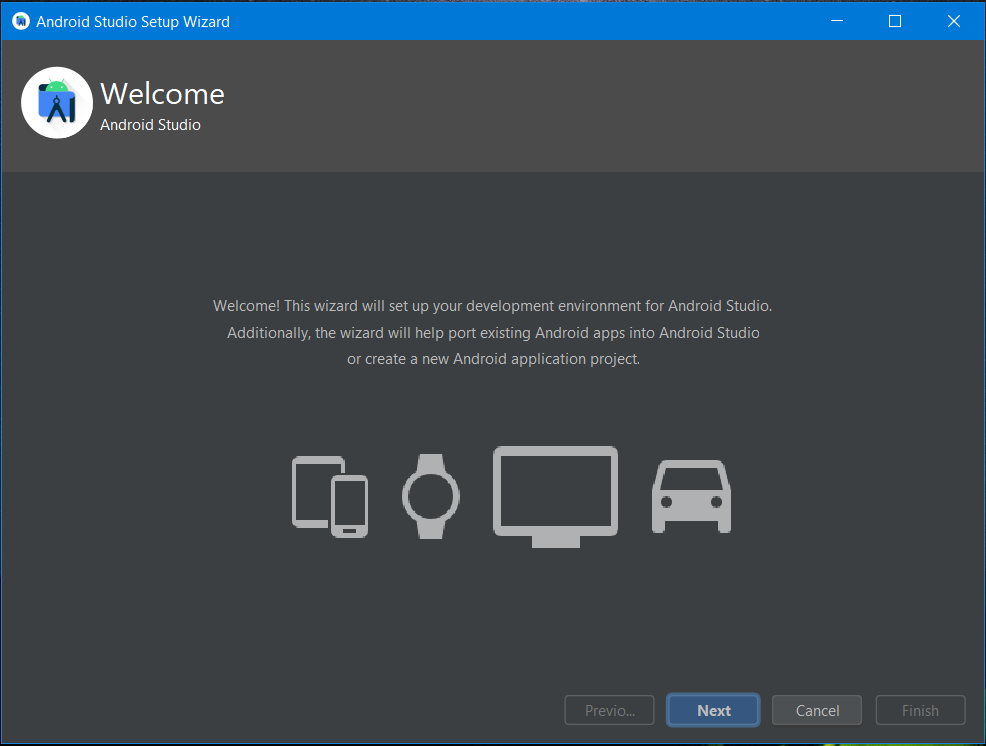
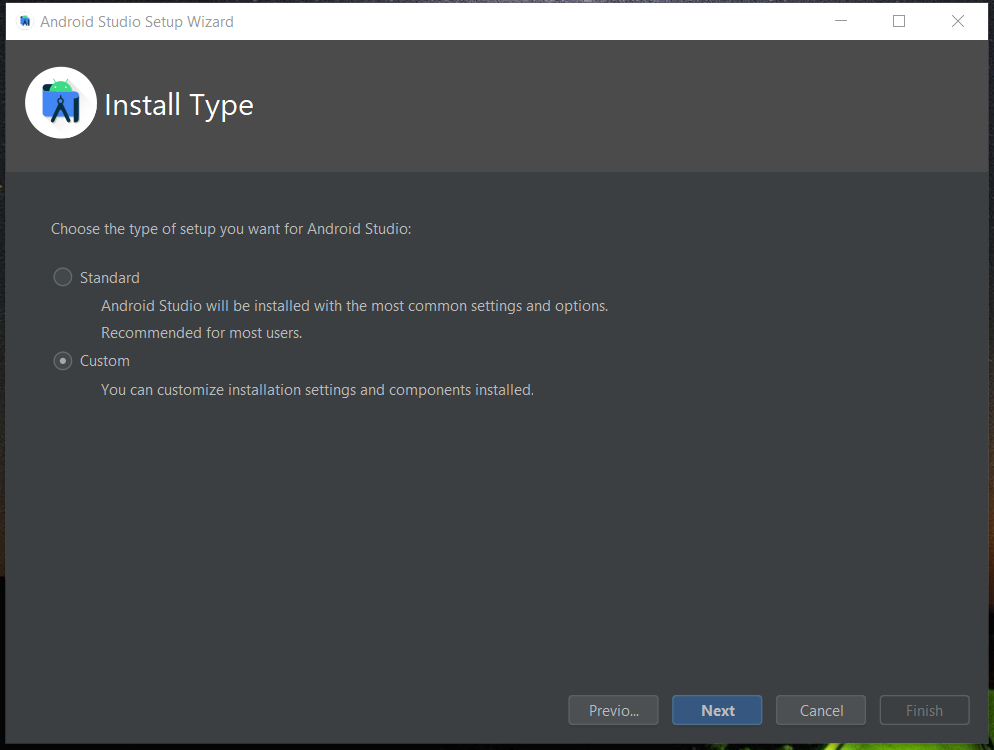
Wait for Android Studio to launch on your computer. On the home screen, click Next > Custom > Next.
For the Java Development kit location in the next step, it is recommended to keep the default path it requires, to avoid the hassle. In the next step, choose the UI appearance you’d like for Android Studio. Click ‘Next‘.
This next step is a bit important. Remember to check the required boxes exactly as shown below. If kits have already been installed, you can ignore those and move on. Click ‘Next‘. Set your desired folder for Android SDK.
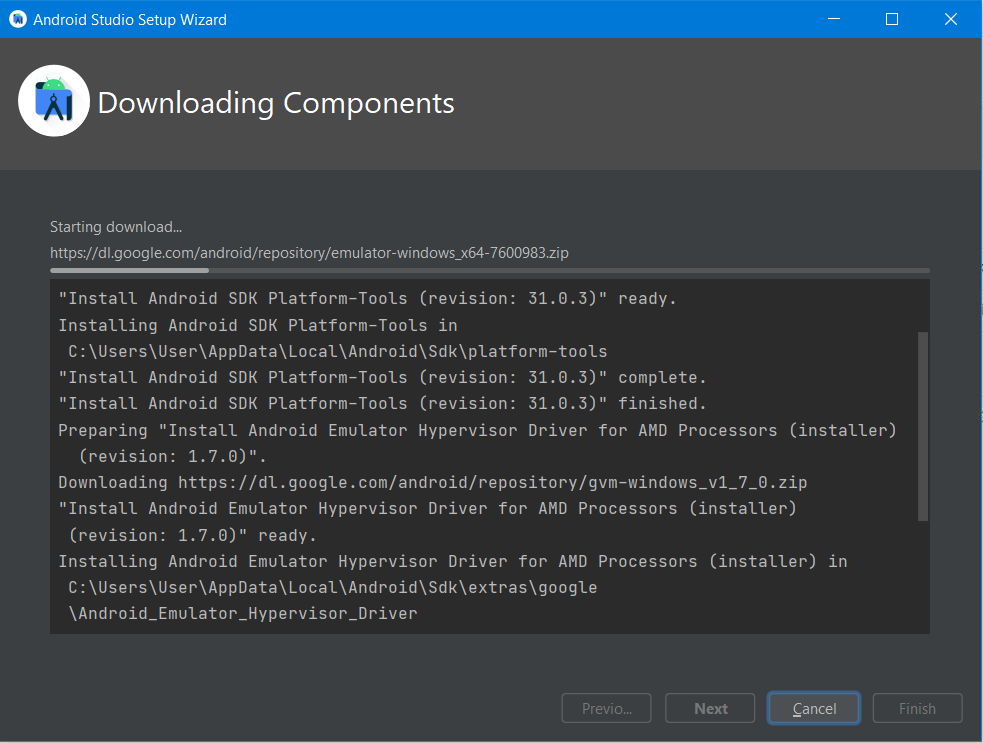
With that done, click on ‘Finish‘. Android Studio will now install all the necessary android tools required for the execution of your flutter projects. This may take a significant time – it’s better to wait!
Now, we are ready to create and build flutter projects on Android Studio and run it on a real or a virtual Android device (emulator).
Step 6: Set SDK as an environment variable, for global access.
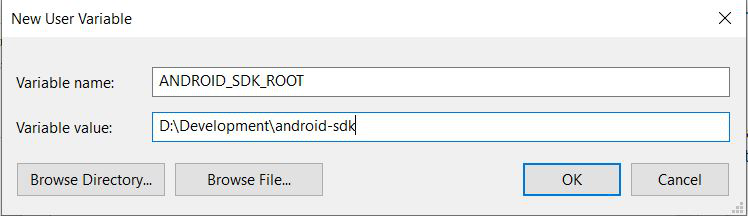
Now, open Command Prompt terminal and run ‘flutter doctor’ again. If you have installed Android SDK in the default directory suggested by Android Studio, there wouldn’t be any problem that would appear. Nevertheless, if you have installed it in a non-default directory, flutter would not be able to detect it in your system. To help it able to do that, you guessed it…we would be assigning it as an environment variable, giving global access.
As discussed earlier in Step 4, go to environment variables and click ‘New‘, and do the following (as recommended by flutter doctor). Click ‘OK‘.
Step 7: Accept required Android Licenses.
On the Command Prompt terminal, type in:
flutter doctor --android-licenses
as suggested by flutter doctor. Hit Enter. To review licenses, type ‘y‘ for Yes.
You’ll see a couple of repeated prompts that look like this:
Accept? (y/N):
Type ‘y‘ whenever asked for.
Finally, after all the license agreements have been accepted, you should see a message that looks something like this:
All SDK package licenses accepted
Step 7: Setup Android Emulator.
You have the option to choose between an Android Device or an Android Emulator to build your application on. It depends totally on you.
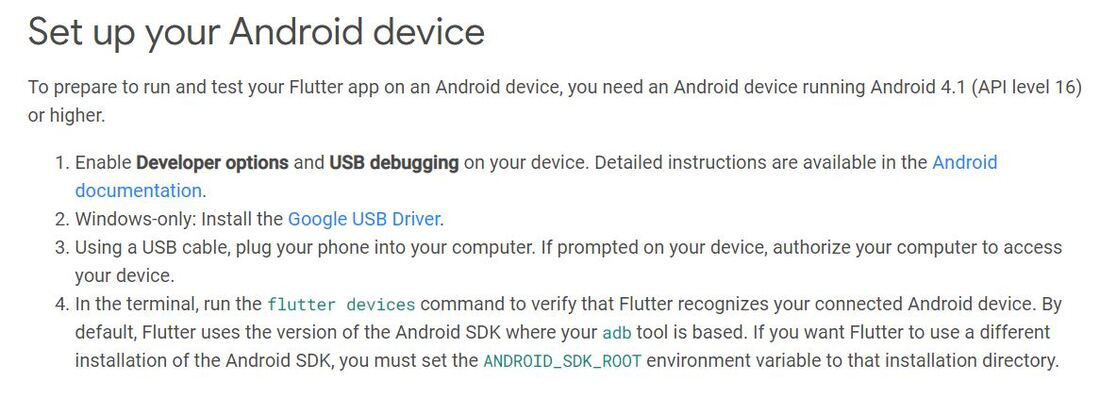
For setting up Android Device, go through the official docs page and follow the exact steps as mentioned. Download The Google USB Driver by following the link and install according to the instructions given. This can also be installed through Android Studio, which you can later connect to a real Android Device to build the application.
For setting up Android Emulator, you need to go through the following steps:
- Open Android Studio.
- On the topmost menu bar, click on Tools > SDK Manager.
- Verify whether you have the latest SDK installed. Remember to install the latest stable version too by checking on the box to the left.
In my case, it is ‘Android 9.0 (Pie)‘. You can even uncheck the latest version (if not stable), to not only save space but also run all your applications on the stable version itself.
- Under the ‘SDK Tools‘ tab, don’t forget to check Google USB Driver to later connect a real Android Device. With that, click ‘Apply‘. Click ‘OK‘ to start SDK installation.
This might take a couple of minutes to complete. After the setup is done, click on ‘Finish‘. Your setup is now complete!
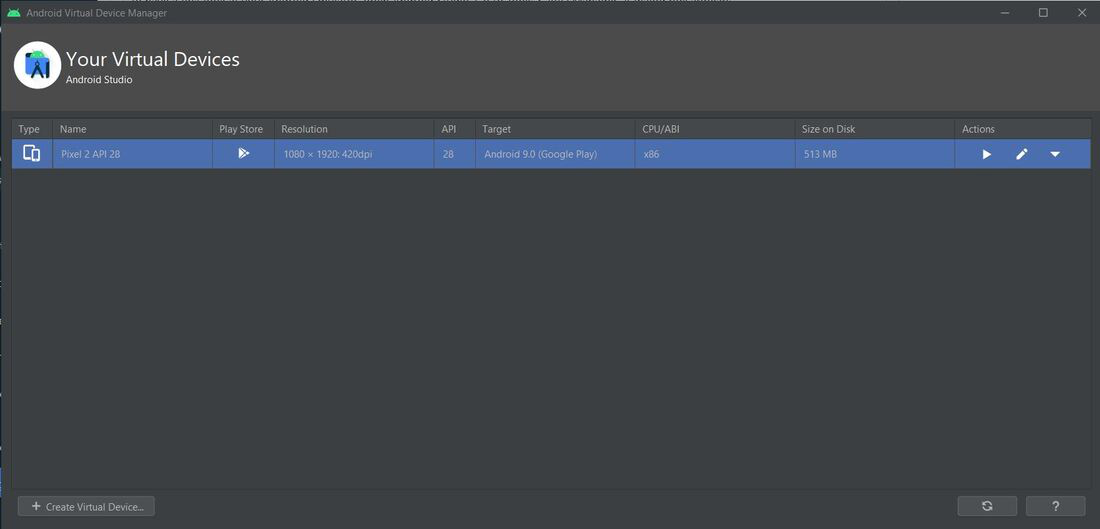
- To have a first look at your Android Emulator, open Android Studio. Go to Tools > AVD Manager. A dialog box appears.

- Click on ‘Create Virtual Device…‘, select a device and its dimensions according to your preference, select a system image and lastly, under all default settings, click on ‘Finish’. Click on the ‘▶’ button to fire up your emulator.
There you go! You now have a fully functional flutter framework with devices/emulators to build your beautiful apps on. Go crazy!
Like Article
Suggest improvement
Share your thoughts in the comments
Please Login to comment...