How to Install Deepin on VirtualBox?
Last Updated :
08 Sep, 2021
Deepin is a Debian-based distribution that aims to provide a user-friendly, user-friendly and reliable operating system. It does not only include the best open source world has to offer, but also it has created its own desktop environment called DDE which is based on the Qt 5 toolkit. It focuses much of its attention on intuitive design.
Features:
- New Enchanting Graphical Interface.
- Support for Light and Dark themes.
- Personalized notification management.
- A new font manager.
Requirements:
- Intel Pentium IV 2GHz or higher
- More than 2G RAM, 4G or higher is recommended
- Minimum 25 GB free disk space
- Deepin iso file which can be downloaded from here.
- VirtualBox, download from here.
Installation:
Step 1: Open Virtual Box, click on press on the new button.
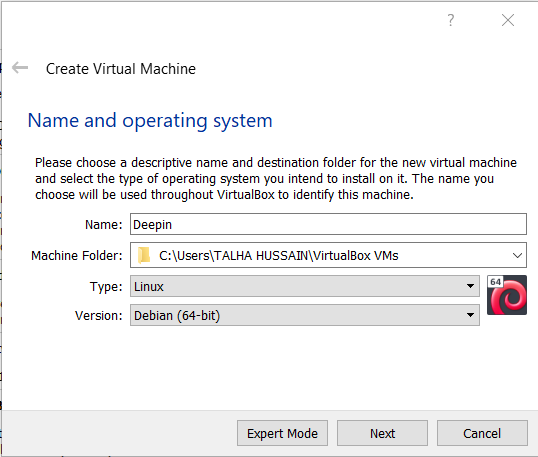
Step 2: Write the name which you want for the virtual machine and select its type to Debian-based 64bit Linux architecture.
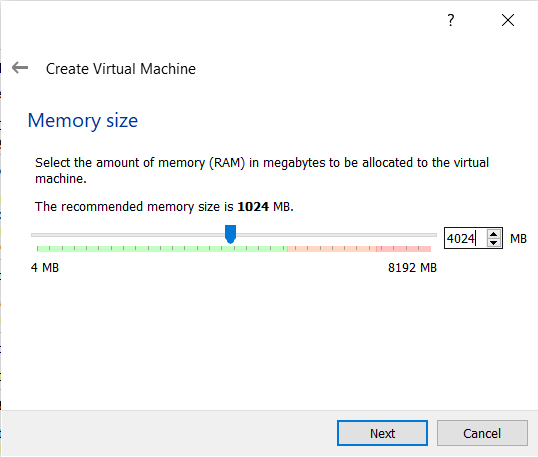
Step 3: Allot the size of RAM to the Virtual Machine of Deepin.
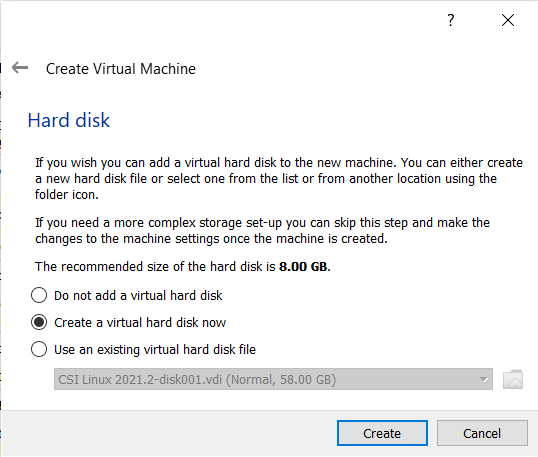
Step 4: Select the option to create a virtual hard disk now and then hit on the create button.
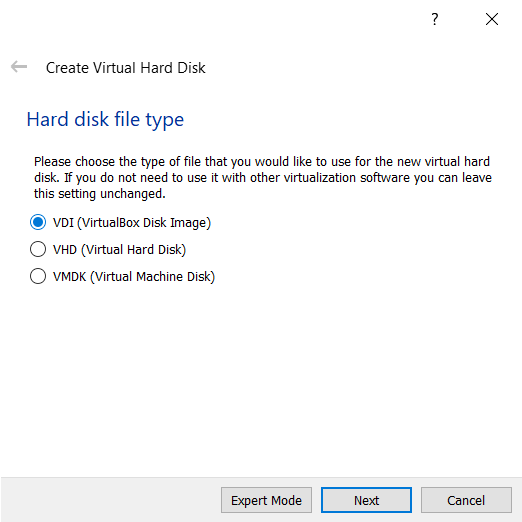
Step 5: Select the Hard Disk File type to VDI.
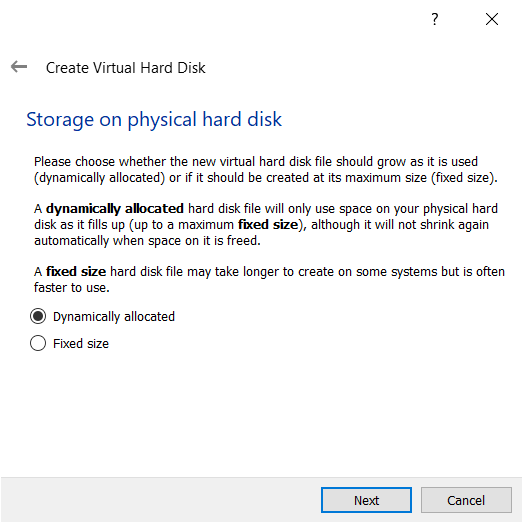
Step 6: Select the type of Storage on Physical Hard Disk Storage to Dynamically Allocated.
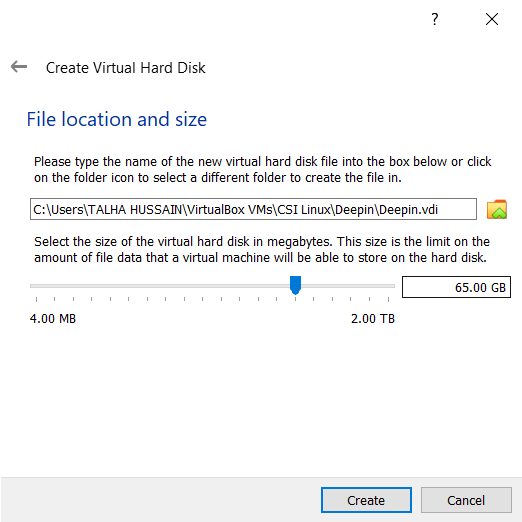
Step 7: Select the size of your virtual hard disk and the location where you want to save your machine and its files.
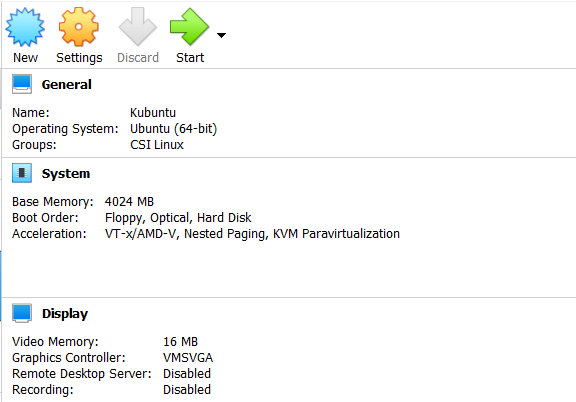
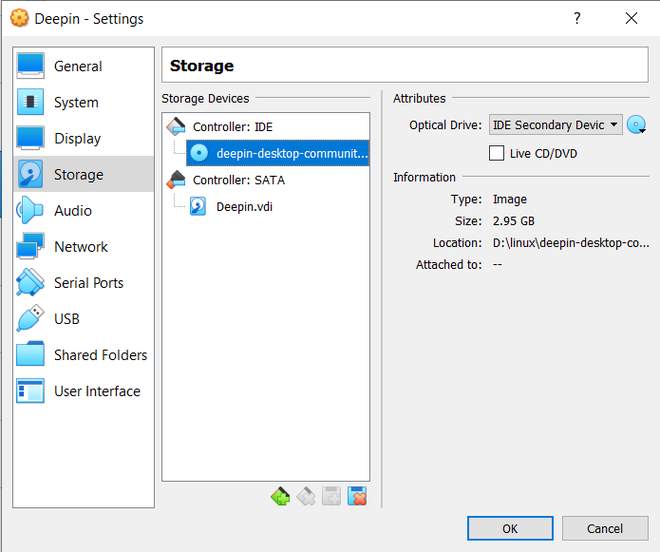
Step 8: Click on the settings icon option located above after selecting deepin machine and select your downloaded Deepin ISO file and then click on the start button.
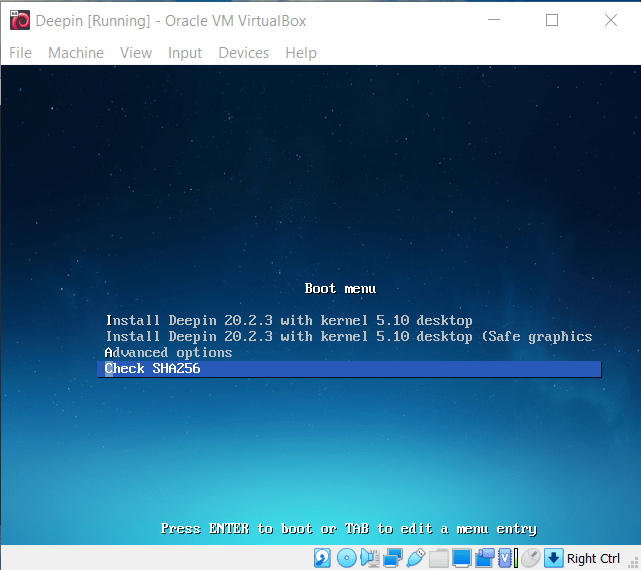
Step 9: Click on the start button. Select the first option and press enter.
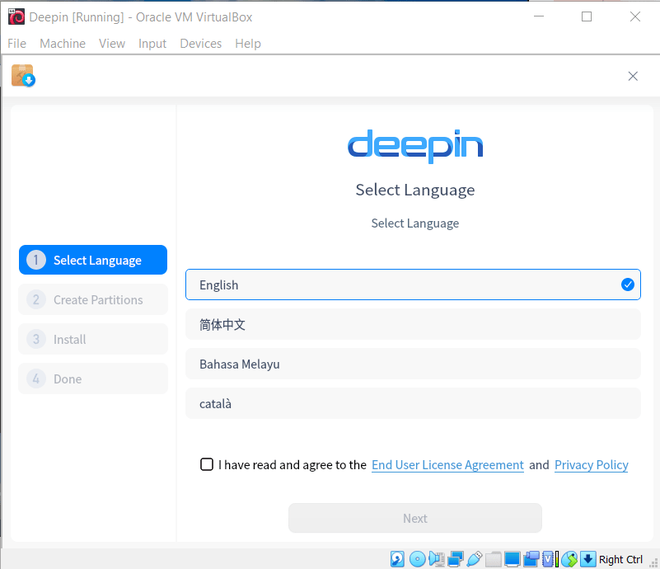
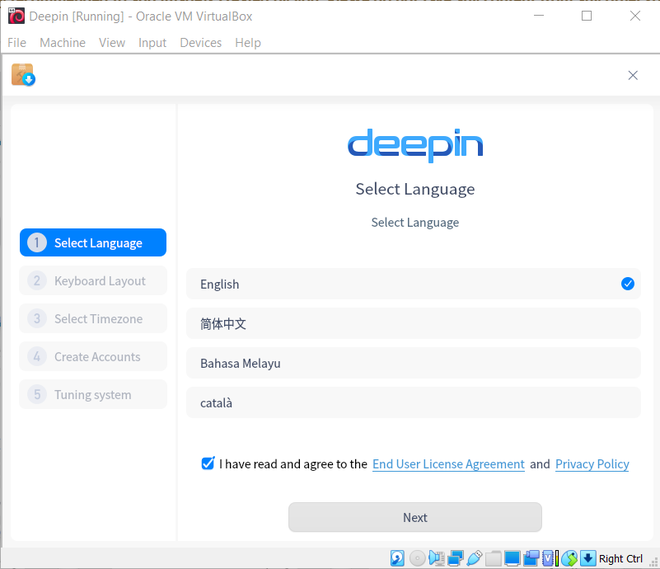
Step 10: Select your preferred language for installation setup.
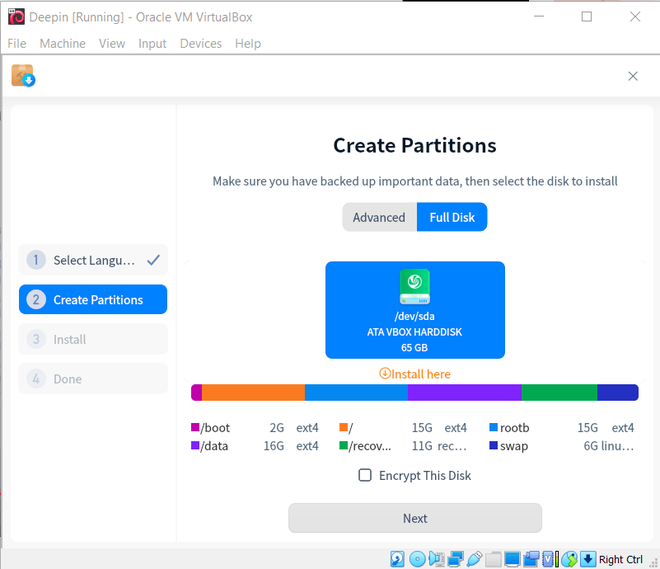
Step 11: Select the /dev/sda icon and click on next.
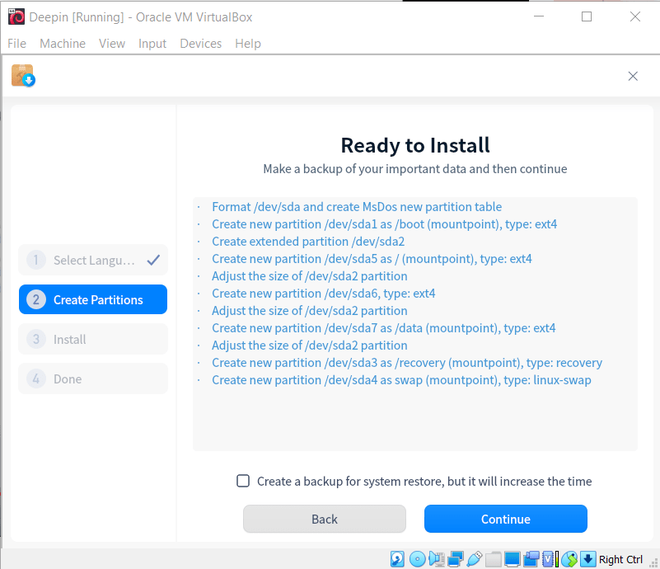
Step 12: Click on continue if you don’t want a backup for system restore otherwise check its box.
Step 13: Wait for the installation to finish.

Step 14: After successful installation, reboot Deepin.

Step 15: Select your language and click on next.
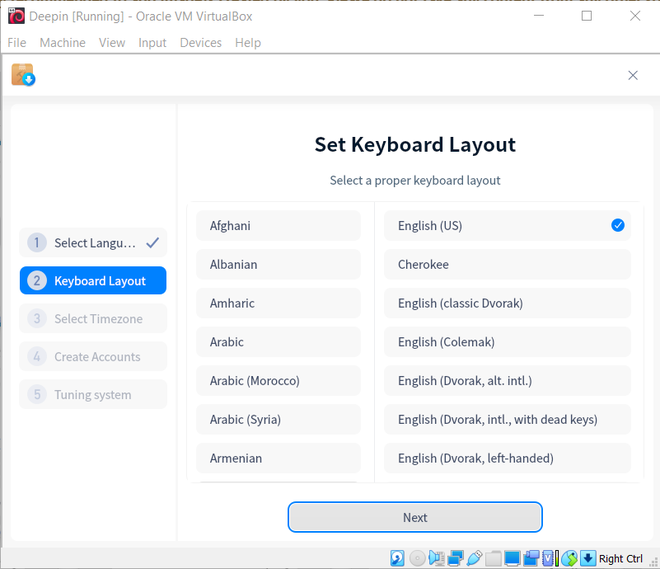
Step 16: Select your keyboard layout and press continue.
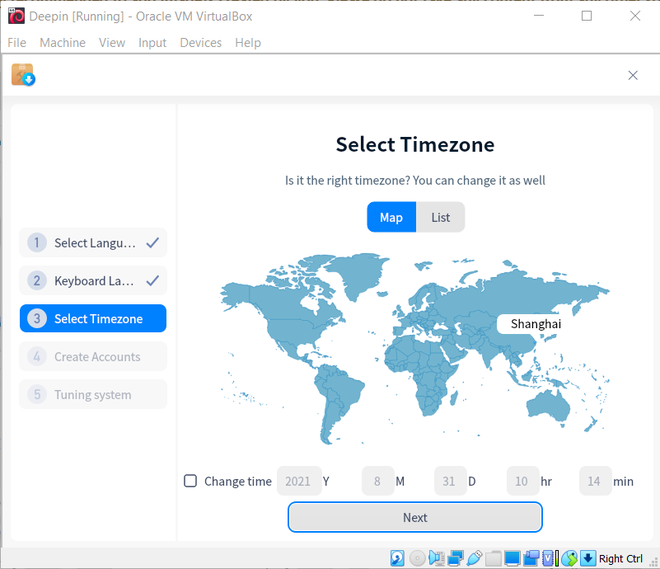
Step 17: Select your location and press continue.
Step 18: Type your username and computer’s name. Pick a strong password that will be required whenever you or anybody else tries to access Deepin. Click on continue.

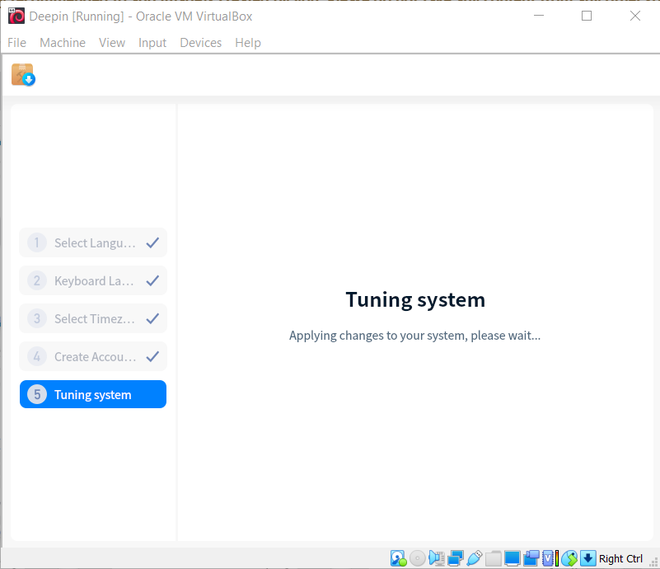
Step 19: Now wait for the changes to apply.
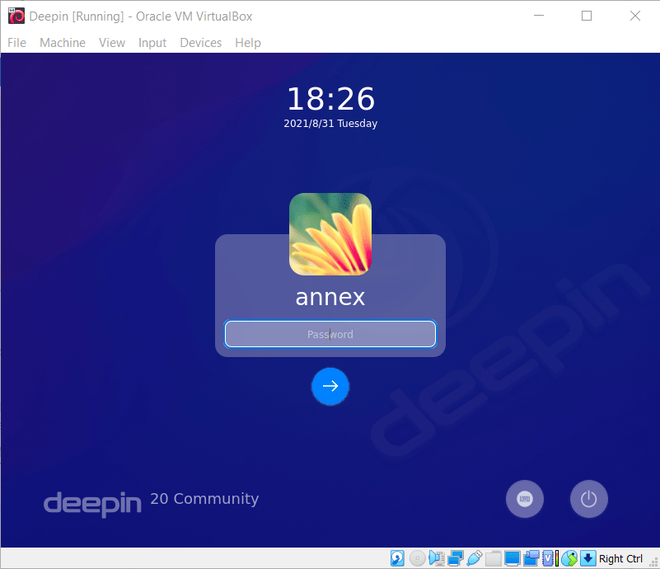
Step 20: After the changes were applied, you will be asked to enter your credentials to log in.
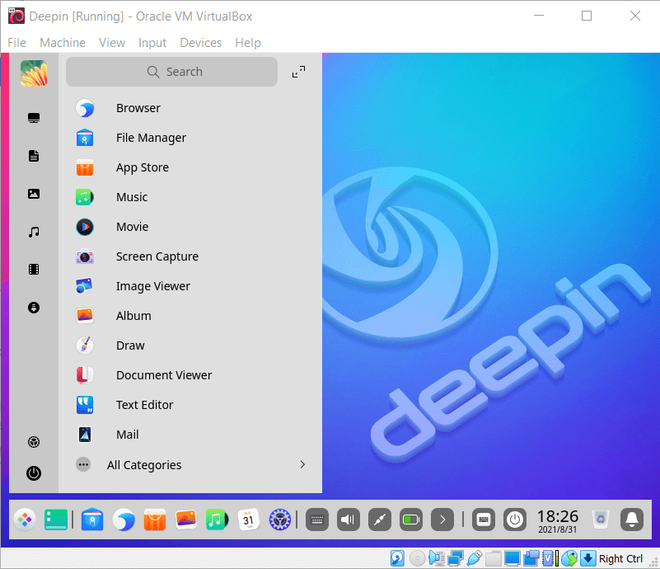
Now let’s explore, on the bottom we can see the application launcher icon, settings icon, calendar etc.
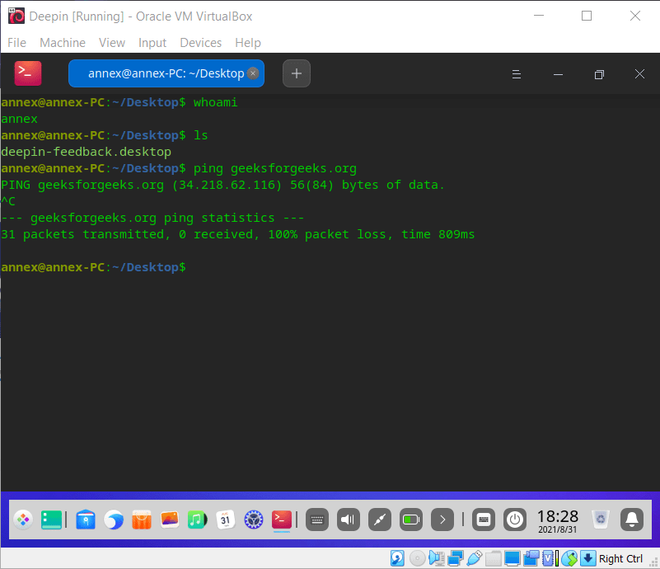
Open the terminal and enter few basic commands.
whoami
ls
ping geeksforgeeks.org
Now you can go ahead and explore yourself what this Linux distro has to offer.
Like Article
Suggest improvement
Share your thoughts in the comments
Please Login to comment...