How to Install Code Blocks for C++ on MacOS?
Last Updated :
29 Oct, 2021
Code::Blocks is a free and open-source IDE that supports a plethora of C++ compilers like GCC, Clang, and Visual C++. It is written in C++ and makes use of wxWidgets as the GUI toolkit. Code::Blocks is focused on C, C++, and Fortran development. It has a custom build system and optional Make support. In this article, we will discuss methods using which we can install Code Blocks on MacOS.:
Features of Code::Blocks:
- Cross-Platform: Works on MacOS, Linux and Windows.
- Multiple C++ Compilers: It supports GCC, MinGW, Digital Mars, Microsoft Visual C++, Borland C++, LLVM Clang, Watcom, LCC, and the Intel C++ compiler.
Installing Code::Blocks on MacOS:
On MacOS, Code::Blocks relies on the Xcode distribution for its compiler. So, first, install Xcode from App Store and then continue with the following steps :
Step 1: Go to the official SourceForge of CodeBlocks project using this link, to download the application package. Click on the Download button.
Code::Blocks on SourceForge.com
Step 2: Open the downloaded file to initiate installation.
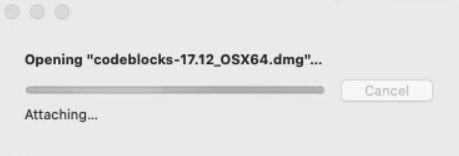
Package extraction begins.
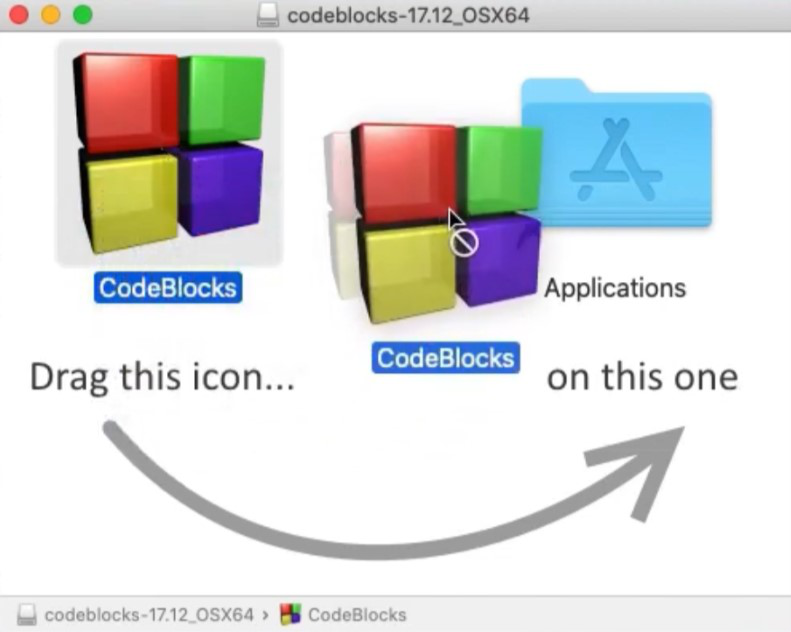
Step 3: Drag the CodeBlocks icon to the application folder to begin copying Codeblocks to the application folder.
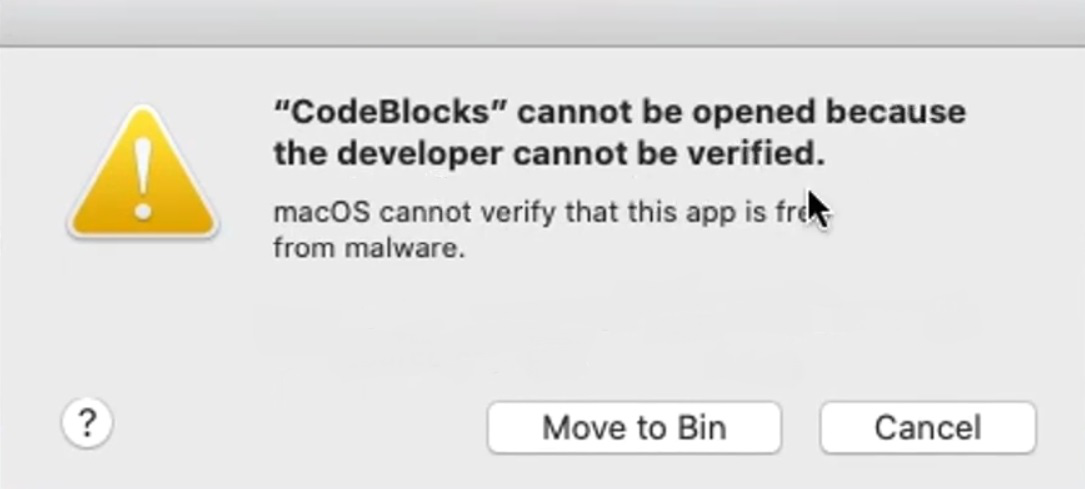
Step 5: Open the Code::Blocks app. The following prompt is displayed.
Step 5: Go to System Preferences -> Security and Privacy. Click the padlock in the lower-left corner of the dialog box, and then enter your system password when prompted, to allow changes.
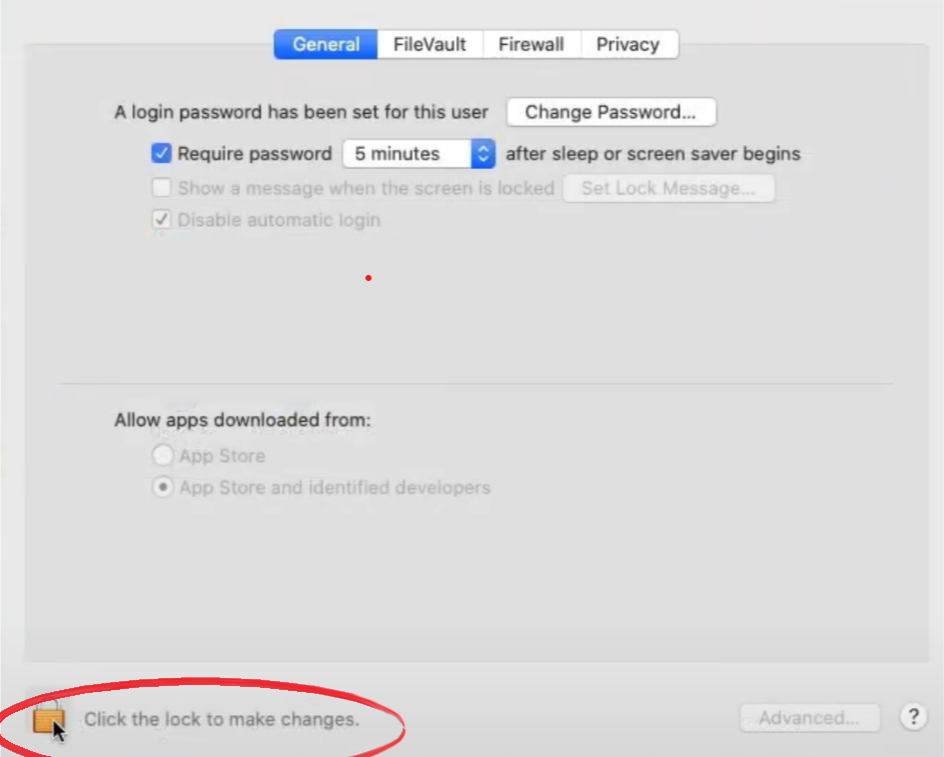
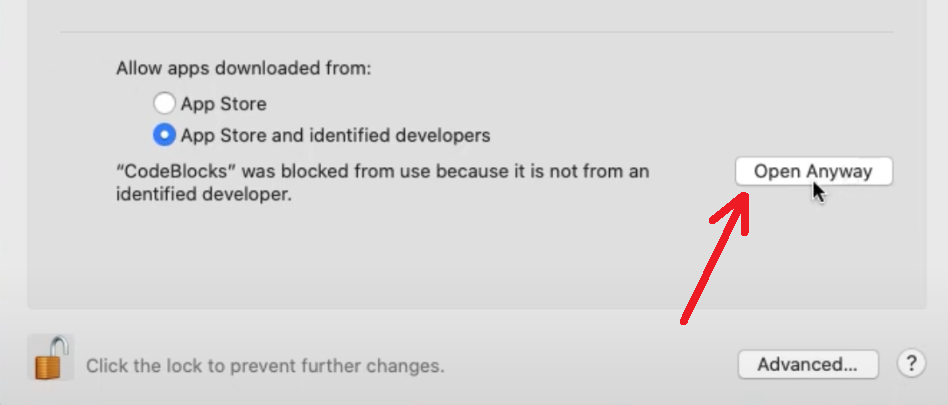
Step 6: Select the option Allow Applications Downloaded from: App Store and identified developers. Close the Prompt appeared in Step 5.
Click on the Open Anyway button in the Security & Privacy dialog box.
Step 7: Another Dialog box appears. On this dialog box, click on Open to start Code::Blocks.
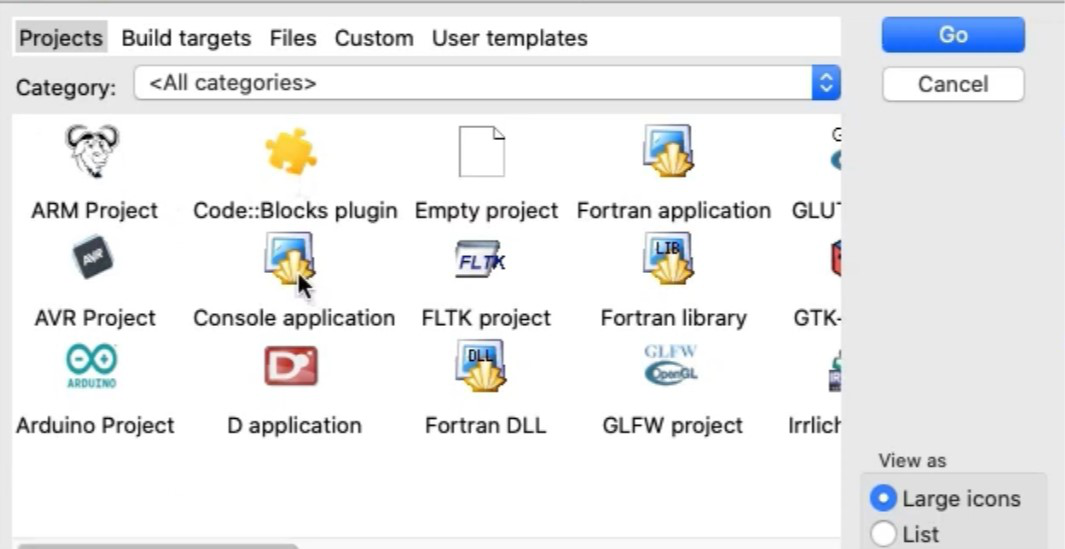
Step 8: Go to File -> New -> Project. On the New from template dialog, select Console Application and click Go.
Step 9: Select the C++ option and click Next. Keep clicking Next and then click Finish to create your first C++ project.

Step 9: On the menu bar, go to Settings -> Environment. Change the text in the field “Terminal to launch console programs” to:
osascript -e 'tell app "Terminal"' -e 'activate' -e 'do script "$SCRIPT"' -e 'end tell'

Step 10: Open the main.cpp file from the left project pane. It contains Hello World program by default. Go to Build-> Build and Run. The program should run successfully on a terminal.
Like Article
Suggest improvement
Share your thoughts in the comments
Please Login to comment...