How to Install apt-listchanges package on Ubuntu?
Last Updated :
14 Jul, 2022
Upon collecting the appropriate items from the Debian changelog and NEWS files, the utility apt-listchanges may compare a new version of a package with the one presently installed and display what has changed. It may be run on multiple.deb archives at once to get a list of all changes that would result from installing or updating a set of packages. This is done automatically during upgrades when set as an APT plugin. apt-listchanges is a utility that displays what has changed in a new version of a Debian package compared to the one that is presently installed on the system. It accomplishes this by extracting the required items from Debian package archives’ NEWS.Debian and changelog[.Debian] files, which are typically stored in /usr/share/doc/package. apt-listchanges will search the files (assumed to be Debian package archives) for relevant changelog entries and show them all in summary, arranged by urgency, given a collection of filenames as inputs (or read from apt when using – apt).
How To Install apt-listchanges on Ubuntu
On Ubuntu 20.04, there are three options for installing apt-listchanges. Apt-get, apt, and aptitude are all available. Each strategy of installation will be described in detail in the following sections. You may select any of them.
- Using apt-get to install
- Using aptitude to install
- Using apt to install
Method 1: Using the apt-get command
Step 1: Using the following command, update the apt database using apt-get.
sudo apt-get update
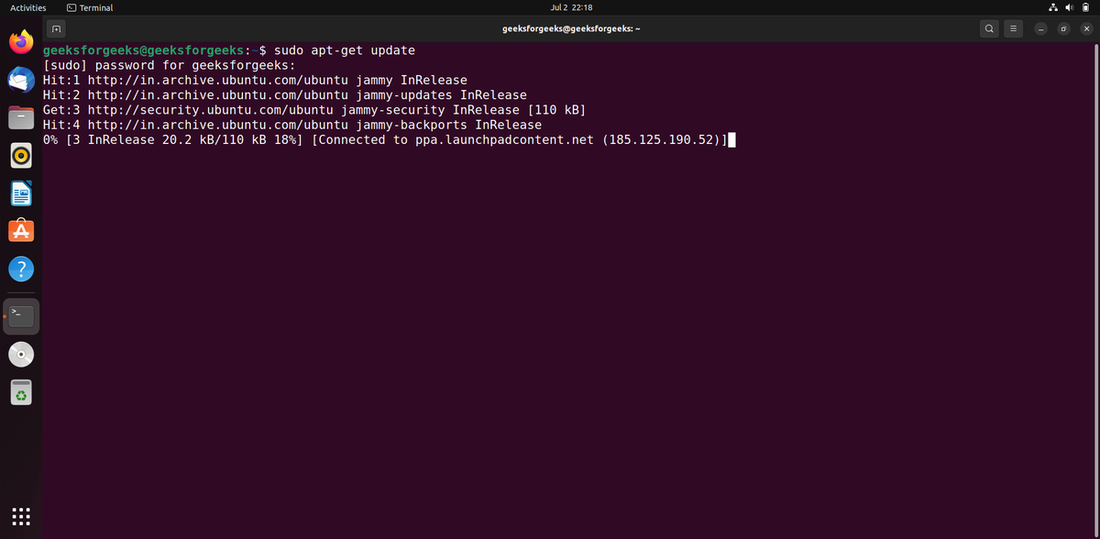
Step 2: After upgrading the apt database, we can use apt-get to install apt-listchanges by performing the following command:
sudo apt-get -y install apt-listchanges

Method 2: Using apt
Step 1: The apt database will be updated with the command below.
sudo apt update
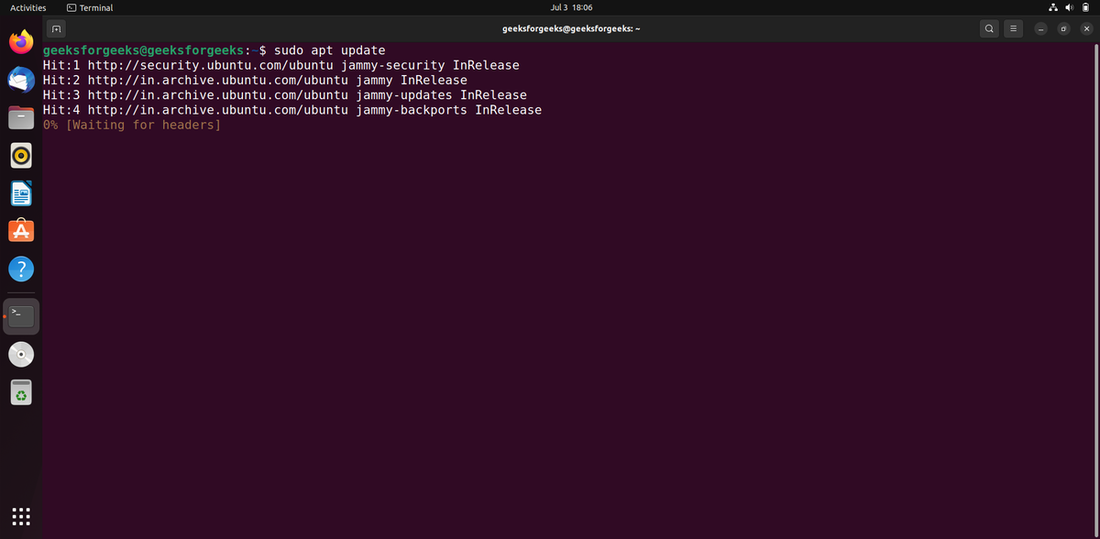
Step 2: After upgrading the apt database, we can use apt to install apt-listchanges by performing the following command:
sudo apt -y install apt-listchanges

Method 3: Using aptitude
Step 1: If you want to use this method, you may need to install aptitude first because it is not normally installed by default on Ubuntu. Use the following command to update the apt database with aptitude.
sudo aptitude update

Step 2: After upgrading the apt database, we can use aptitude to install apt-listchanges by performing the following command:
sudo aptitude -y install apt-listchanges

Options that we can use with apt-listchanges
Instead of using command-line arguments, read filenames from a specially structured pipeline (as given by apt), and take into account any apt-specific configuration parameters.
Show more information, typically stuff you don’t want to see. Print a message, for instance, when a package of the same or an earlier version is about to be installed or when a package is about to be installed for the first time.
It uses the front to display the information to the user.
Example 1: Reading Changelog
By using the following command, we can see the changelog of the drive package. Note that the package must have .deb extension.
apt-listchanges –which=changlogs odrive_0.2.1_amd64.deb
Like Article
Suggest improvement
Share your thoughts in the comments
Please Login to comment...