How to install and use lite-server in your Project ?
Last Updated :
06 Oct, 2021
Lite-server is a lightweight development server that serves a web application, opens it in the browser, and refreshes the page when HTML or JavaScript changes are made to the source code. This can help save time during development as the user does not manually have to refresh the page every time a change is made. The following steps have to be followed to install and use lite-server:
1. Install Node.js:
Node.js manages npm libraries and dependencies to support some browsers when loading particular pages. It also serves the run-time environment on the localhost (local machine).
- Node.js can be downloaded from their official website.
- Install the downloaded setup by following the instructions in the installation wizard.
- After installation, the Node version can be checked using the following command.
node -v

2. Create the HTML file (Optional)
- The HTML file would be displayed by the server is given below. This step is optional and any file can be used as the starting point for the server to show.
HTML
<!DOCTYPE html>
<html lang="en">
<head>
<meta charset="UTF-8">
<meta name="viewport"
content="width=device-width,
initial-scale=1.0">
<title>Document</title>
</head>
<body>
<h1>GeeksforGeeks</h1>
lite-server example
</body>
</html>
|
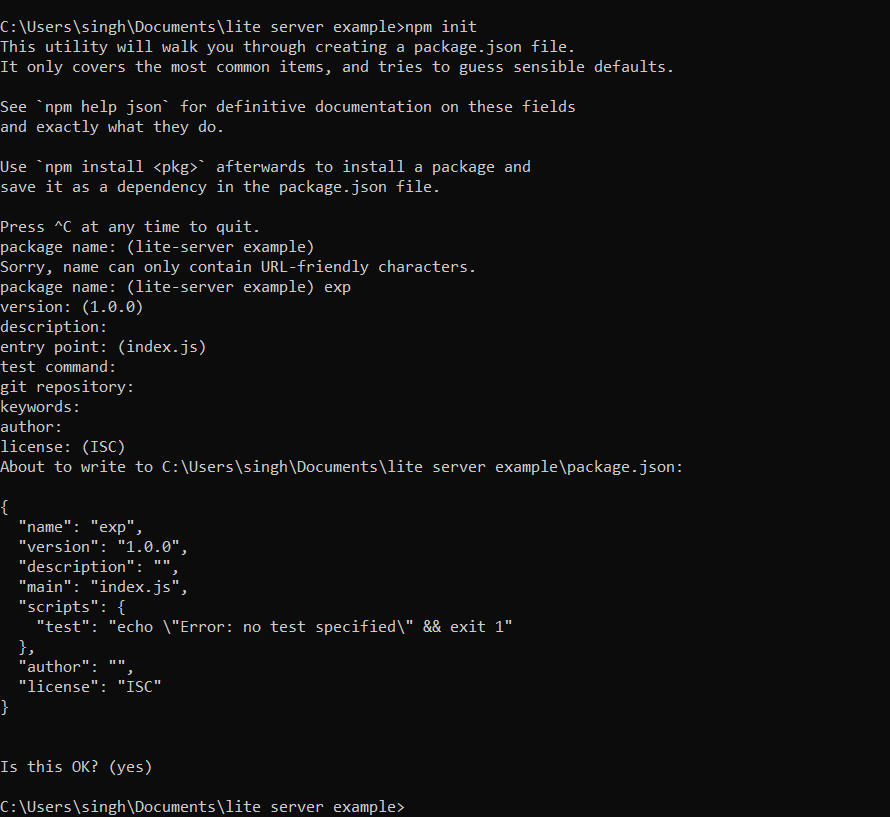
3. Initialize a new Node project:
- Navigate to the folder or application where the lite-server has to be used.
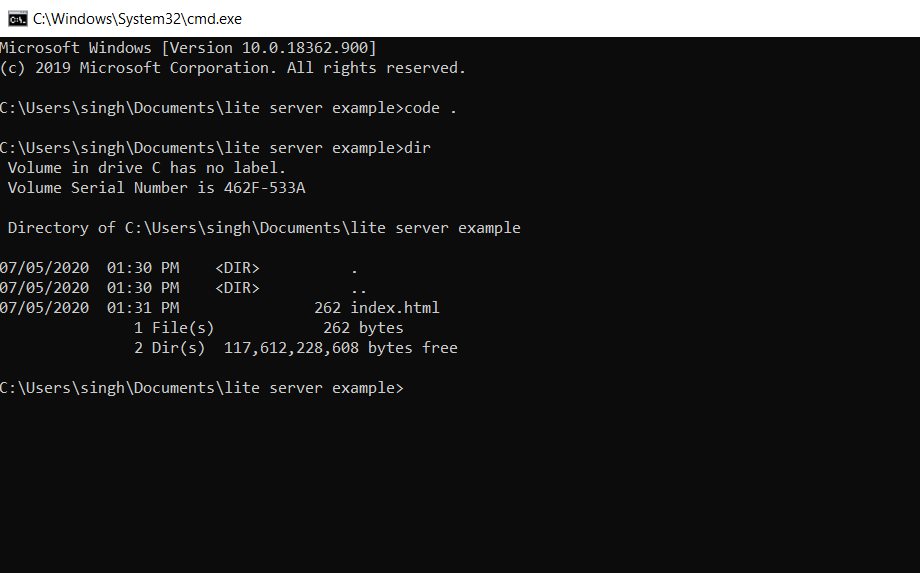
- In that folder, use npm to initialize a project. The parameters can be specified as asked by the prompt. This will create a package.json file containing information about the project.
4. Install and configure lite-server
- The newly added files can be seen in the folder.


5. Start the server
- The server can now be started using the start command. The details of the server would be displayed if the server started successfully. It also shows the local and external access URLs that can be used to access the server.
npm start

- After the starting of the server, the default browser will automatically start a new tab at localhost:3000 which means the server was successfully installed and started. The server can be closed by pressing Ctrl + C in the command prompt running the server.
Output:

Like Article
Suggest improvement
Share your thoughts in the comments
Please Login to comment...