How to Install and Set up a WAMP Server ?
Last Updated :
06 Oct, 2021
Windows, Apache, MySQL and PHP is commonly abbreviated as WAMP. Some people may confuse with LAMP but the only difference between the two is their operating systems. In case of LAMP, L stands for Linux. Setting up a server included the installation of all the software listed in the abbreviation. Another version is MAMP, which is for Mac.
Why should we set up a WAMP server?
Everything listed in the abbreviation can be downloaded separately but it takes time to configure each of them. In case of WAMP, the time taken to this is much less than it comes as a whole package. It is used in web development to have a safe experience in testing features.
Steps to set up a server:
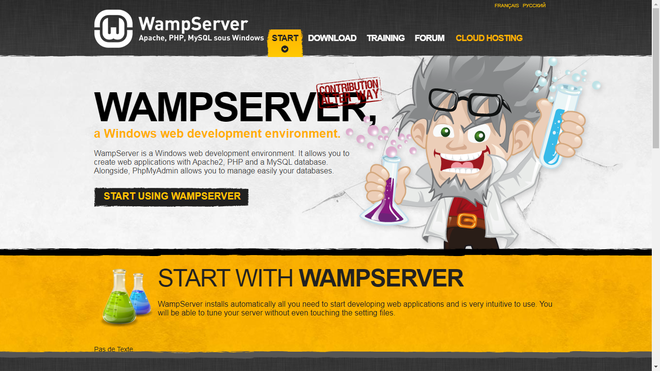
The main website
1. Download: Go to https://www.wampserver.com/en/ and install the version that is appropriate for your system. After installation, run the installer. During this part, you can change your default browser if you want. You can go ahead with the default options or add more as per your liking. If you want to use it on multiple machines, installing it on a flash drive would do the job.
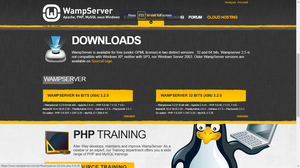
The download section

On running the installer, you have a few mini steps to complete:
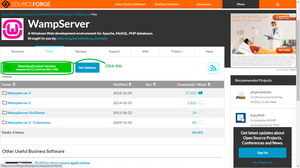
Download the version you need

Select your language
After selecting your language, it will show you the license agreement. Once you have read it, click I accept the agreement and press next.

Agreement
Select the location you want it to be installed in. Though the default is recommended, you can choose whichever is more suitable.

Choose location
After selecting your folder, you get extra options to choose. The options include whether you want to add a desktop and quick launch icon. Once selected, you will be asked to confirm your choices before installing.

Confirmation
The installation process will take a while but it should get done in a few minutes.

The installation
Congratulations! You have successfully installed a WAMP server. Launch the application or launch it through the quick launch menu if you want.
Note: The latest version is WAMP server 3. I installed WAMP server 2 because my device isn’t compatible with the newest one.

2. Configuration: Now, we have to configure the WAMP contents we installed. Once installed, you will mostly get a notification from the firewall asking whether the newly installed software should get the permission to use your network. Give it the permission and next find the option in your hidden taskbar icons or in the windows start menu. The color of the symbol corresponds to the status the server is in:
- Red- Can mean the WAMP server is temporarily deactivated or there is some sort of hindrance that is not allowing it to work
- Orange- Can mean it is idle or, like red, there is something that didn’t get installed properly.
- Green- The server is active and ready to use.

Active status
Go to your selected browser (the one you chose during the installation), and type http://localhost. If it works, you have completed the installation correctly but if it doesn’t check the port could help.
Now you are ready to go! Go ahead and create your first WAMP server project. (Note: You may need to install WordPress for it. Ensure you put it in the same directory as the server.)
Like Article
Suggest improvement
Share your thoughts in the comments
Please Login to comment...