How to install and Run Linux Software in Windows 10 using WSL2?
Last Updated :
07 Nov, 2022
We often may want to run Linux commands, and work with Linux applications but don’t want to install Ubuntu OS, There are several approaches to do this, but the most simple approach is to use Windows Sub System Linux (WSL).
In this article, you’ll learn the following things:
- What is WSL2?
- Prerequisites to set up WSL2.
- How to set up WSL2 in Windows 10?
- Run sample commands in WSL2.
What is WSL2?
Windows Subsystem for Linux is a compatibility layer for running Linux executables natively on Windows 10, 11, and Windows Server 2019, and we will install v2 of WSL i.e WSL2.
Prerequisites to setup WSL2 :
- Windows 10 OS with version 1903 or higher or Windows 11 OS.
- BIOS Level Virtualization support should be enabled, you can check it in Task Manager > Performance Tab.
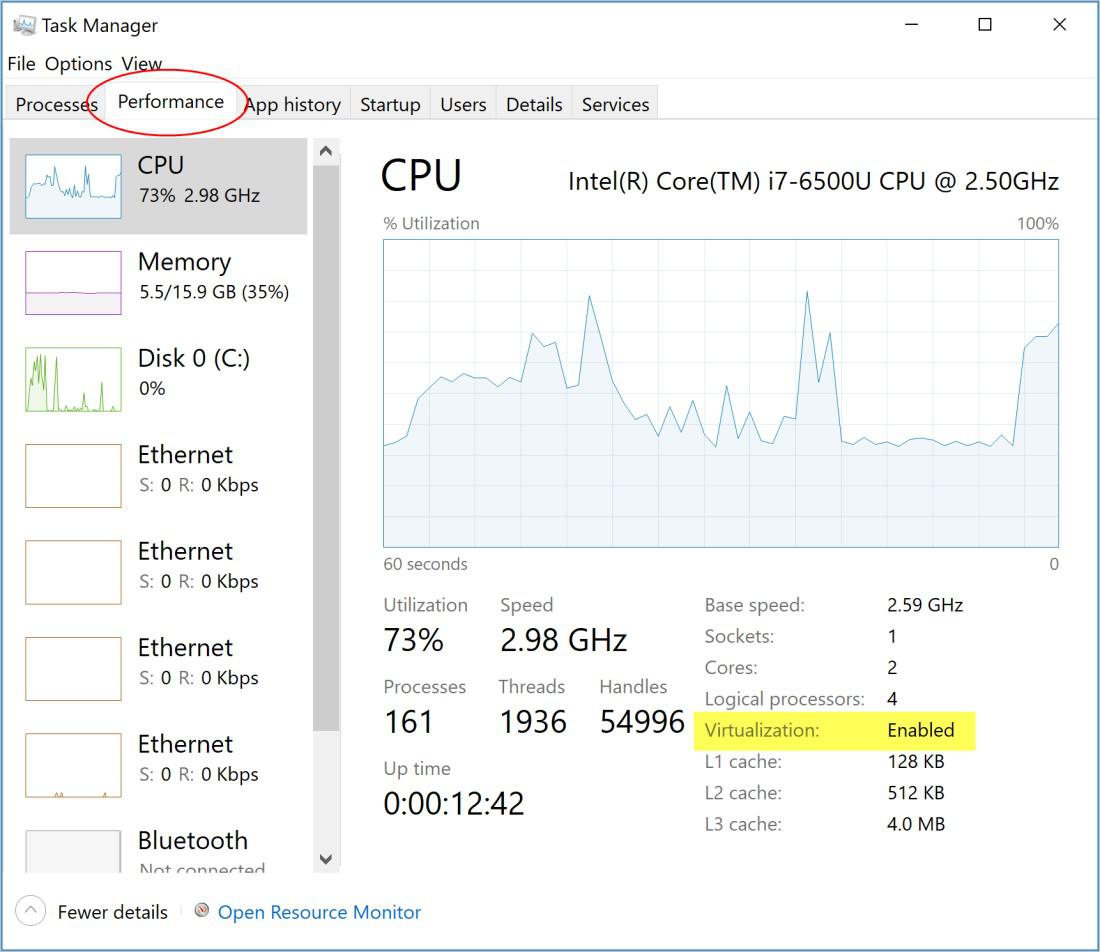
Ensure BIOS-level virtualization is enabled
How to set up WSL2 in Windows 10?
Step 1: Enable WSL Feature.
To install WSL distros (Linux OS) we need to have the WSL feature enabled.
Open Powershell as Administrator and run the below command.
dism.exe /online /enable-feature /featurename:Microsoft-Windows-Subsystem-Linux /all /norestart
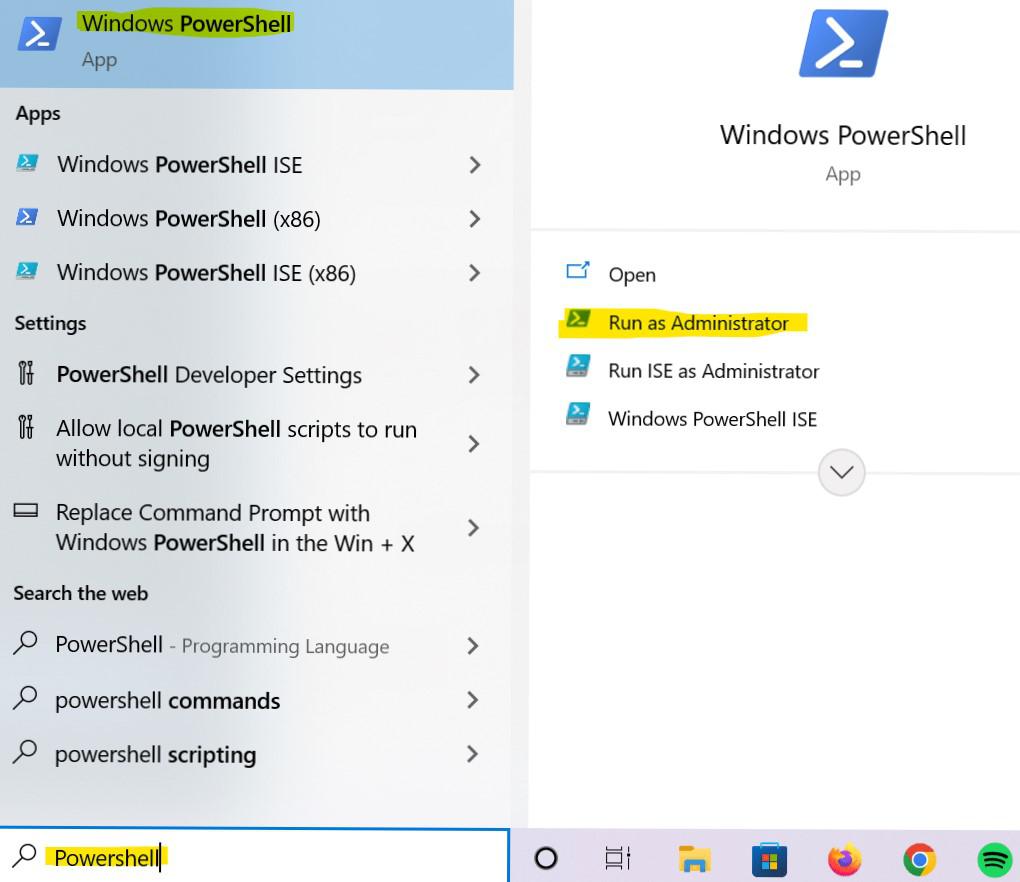
Open Powershell as Administrator

Enable WSL Feature
Step 2: Enable Virtual Machine Platform.
WSL also depends on a Virtual Machine Platform, so we must enable it before installing the Linux distros (OS).
Open Powershell as Administrator and run the below command.
dism.exe /online /enable-feature /featurename:VirtualMachinePlatform /all /norestart

Enable Virtual Machine Platform
Step 3: Restart Your PC
Restart your PC to make the above changes to become active.
Step 4: Download and install the Linux kernel update package.
Updating the WSL kernel package is recommended before installing Linux distros, you might face issues if this is not up to date.
- You can download the Linux kernel update package from here.
- Double-click the downloaded file to update the kernel.

Update Linux Kernel
Step 5: Set v2 as the WSL default version.
WSL2 is preferred over version 1 for better performance.
wsl --set-default-version 2

Set the WSL Default version as 2
Step 6: Install Linux distribution (Ubuntu).
Now we can install the required Linux distros, here in this example where we are installing Ubuntu 20.04.
- Open Powershell and run the below command.
wsl --install -d Ubuntu-20.04

Install Ubuntu Distribution
- Once installation is completed, open “Ubuntu” from the start menu.

Open Ubuntu Application
- Set username, and password for WSL environment (Ubuntu).

Set username & password
Step 7: Run sample commands.

Run Sample commands in Ubuntu
That’s it, we’ve done WSL setup and executed sample commands in Linux distribution in Windows 10 successfully.
Like Article
Suggest improvement
Share your thoughts in the comments
Please Login to comment...