How to Install and Configure Elasticsearch on Ubuntu ?
Last Updated :
30 Sep, 2022
Elasticsearch is a Cross-platform search engine based on Apache’s Lucene library. It provides a distributed, multitenant-capable full-text search engine with an HTTP web interface and schema-free JSON documents. It is written in Java.
Prerequisites: Java Installation on Ubuntu
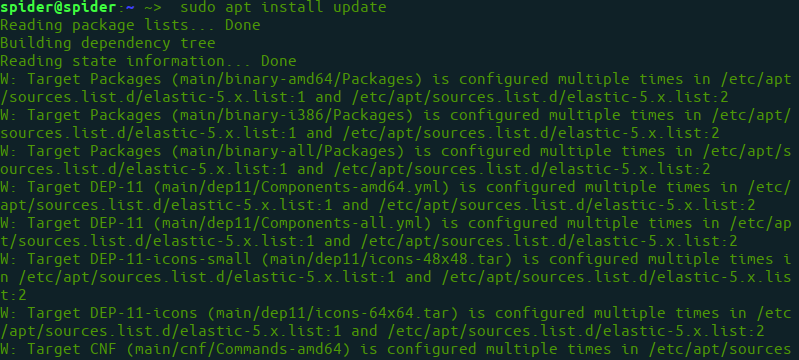
Step 1: First, update your system by using the following command:
$sudo apt install update
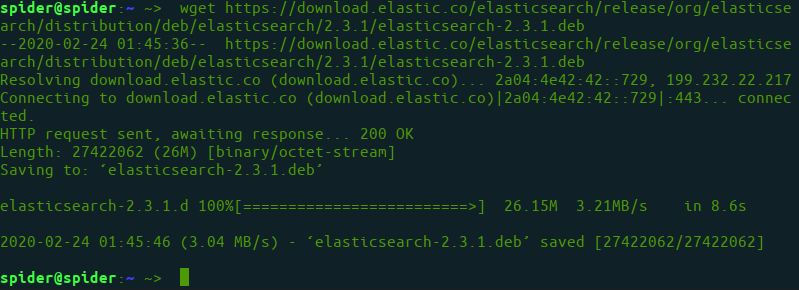
Step 2: Download .deb file for elasticsearch.
$wget https://download.elastic.co/elasticsearch/release/org/elasticsearch/distribution/deb/elasticsearch/2.3.1/elasticsearch-2.3.1.deb
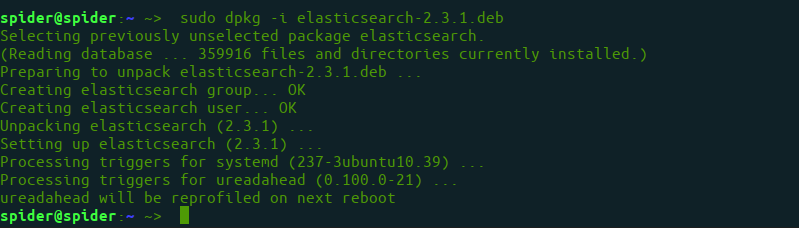
Step 3: Use dpkg commond to install the .deb file.
$sudo dpkg -i elasticsearch-2.3.1.deb
Step 4: Enable elasticsearch service
$sudo systemctl enable elasticsearch.service

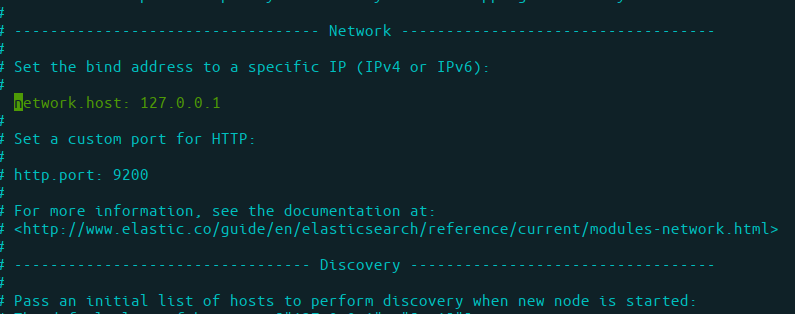
Step 5: Setup network configuration for elasticsearch. Open file
$sudo nano /etc/elasticsearch/elasticsearch.yml
and set IP as localhost
...
network.host: 127.0.0.1
...
Step 6: Now, restart service.
$sudo systemctl restart elasticsearch
Step 7: Using and Testing Elasticsearch
$curl -X GET 'http://localhost:9200'
Output of curl
{
  "name" : "Node-1",
  "cluster_name" : "mycluster1",
  "version" : {
    "number" : "2.3.1",
    "build_hash" : "bd980929010aef404e7cb0843e61d0665269fc39",
    "build_timestamp" : "2016-04-04T12:25:05Z",
    "build_snapshot" : false,
    "lucene_version" : "5.5.0"
  }
}
Like Article
Suggest improvement
Share your thoughts in the comments
Please Login to comment...