How to Install Anaconda on MacOS?
Last Updated :
30 Sep, 2021
In this article, we will learn how to install Anaconda on MacOS. Anaconda is a distribution of the Python and R programming languages for scientific computing, that aims to simplify package management and deployment.
Installation using Graphical Interface
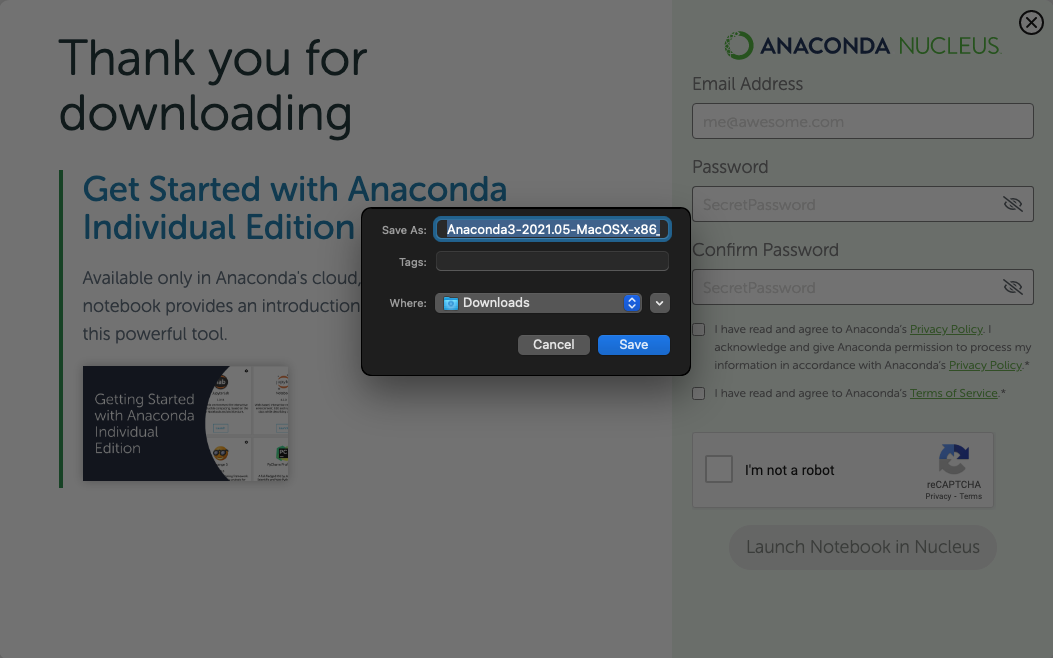
Step 1: Download the Graphical installer from here and save it inside a directory.
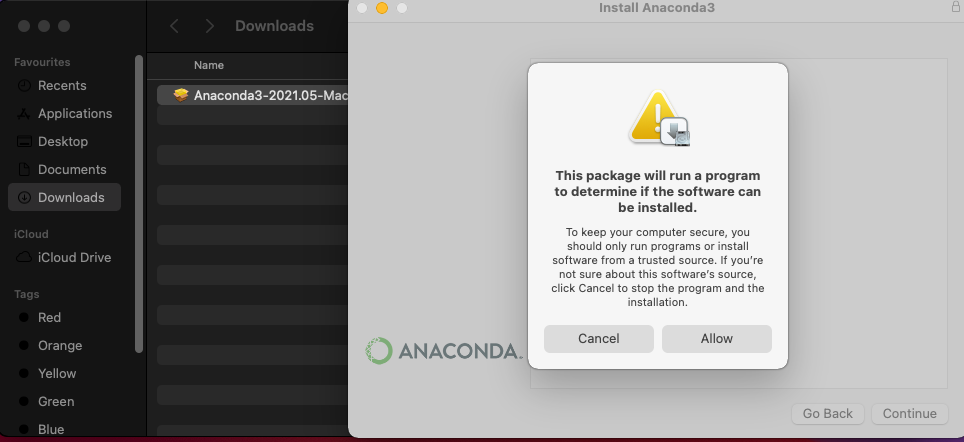
Step 2: Go to the downloaded directory and Double click on the downloaded file and click on Allow to start the installation
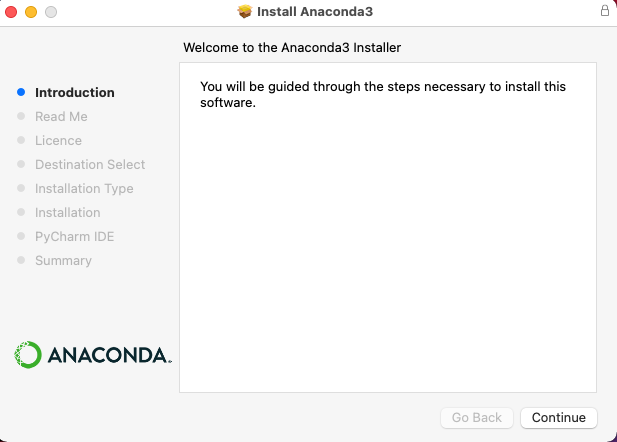
Step 3: Click on Continue
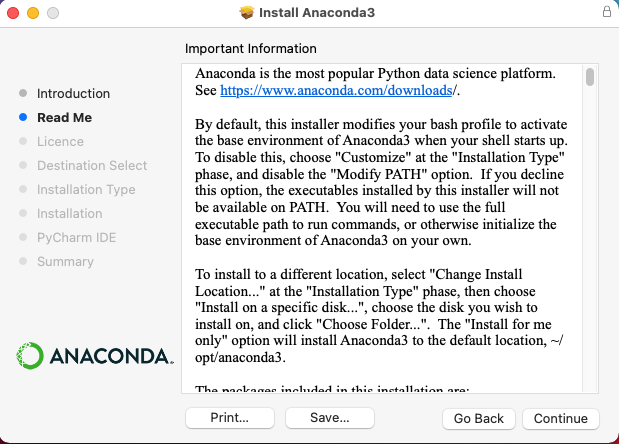
Step 4: Read the “Read Me” and click on Continue
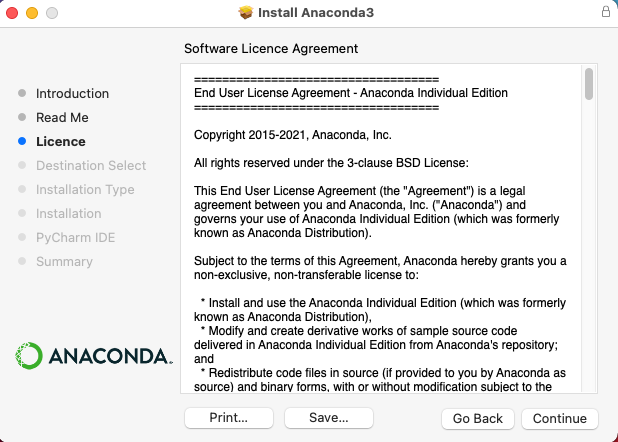
Step 5: Click on Continue after reading the License Agreement.
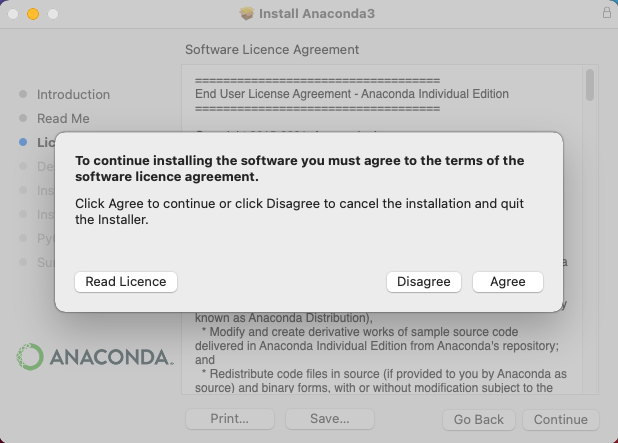
Step 6: After Clicking on continue, click on Agree to accept the license agreement.
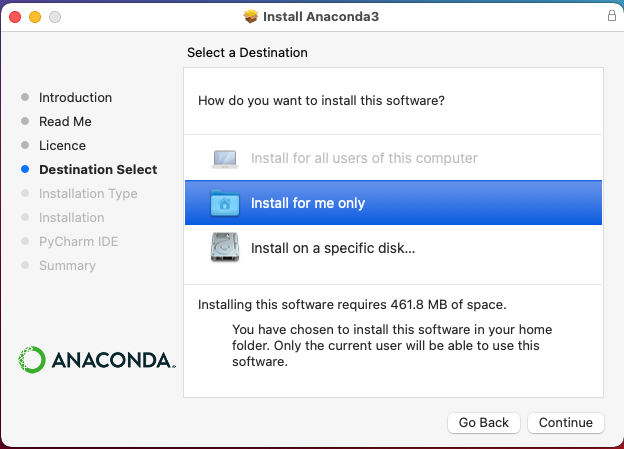
Step 7: Select “Install for me only” and click on continue
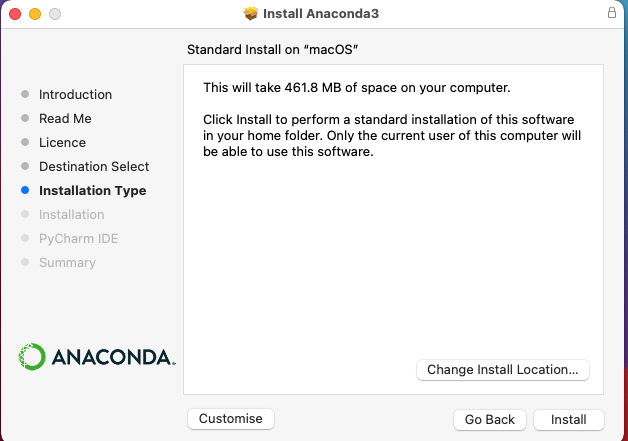
Step 8: Click on Install to start the installation.
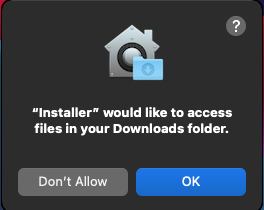
Step 9: If the below dialog box appears in-between installation , Click on Allow
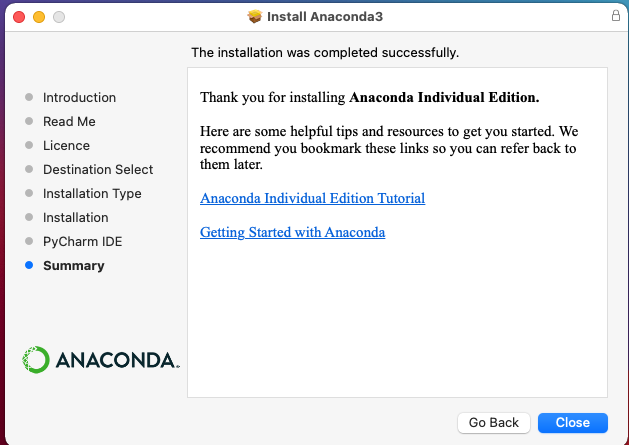
Step 10: After installation is completed, Click on continue

Step 11: Click on close to close the installer
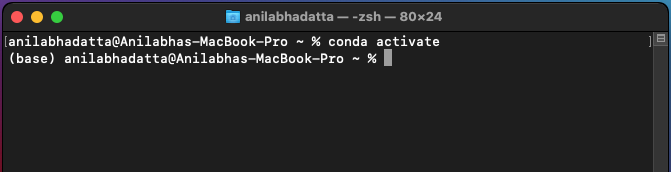
Step 12: Open up Terminal and enter the following command to check if anaconda was successfully installed
conda activate
Like Article
Suggest improvement
Share your thoughts in the comments
Please Login to comment...