How to Install an APK on the Emulator in Android Studio?
Last Updated :
20 Feb, 2023
In this article, we will know, how we can install APK in our Android Studio Emulator. There are several methods to do that but most of them are quite unreliable and confusing but in this article, we are going to do that with some very easy methods with some very easy steps.
Method 1
Step 1: Opening Emulator
First of all, we need to open the Android Studio Emulator properly, so that we can see the app that we are going to install in it. Before going to the 2nd Step we will also need that APK file in advance that we will install. In this case, I am using a testapp.apk file that we are going to install.

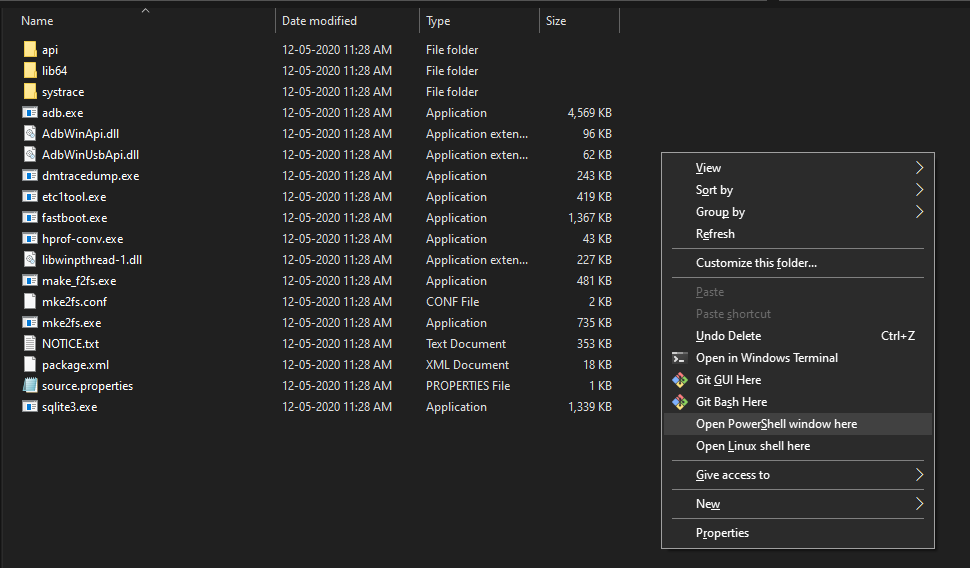
Step 2: Navigate to the Path below
C:\Users\<UserName>\AppData\Local\Android\Sdk\platform-tools
We have to go to the path mentioned above and paste the APK file here, after that Shift+Right Click at the same window and open the PowerShell window.
Opening Powershell window
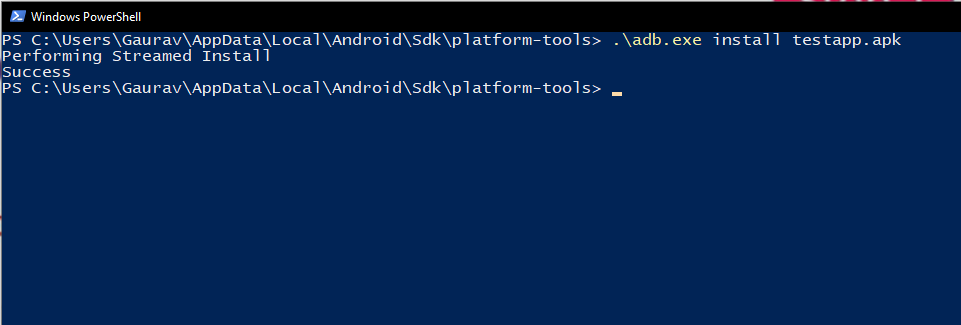
After opening Powershell type the following commands
.\adb.exe install testapp.apk
In the Powershell window type the following command and it will install the app in the emulator and that’s it your APK is installed in the Emulator.
Method 2
This method is much simpler than 1st method. We just need the APK file to install it in the Emulator. First of all, we still have to open the Emulator and after that drag, your APK file and drop it in the emulator anywhere and that’s it will simply install that app in the Emulator.

In conclusion, we have learned two methods to install an APK file in the Android Studio Emulator. So if we need to use any external third-party application in our Emulator then we can prefer the above methods to do that.
Like Article
Suggest improvement
Share your thoughts in the comments
Please Login to comment...