How to Insert Shapes in MS Word?
Last Updated :
06 Mar, 2023
Everyday in business or in another field there are lots of information or documentation files that are required to store for future use. For anyone, it is very difficult to store that information for a long time. Earlier letters, office files, documents, projects, and information are stored in a form of a registrar, file, or by paperwork but finding it may be difficult for us. It takes a lot of time. To resolve this issue Microsoft brings software called MS Word.
Microsoft Word is a software tool that allows users to create documents like articles, letters, projects files very easily. It has various features like editing and formatting, graphics, designs, fonts styles, printing documents, etc.

Features of MS Word
- Various Page Designs, page numbers, border
- Tables
- 3D models, charts, and icons
- WordArt
- Page Layout formats
- Inserting Online pictures and video
- Text color and many more.
- Date and Time
- Page Designs
- Different text fonts
What are Shapes in MS Word?
Microsoft Word has a special feature called shapes in which users can insert many different types of shapes in the document. A shape highlights the important item of the document. It attracts the attention of the readers for a better understanding of the content of the document.
MS Word contains many different types of shapes such as boxes, rectangles, callouts, circles, arrows, lines, triangles, curves, equations shapes, and many more. Once the shape is added, you can modify it by changing features like color, style format, size, outline, etc.
So you should use different types of shapes in your document. The figure below shows the different types of shapes that are available in MS Word.
Some examples of shapes are:


Steps to Add Shapes in MS Word
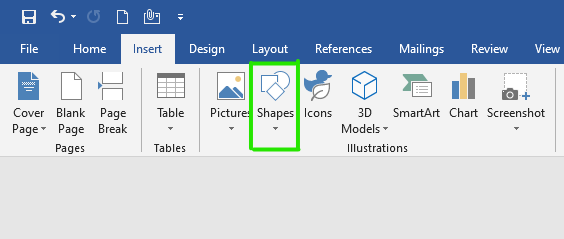
Step 1: On the navigation menu click on the insert option.

Step 2: In the illustration section select the shapes option as shown in the figure:
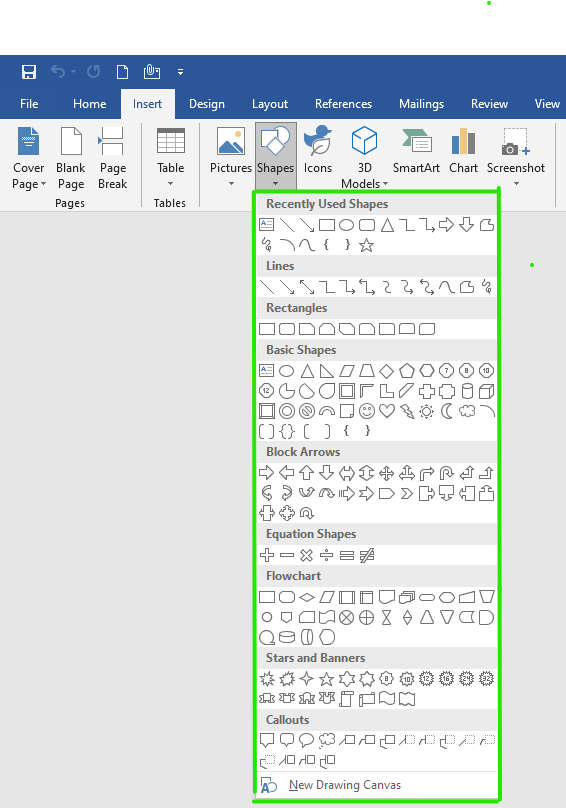
Step 3: A list of shapes will pop up on the screen where you can select different types of shapes.
There are total of 8 sections in shapes:
- Lines
- Rectangles
- Basic Shapes
- Block Arrows
- Equation Shapes
- Flowcharts
- Stars and Banners
- Callouts
Step 4: Now select a shape as per your need.

Step 5: Next drag the cursor on your current page to draw the shape.
Step 6: Finally shape is added on the current page of the document as shown in the figure:

Step 7: Now click on the drag button to set the size of the shape as shown in the figure:

Step 8: On the navigation menu click on the format option to give color, layout, style to the shape.

Step 9: Under the shape style section click on the drop-down arrow to open the style panel.

Step 10: A theme style color panel will open where you can select different types of color styles for the shape as shown in the figure:
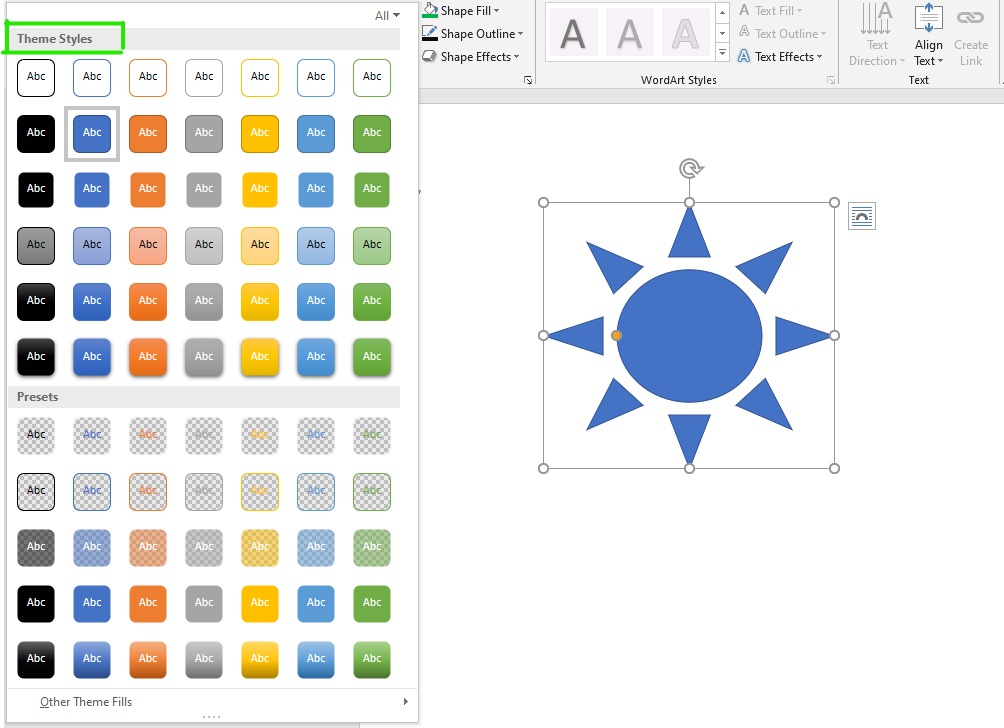
Step 11: Select the color of your choice.

Step 12: You can also choose a different color pattern from other theme fills options as shown in the figure:

Step 13: You can also select a different color from the shape fill option.

Step 14: Next click on the shape outline option to give an outline to the shape.

Step 15: Select the color from the theme colors panel as shown in the figure:

Step 16: Next click on the shape effects option.

Step 17: Now select the option from the menu as per your requirement.

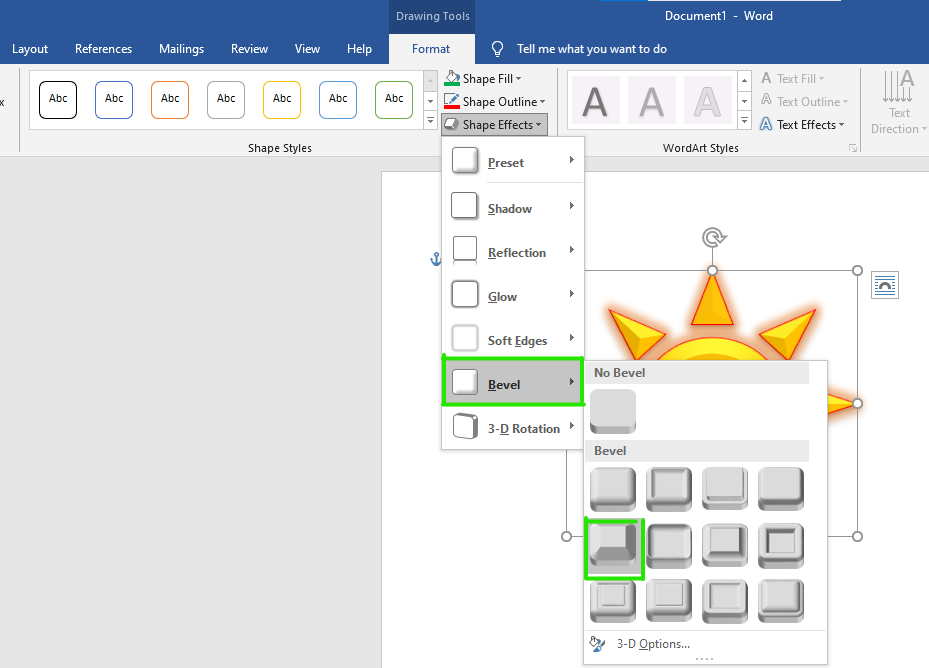
Finally, the shape is inserted in your document.
These are some of the steps to insert a shape in an MS Word document.
Like Article
Suggest improvement
Share your thoughts in the comments
Please Login to comment...