How to Get the MAC of an Android Device using NetworkInterface Class?
Last Updated :
23 Feb, 2023
The MAC (Media Access Control) address in Android is a unique identifier assigned to the Wi-Fi module of the device. It is used to identify devices on a network and helps in network communication and security. The general method for getting the MAC address of the android device is using the Wifi Manager class in android studio. Getting mac using wifi manager class is given here. But, to provide users with greater data protection android removes programmatic access to the device’s local hardware identifier for apps using the Wi-Fi APIs. The WifiInfo.getMacAddress() methods now return a constant value of 02:00:00:00:00:00.
In Android M (Marshmallow) the MAC address is unreadable for WiFi. You can get the WiFi MAC Address with Android M Preview 2 (Android M Preview 2 is the second developer preview release of the Android M (Marshmallow) operating system).
Implementation using Network Interface Class
Step 1: Create a New Project
To create a new project in Android Studio please refer to How to Create/Start a New Project in Android Studio. Note that select Java as the programming language.
Step 2: Add the following Permissions in the AndroidManifest.xml file
XML
<uses-permission android:name="android.permission.INTERNET"/>
<uses-permission android:name="android.permission.ACCESS_FINE_LOCATION" />
<uses-permission android:name="android.permission.ACCESS_COARSE_LOCATION"/>
<uses-permission android:name = "android.permission.ACCESS_WIFI_STATE" />
<uses-permission android:name="android.permission.LOCAL_MAC_ADDRESS"
tools:ignore="ProtectedPermissions"/>
|
AndroidManifest.xml file will look like this:
XML
<?xml version="1.0" encoding="utf-8"?>
<uses-permission android:name="android.permission.INTERNET"/>
<uses-permission android:name="android.permission.ACCESS_FINE_LOCATION" />
<uses-permission android:name="android.permission.ACCESS_COARSE_LOCATION"/>
<uses-permission android:name = "android.permission.ACCESS_WIFI_STATE" />
<uses-permission android:name="android.permission.LOCAL_MAC_ADDRESS"
tools:ignore="ProtectedPermissions"/>
<application
android:allowBackup="true"
android:dataExtractionRules="@xml/data_extraction_rules"
android:fullBackupContent="@xml/backup_rules"
android:icon="@mipmap/ic_launcher"
android:label="@string/app_name"
android:roundIcon="@mipmap/ic_launcher_round"
android:supportsRtl="true"
android:theme="@style/Theme.NetworkInterfaceGFG"
tools:targetApi="31">
<activity
android:name=".MainActivity"
android:exported="true">
<intent-filter>
<action android:name="android.intent.action.MAIN" />
<category android:name="android.intent.category.LAUNCHER" />
</intent-filter>
<meta-data
android:name="android.app.lib_name"
android:value="" />
</activity>
</application>
</manifest>
|
Step 3: Make a design to show MAC Address
Navigate to the app > res > layout > activity_main.xml and add the below code to that file. Below is the code for the activity_main.xml file.
XML
<?xml version="1.0" encoding="utf-8"?>
<RelativeLayout
android:layout_width="match_parent"
android:layout_height="match_parent"
tools:context=".MainActivity">
<androidx.appcompat.widget.AppCompatButton
android:id="@+id/button"
android:layout_width="wrap_content"
android:layout_height="wrap_content"
android:text="Get WIFI MAC"
android:backgroundTint="#44D10D"
android:layout_centerInParent="true"/>
<TextView
android:id="@+id/Mac_TV"
android:layout_width="wrap_content"
android:layout_height="wrap_content"
android:text="MAC HERE"
app:layout_constraintBottom_toBottomOf="parent"
app:layout_constraintEnd_toEndOf="parent"
app:layout_constraintStart_toStartOf="parent"
app:layout_constraintTop_toTopOf="parent"
android:layout_below="@+id/button"
android:layout_centerHorizontal="true"
android:layout_marginTop="20dp"
android:textStyle="bold"
android:textColor="@color/black"/>
</RelativeLayout>
|
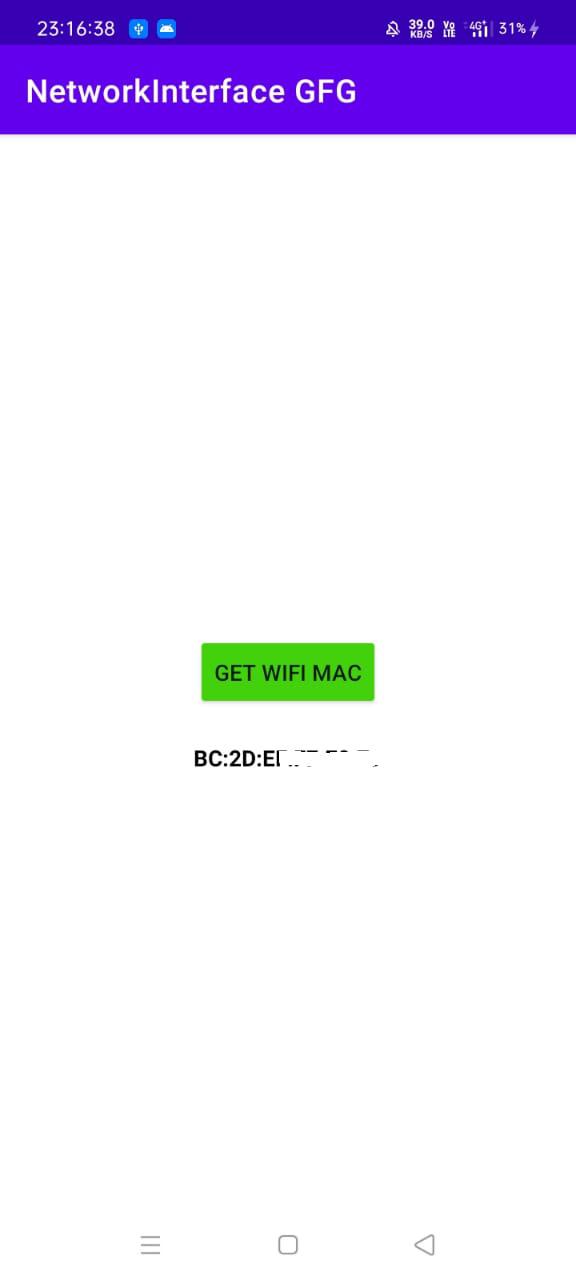
The above code looks like the below image in the user interface:

UI
Step 4:
Now we are in the last phase of the project, import NetworkInterface, Collections, and List classes using the below lines of code in MainActivity.java.
import java.net.NetworkInterface;
import java.util.Collections;
import java.util.List;
Step 5: Working with the MainActivity.java file
Go to the MainActivity.java file and refer to the following code. Below is the code for the MainActivity.java file. Comments are added inside the code to understand the code in more detail.
Java
package com.example.networkinterfacegfg;
import androidx.appcompat.app.AppCompatActivity;
import androidx.appcompat.widget.AppCompatButton;
import android.os.Bundle;
import android.view.View;
import android.widget.TextView;
import java.net.NetworkInterface;
import java.util.Collections;
import java.util.List;
public class MainActivity extends AppCompatActivity {
TextView MAC_TV;
AppCompatButton button;
@Override
protected void onCreate(Bundle savedInstanceState) {
super.onCreate(savedInstanceState);
setContentView(R.layout.activity_main);
button = findViewById(R.id.button);
MAC_TV = findViewById(R.id.Mac_TV);
button.setOnClickListener(new View.OnClickListener(){
@Override
public void onClick(View v){
MAC_TV.setText(getWIFIMAC());
MAC_TV.setVisibility(View.VISIBLE);
}
});
}
public static String getWIFIMAC() {
try {
String interfaceName = "wlan0";
List<NetworkInterface> interfaces = Collections.list(NetworkInterface.getNetworkInterfaces());
for (NetworkInterface inter_face : interfaces) {
if (!inter_face.getName().equalsIgnoreCase(interfaceName)){
continue;
}
byte[] mac = inter_face.getHardwareAddress();
if (mac==null){
return "";
}
StringBuilder buffer = new StringBuilder();
for (byte aMac : mac) {
buffer.append(String.format("%02X:", aMac));
}
if (buffer.length()>0) {
buffer.deleteCharAt(buffer.length() - 1);
}
return buffer.toString();
}
} catch (Exception ignored) { }
return "";
}
}
|
Now all are set, just run your app and you will be able to see the Wi-Fi MAC address of your Android device.
Output:
Output
Like Article
Suggest improvement
Share your thoughts in the comments
Please Login to comment...