How to Fit Long Text in Excel Spreadsheets?
Last Updated :
01 Feb, 2022
By default, when you create a new workbook in Excel, the row height and column width for all cells are set to the same value. If the text you enter in a spreadsheet cell is too long and the next column has data, it either spills over into the next blank cell or is truncated by the data in the adjacent cells. Although you can widen the columns, there is a better way to present your data in an easily readable fashion if you have a lot of them. There are many methods to fit the long text. So, in this article, we will discuss these methods one by one in detail.
Increase the width of the column
Increasing the column width will give you more text space, but it will also make every cell in the column wider. The column width is set to 8.43 standard font characters by default, however, it can be increased to 250. So to do this follow the given steps:
Step 1: Fill in the column with long text.
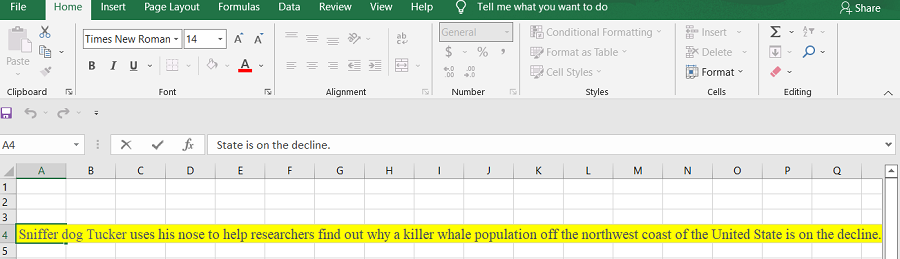
Step 2: Now place the mouse cursor on the vertical line to the right of the first letter in the top column. If you typed something in cell A4, for example, point to the vertical line between column letters “A” and “B” The cursor will change to a “+” symbol with arrows on both sides.

Step 3: When you double-click a line, the column will automatically resize to fit the long content. You can also manually resize the line by dragging it.

Note: To modify the height of the row above the border, click on the border and drag it up or down. The changing height is displayed in a popup as you drag the pointer.
Here’s a video demonstration of the procedure described above:
AutoFit Column width
If the text in a label cell is too long to fit in the cell, you can use the AutoFit tool in Microsoft Excel to lengthen the cell to fit the contents. However, this may result in an excessive amount of white space in the rest of the row or column. Autofit Column width increases the column width to accommodate the column’s greatest value. So to do this follow the given steps:
Step 1: Choose a column or a set of columns to work with.
Step 2: Select Format -> AutoFit Column Width from the Cells category on the Home tab.

Step 3: Double-click the AutoFit Column Width option.

Shortcut: Press Alt + H, then O, and finally I.
Here’s a video demonstration of the procedure described above.
Wrapping Text
If the text is too long to fit in the column, but you don’t want it to flow into adjacent cells, you can use the Wrap Text to Fit option to accommodate it. The Word Wrap tool in Excel allows you to wrap text across several horizontal lines while also increasing the height of all cells in that row. So to do this follow the given steps:
Step 1: Choose the cells where you want to wrap text.
Step 2: Check “Wrap Text” under the “Alignment” option.

Step 3: Double-click the wrap text symbol.

Note: The data in the cell wraps to fit the column width, thus if the column width changes, the data wrapping changes as well.
Here’s a video demonstration of the procedure described above:
Merging cells
Merging cells allows text to span many column widths in a single cell, although this option is only available if the adjacent cells are blank. So to do this follow the given steps:
Step 1: Drag your mouse over the text-filled cell and any number of blank cells on the same row.

Step 2: Check “Merge Cells” under the “Alignment” tab.

Step 3: Double-click the Merge Cells option.

Here’s a video demonstration of the procedure described above:
Like Article
Suggest improvement
Share your thoughts in the comments
Please Login to comment...