How to Download and Install TupiTube on Windows?
Last Updated :
05 Jan, 2022
TupiTube is a 2D animation software. It is free and open-source. It is developed by Gustav Gonzalez. It can be run on different platforms like Windows, Mac OS X, Unix-like operating systems, and Android. This software is maintained by MaeFloresta which is a Colombian startup. It is written in C++ and Qt programming language. Its stable release was in 2020 on 15 August which was TupiTube 0.2.16. Its latest version is TupiTube 0.2.18. It is used by teenagers as well as experts for making 2D animations. Final animations can be exported in different file formats like Ogg Theora, AVI, MPEG, SWF, etc.
Installing TupiTube on Windows
Follow the below steps to install TupiTube on Windows:
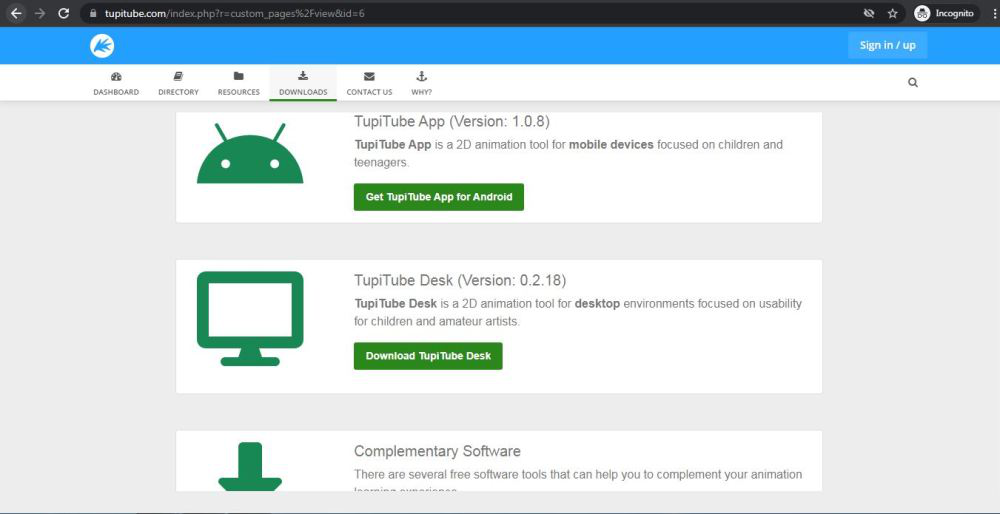
Step 1: Visit URL https://www.tupitube.com/ using any web browser. Click on Downloads.
Step 2: New webpage will open with desktop and version, click on TupiTube Desk.
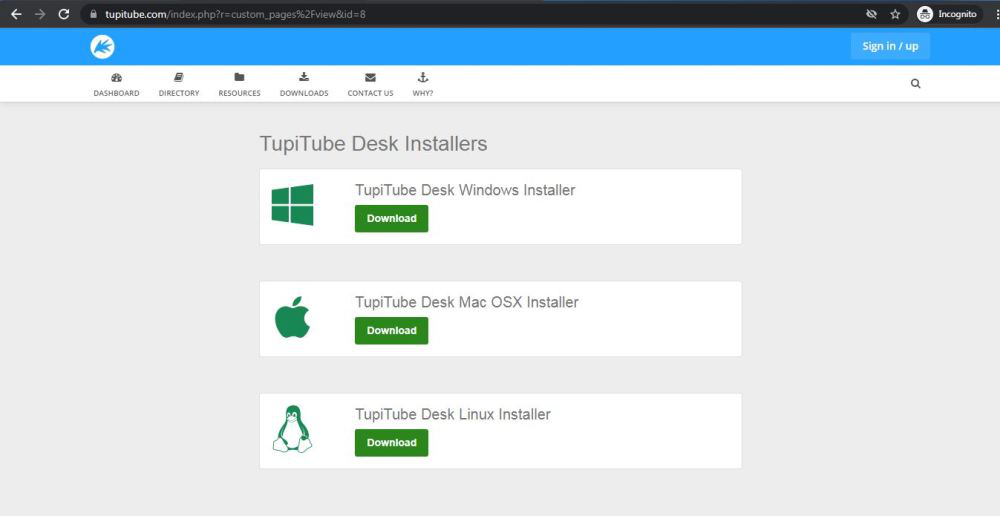
Step 3: New webpage will open with TupiTube Desk installers, click on Windows installer.
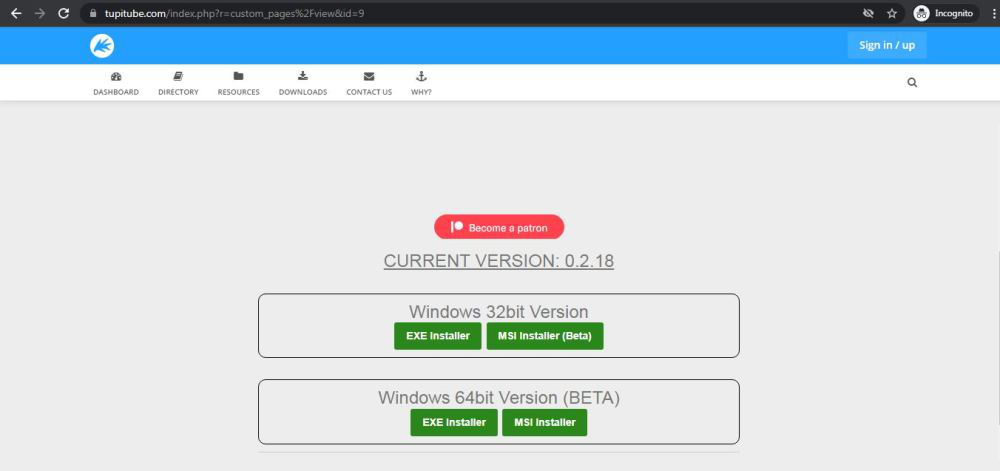
Step 4: New webpage will open which will contain 32 bit and 64-bit windows installer, choose according to your system configuration, let’s take 64-bit windows installer. Downloading of the executable file will start shortly. It is a 55.9 MB file that will take some minutes.
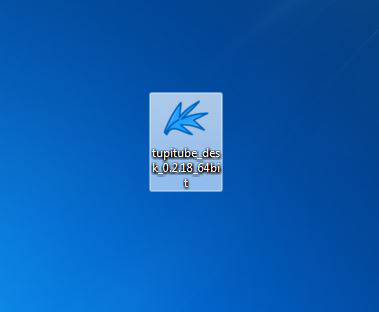
Step 5: Now check for the executable file in downloads in your system and run it.
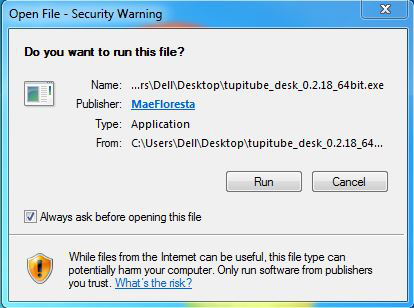
Step 6: It will prompt confirmation to run a file on your system. Click on Run.
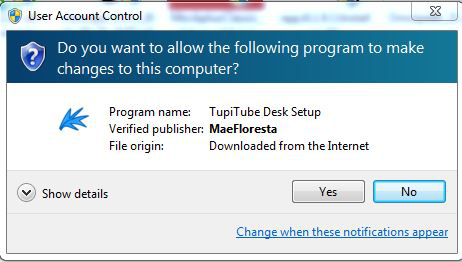
Step 7: Next it will prompt confirmation to make changes to your system. Click on Yes.
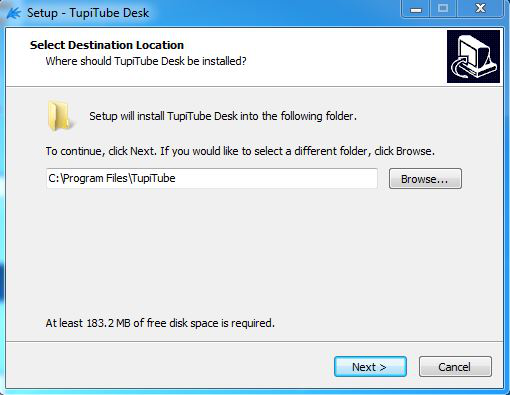
Step 8: The next screen will be of installing location so choose the drive which will have sufficient memory space for installation. It needed only a memory space of 183.2 MB.
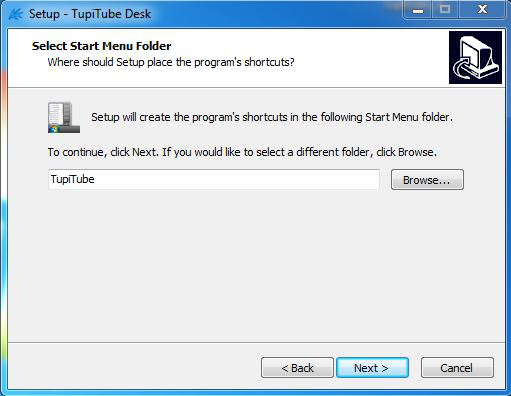
Step 9: Next screen will be of choosing the Start menu folder so don’t do anything just click on the Next Button.
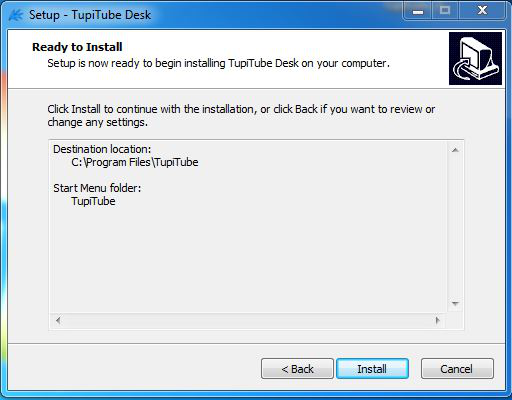
Step 10: Program is ready to install, so click on the Install button.
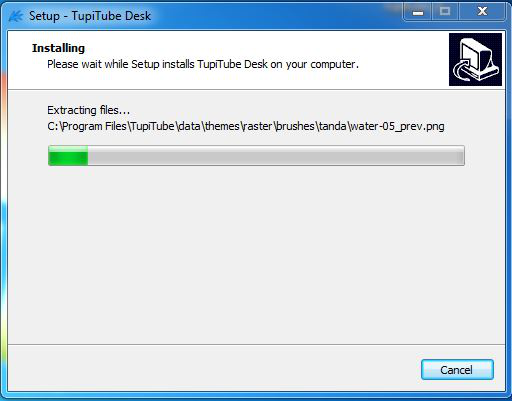
Step 11: After this installation process will start and will hardly take a minute to complete the installation.
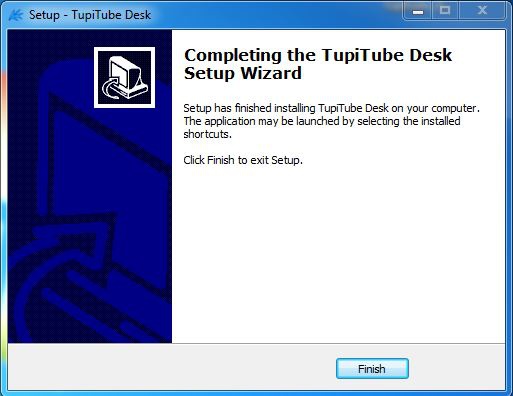
Step 12: Click on Finish to finish the installation process.
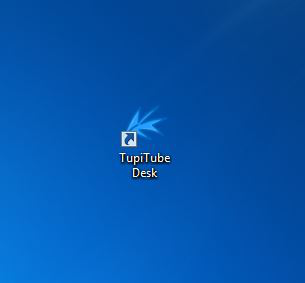
Step 13: TupiTube is successfully installed on the system and an icon is created on the desktop.
Step 14: Run the software and see the interface.
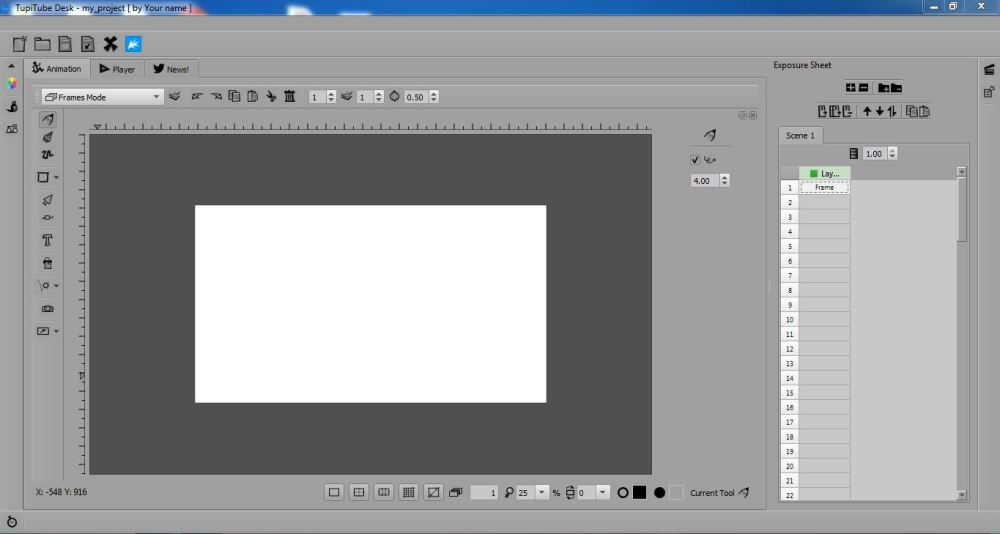
Congratulations!! At this point, you have successfully installed TupiTube on your windows system.
Like Article
Suggest improvement
Share your thoughts in the comments
Please Login to comment...