How to Download and Install Java for 64 bit machine?
Last Updated :
18 Nov, 2022
Java is one of the most popular and widely used programming languages. It is simple, portable, platform independent language. It has been one of the most popular programming languages for many years. In this article, we will see how to download and install Java on a 64-bit architecture machines.
The following steps can be followed in order to download and install java. All the steps are described below has been performed on the Windows 10 operating system, but the procedure is quite similar to other operating systems as well.
Step 1: Open https://www.oracle.com/java/technologies/javase-downloads.html url in the browser and it will navigate to the official Oracle Java downloads page.
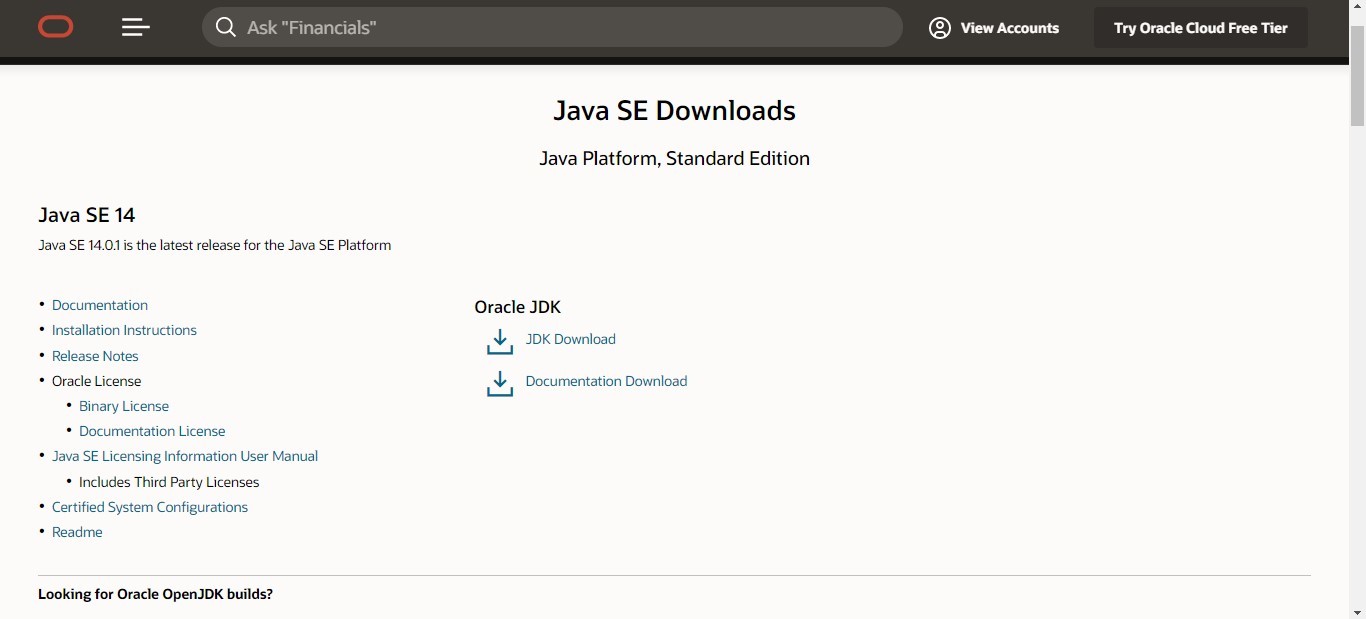
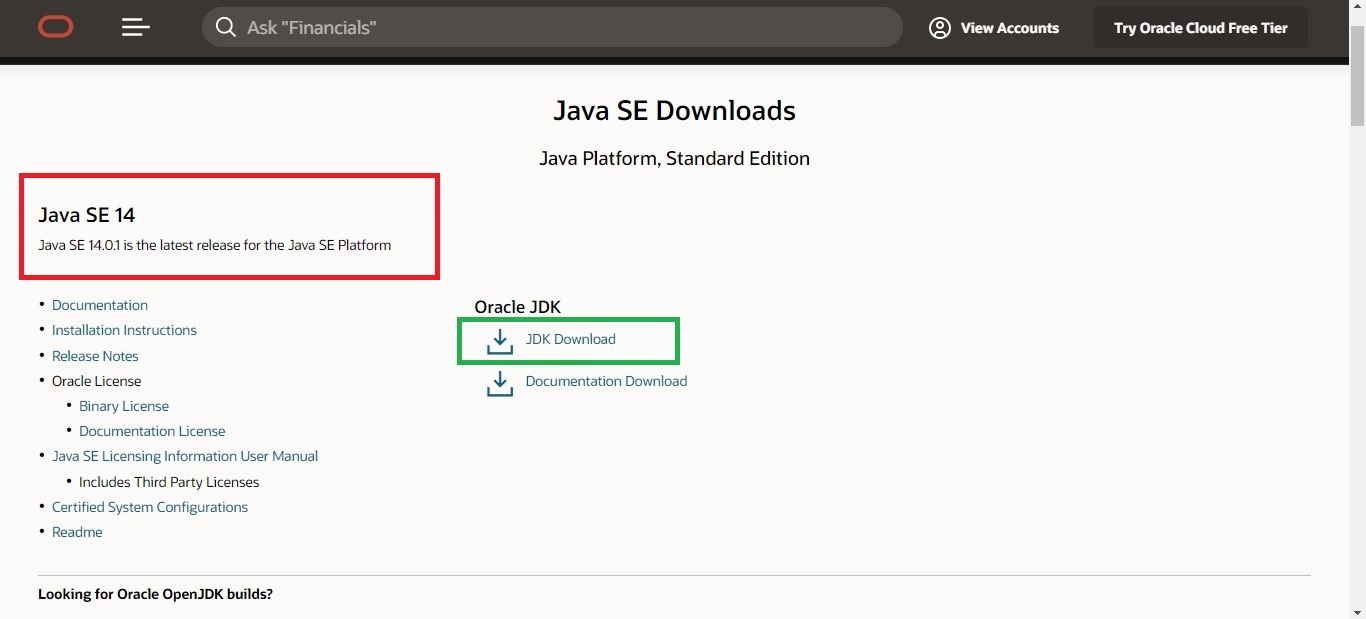
Step 2: Now, scroll to the version of the Java which we want to download and click on JDK Download option as shown below:
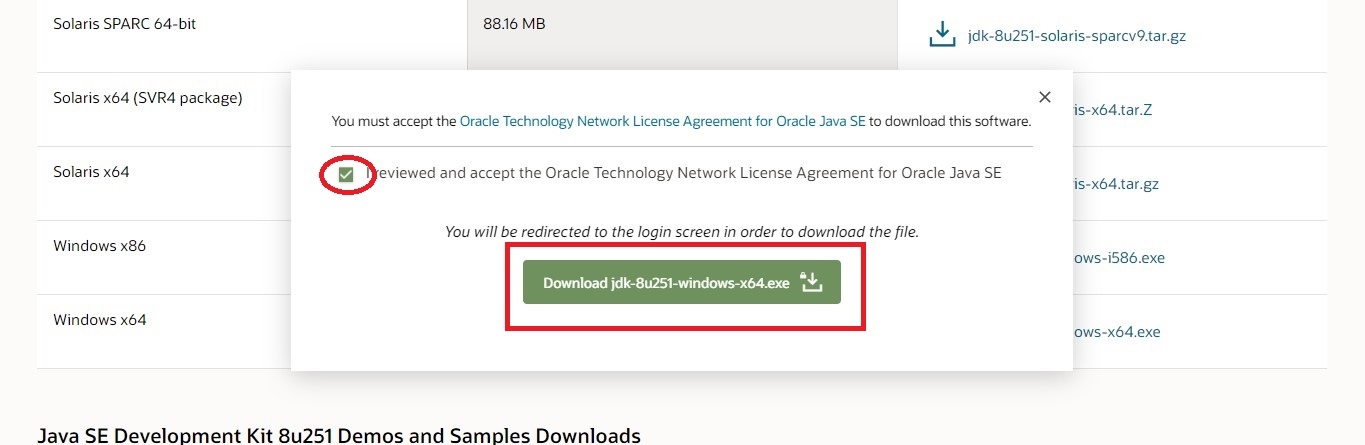
Step 3: Scroll down to the page and click on the download button option suitable for your computer Operating system. But for a 64-bit machine, choose the software name ending with x64.

After clicking on the download button, a popup will appear which says that we have to accept Oracle Technology Network License Agreement for Oracle Java SE in order to download this software. Therefore, click on the checkbox and then proceed to download as shown below:
Step 4: We will now be navigated to Oracle Login page. We need to login to the account. As soon we log in, our download will start instantly as shown below:

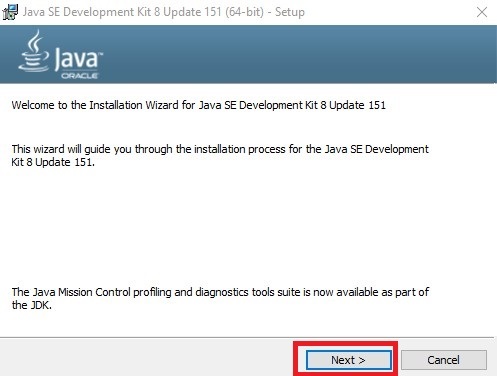
Step 5: After the downloading procedure is complete, we need to run the installer. Once Java installation wizard opens, click on the Next button as shown below:
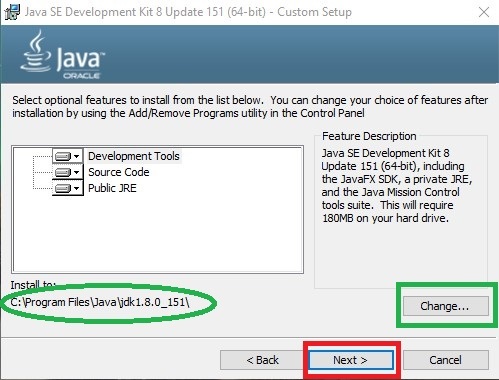
Step 6: Again click on the Next button if we wish to install Java development kit in the default directory(encircled with green color), or we can change this directory by clicking on Change button.
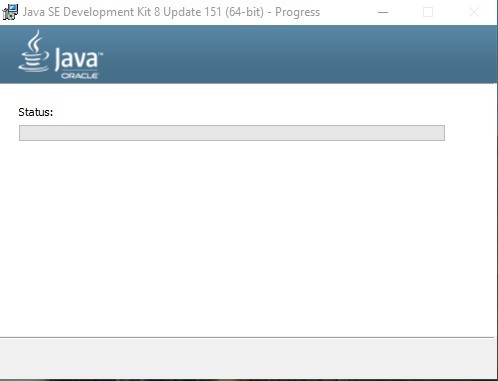
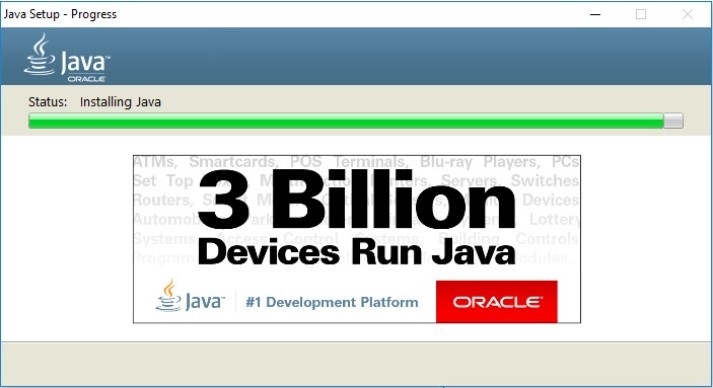
Step 7: The installation will begin as shown below:
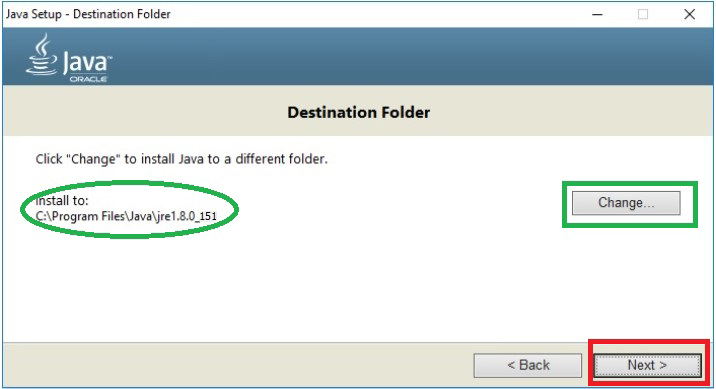
Step 8: Now, it will ask for the installation directory for JRE(Java Runtime Environment). Again we can continue with the default directory or change it accordingly.
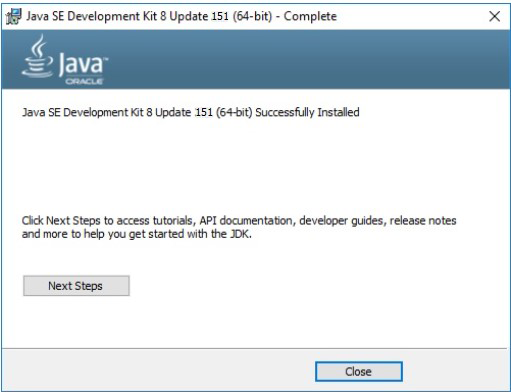
Step 9: The Java installation will be successfully completed as shown below:
Step 10: Finally, we can click on the Close button after the confirmation window appears which saying that the Java is installed.
Step 11: At last, To confirm if everything is set up properly, open cmd and type java –version
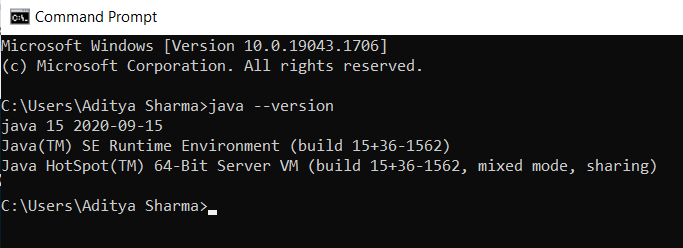
CMD WINDOW
After installing Java, we can set it up using the steps mentioned in this article.
Like Article
Suggest improvement
Share your thoughts in the comments
Please Login to comment...