How to Download and Install Dev C++ on Windows?
Last Updated :
25 Jan, 2023
Dev-C++ is an IDE(Integrated Development Environment) developed by Bloodshed Software for the windows platform. Dev-C++ is used for writing, compiling, and executing C++ programs. Internally it uses MinGW (Minimalist GNU for Windows) Compiler. It can be used to code programs in C++ as well as C language. To learn more about C and C++ please refer to C Programming Language and C++ Programming Language.
Features of Dev C++
- Dev C++ uses GCC(GNU Compiler Collection) based compilers. Example: Cygwin, MinGW, etc.
- It provides Auto-Completion features for writing code.
- It supports customizable syntax and highlights the editors which make source code more readable.
- The project manager feature of Dev C++ provides ease of managing various projects within IDE.
- It provides custom project templates. We can use it to build custom project types.
- It also has a language localization feature that provides support for multiple languages.
Steps to Download and Install Dev-C++
In order to install Dev-C++, we need to first download it. To download Dev-C++ please refer to its Official Website.
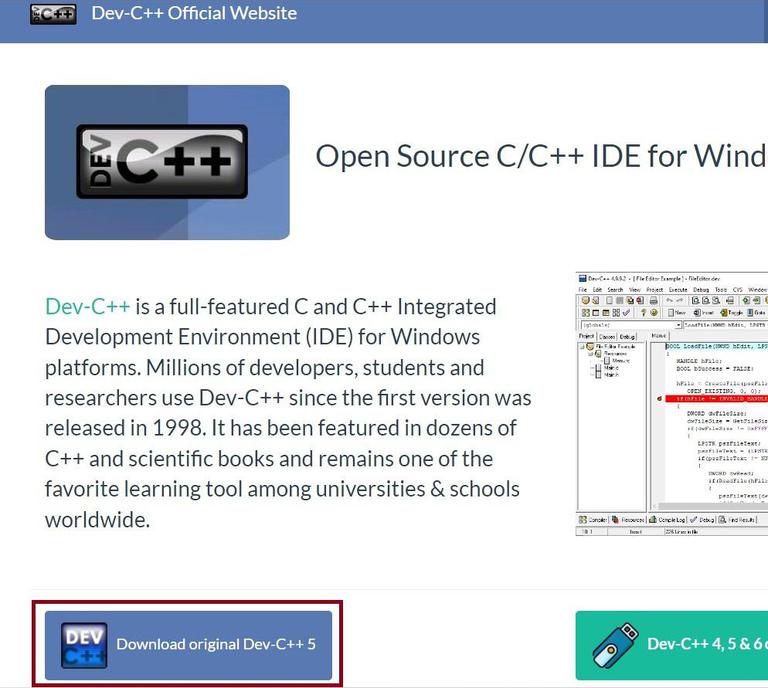
Fig 1 – Dev-C++ Official Website
Once we have downloaded the Dev-C++ software. We need to follow the following steps to install it. Below are the steps for the installation,
Step 1: Getting Started. Click the OK button to start the installation.
Note: Please make, there is no any other version of Dev-C++ is already installed. If any other version of Dev-C++ is already installed then we need to first uninstall it and then install the new version.
Step 2: Now, accept the License Terms & Agreement by clicking “I Agree”.
Step 3: Choosing Components To Be Installed.
Step 4: Specify the Location.
Step 5: Installing Libraries.
Step 6: Installation Completion.
Step 7: Define Path & Directories.
Note: We need to click ‘Yes’, Dev-C++ will automatically create the bins for us.
Like Article
Suggest improvement
Share your thoughts in the comments
Please Login to comment...