How to display images using handlebars in Node.js ?
Last Updated :
09 Apr, 2021
In this article, we will discuss how to display images using handlebars in Node.js. You may refer to this article for setting up handlebars View Engine in Node.js.
We will use the following steps to achieve our target:
- Install express and express-handlebars
- Set up our express server
- Create a basic Handlebars’ folder structure
- Define proper routes
Install express and express-handlebars:
npm install --save express express-handlebars
Setting up express server:
Javascript
import express from "express"
import path from "path"
import exphbs from "express-handlebars"
const app = express();
const PORT = process.env.PORT || 3000;
app.listen(PORT, () => console.log(`Server started running on PORT ${PORT}`));
|
Create basic folder structure as follows:
Folder Structure
Change the default view engine to handlebars: To serve static files like images from a directory named “images”
app.engine("handlebars", exphbs({ defaultLayout: "main" }));
app.set("view engine", "handlebars");
app.use(express.static("images"));
With the above line we are telling our Node.js app where our images will be stored. We will not have to specify a messy path to our image in our <img> tag.
Define routes and render views accordingly:
Javascript
app.get("/static", (req, res) => {
res.render("static");
});
app.get("/dynamic", (req, res) => {
imageList = [];
imageList.push({ src: "icons/flask.png", name: "flask" });
imageList.push({ src: "icons/javascript.png", name: "javascript" });
imageList.push({ src: "icons/react.png", name: "react" });
res.render("dynamic", { imageList: imageList });
});
|
Handlebar templates: Now let us create a static.handlebars file in our views directory with the following content:
HTML
<!DOCTYPE html>
<html lang="en">
<head>
<title>Handlebars Images Demo</title>
</head>
<body>
<h1>Display Static Images Using Handlebars In NodeJS</h1>
<br>
<img src="images/gfg.png" alt="" style="border: 5px inset black;">
</body>
<html>
|
index.js
import express from "express"
import path from "path"
import exphbs from "express-handlebars"
const app = express();
const PORT = process.env.PORT || 3000;
app.engine("handlebars", exphbs({ defaultLayout: "main" }));
app.set("view engine", "handlebars");
app.use(express.static("images"));
app.get("/static", (req, res) => {
res.render("static");
});
app.get("/dynamic", (req, res) => {
imageList = [];
imageList.push({ src: "icons/flask.png", name: "flask" });
imageList.push({ src: "icons/javascript.png", name: "javascript" });
imageList.push({ src: "icons/react.png", name: "react" });
res.render("dynamic", { imageList: imageList });
})
app.listen(PORT, () => console.log(`Server started running on PORT ${PORT}`));
|
node index.js
Output: Now, go to localhost:3000/static which will render GFG logo on the webpage.
Static img src display
Now let us create a dynamic.handlebars file in our views directory with the following content:
Javascript
<!DOCTYPE html>
<html lang="en">
<head>
<title>Handlebars Images Demo</title>
</head>
<body>
<h1>Display Dynamic Images Using Handlebars In NodeJS</h1> <br>
<div class="row">
{{#each imageList}}
<div class="col-md-4">
<div class="text-success" style="font-size: large;
font-weight: 700;">{{this.name}}</div>
<img src="{{this.src}}">
</div>
{{/each}}
</div>
</body>
<html>
|
Output: Now, go to localhost:3000/dynamic which will render some icons on the webpage. (The urls of these images are passed from server side).
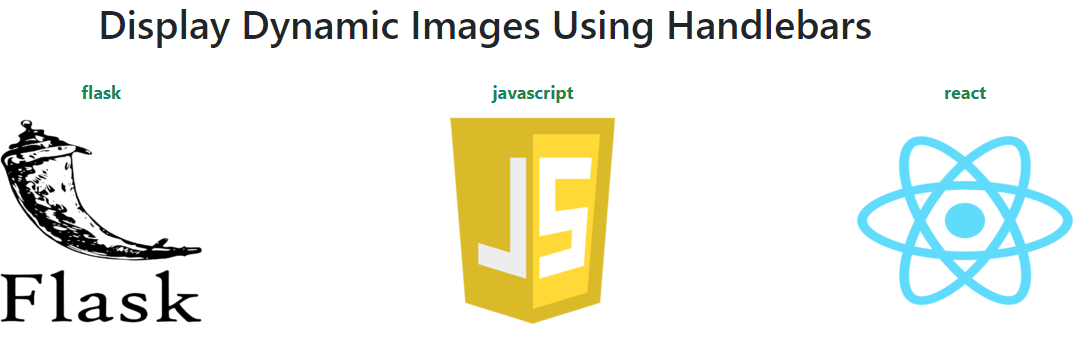
Dynamic img src display
Like Article
Suggest improvement
Share your thoughts in the comments
Please Login to comment...