How to Deploy Angular Application to Firebase using GitHub ?
Last Updated :
01 Feb, 2021
Many of us unable to showcase our small-scale or personal projects over the web. Since hosting these projects are a bit difficult and also costs a few bucks sometimes.
In this article, we will show you how to deploy your Angular application at no cost without buying any domain or hosting provider. Also, tired of deploying your application every iteration? Let’s also set up automatic builds and deploys using GitHub.
Initialize Git and push the project to the GitHub repository
To configure automated builds and deployments to Firebase, the project must first be pushed to a GitHub repository.
- Open your project in Visual Studio Code.
- Open Source control Menu from the sidebar or simply use this shortcut ( press Ctrl+Shift+G) to open.
- Click on the Publish to GitHub button as shown below image.
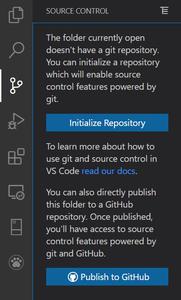
Publish to GitHub
- Enter the Repository Name as you desired and select the type of repository public or private.
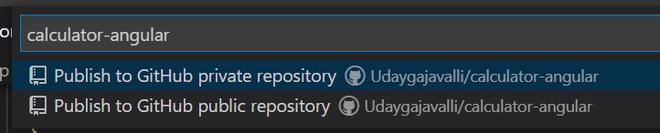
- Wait for VS Code to publish your project to GitHub.
Bundle Angular App for Production
By default, all angular projects are set for development so let’s build our project and generate our dist file.
- Run the below command in your terminal of the project folder.
ng build --prod
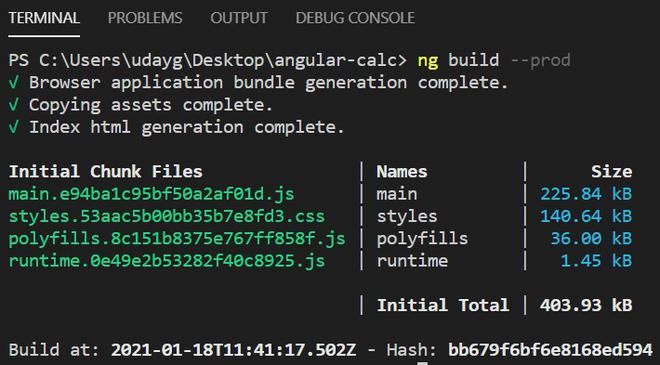
- Now after some time, the terminal generates a dist folder that is used for production and deploying.
Download Firebase and setup for deployment
The Firebase Command Line Interface (CLI) Tools can be used to test, manage, and deploy your Firebase project from the command line.
- To download and install the Firebase CLI run the following command with the administrator right:
npm install -g firebase-tools
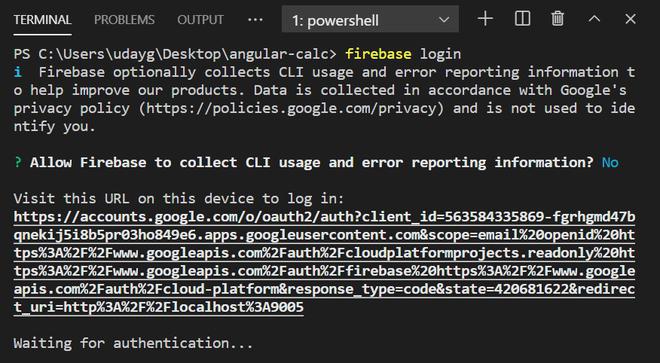
- Now you’re supposed to login into your firebase with your google account using the following command in your project terminal:
firebase login
Create a Firebase project for deployment
- Open the firebase website and go to your console by logging in through the link https://console.firebase.google.com
- After logging in, click on the “Add Project” button, then enter your project name and click on the “Create Project” button to create your Firebase project.
- Now it’s time for initializing firebase in your project using the following command in your project terminal.
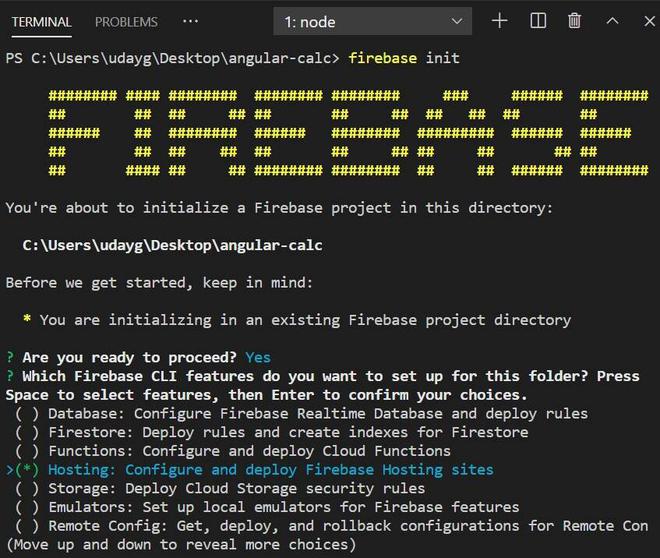
firebase init
- Firebase provides various services like Database, Firestore, Functions, Hosting, Storage. Scroll down and select Hosting by pressing the space key to select and then press the Enter button to proceed further.
- After pressing enter, now the terminal asks to choose a project. Select the option “Use an existing project” and choose your project name of which you had created earlier pressing the enter key.
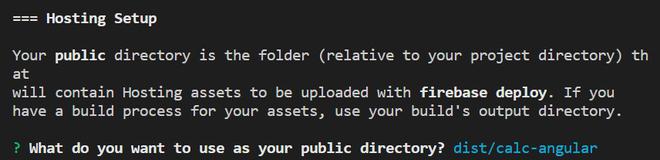
- Now the terminal asks you to choose your public directory that contains Hosting assets to be uploaded with firebase deploy.
- Enter the path of your dist folder which you had generated earlier which contains angular builds. In my case, it is dist/calc-angular
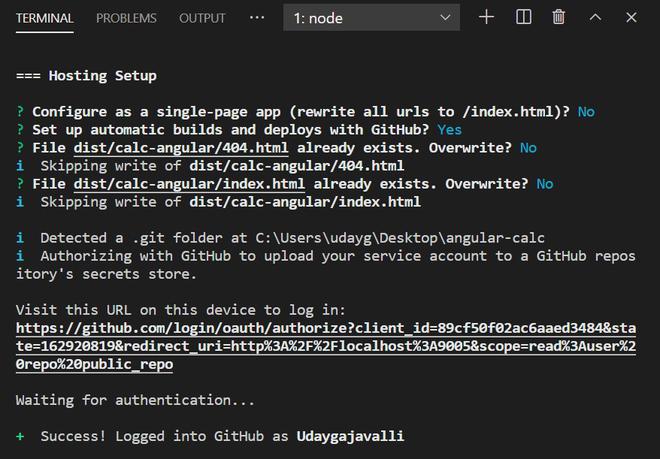
- Now select Yes for the option Set up automatic builds and deploys with GitHub?
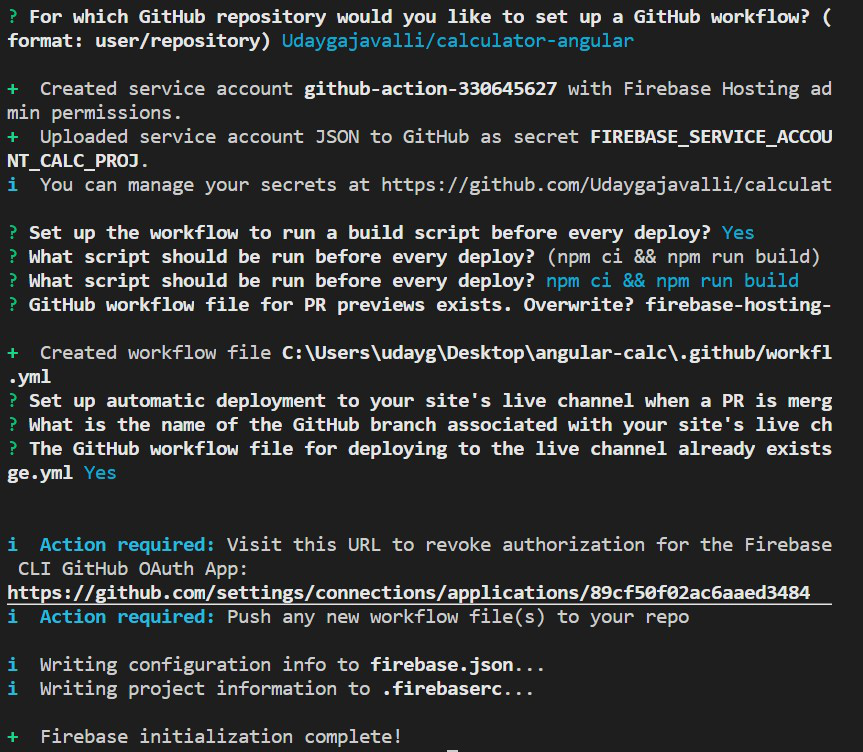
- Enter your GitHub user name and repository name in the format username/repository for the option “For which GitHub repository would you like to set up a GitHub workflow?”
- For all other options just enter Yes or press enter key as you desired.
- Once Firebase initialization is completed, just enter the following command in your terminal to deploy your project.
firebase deploy
- Once the command is executed it provides an output with the link to the firebase project console and URL of the deployed project through which you can access your application through any device.
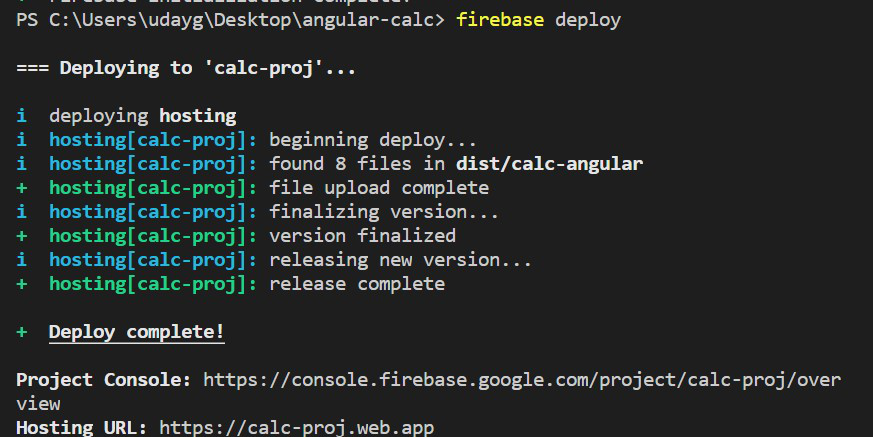
Now your Angular application is deployed with Firebase successfully.
Like Article
Suggest improvement
Share your thoughts in the comments
Please Login to comment...