How to Create Ubuntu Persistence using mkusb
Last Updated :
27 Jun, 2022
In this article, we will see how you can make a Ubuntu persistence Disk using a free and open-source tool called mkusb on Linux.
Most Linux distributions offer a live boot feature, which allows you to boot the operating system directly from the bootable disk (pen drive or DVD) without installing it on your computer. This gives the option of trying out a distribution without installing it. People use this feature to boot into public computers to maintain their privacy, keep their data secure, and access applications that may not be allowed on public computers like the ones in a public library or a computer lab. However, there is one limitation to this live boot feature, i.e you cannot store your data permanently on the bootable disk, so if you live-boot again from the same pen drive, you will get a clean desktop without any previous session’s data or any changes that you made in the previous session. If you could somehow store your data and changes permanently on your bootable drive, that drive would essentially become your personal portable Operating system and you can actually do that by making a persistent live USB stick. This can be done by various tools.
Installing mkusb
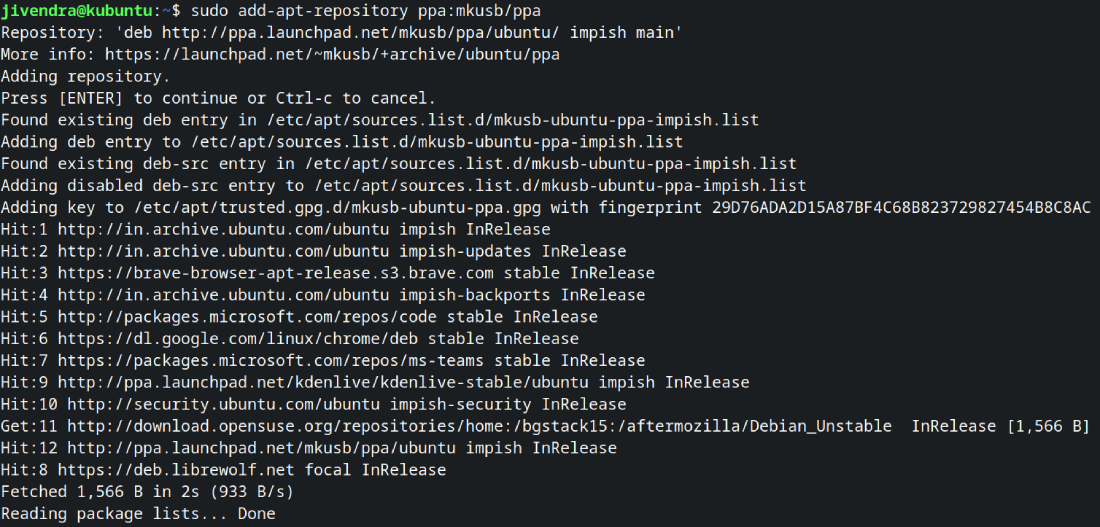
To install mkusb, we first need to add the mkusb repository to our system. Run the following command
sudo add-apt-repository ppa:mkusb/ppa
Press Enter at the following prompt :
- Press [ENTER] to continue or Ctrl-c to cancel
Adding mkusb repository
Now, we can install mkusb with the following command.
sudo apt install -y mkusb
Now that we have successfully installed mkusb, we can proceed to make our persistent Live USB drive.
Making Persistent Live USB
Step 1: Open mkusb with your application launcher. You should see a window as shown below
Press Enter to proceed. You will be asked to enter your password, enter your password to proceed. Next, you will be greeted with the following screen which warns you that the contents of your USB device which you choose will be wiped.
Step 2: Now, you will be asked what you want to do.
Select Install and click on OK.
Step 3: Click on the ‘Persistent Live’ option and click on OK.
Next, you will be asked to enter your user’s password, enter it and proceed.
Step 4: Now, you will be asked to select the ISO file of your Linux distribution. Select your distribution ISO file and proceed.
Step 5: Now, you will be asked to choose the disk drive which you want to make bootable. Choose the drive and click on OK.
Step 6: On the next screen, choose the ‘upefi’ option and click on OK.
Step 7: Now, you will be asked to choose the percentage of total space of your disk drive which you want to commit as persistent storage. Allot the space as per your need and proceed or leave it at 50%.
Step 8: you will be asked to enter your user’s password in the terminal, enter it. After that, choose the default option on the following screen and proceed.
Step 9: At last, you will be asked if you want to proceed to create a live persistence bootable USB drive. Click on the Go option and proceed.
The process will start. Wait for its completion.
After the process is finished, you will see the following screen, click on OK.
Step 10: Choose the quit option at the following screen, then hit quit again, and finally press Enter at the terminal prompt to exit mkusb.
And you now have a live bootable disk with a persistence disk.
Booting into the persistence mode
Restart your PC, or plug the USB disk into any PC that you wish to use and boot it. Hit F12 or Del or whatever key that your system uses to open the BIOS menu (you can find the key for your specific computer online) and select the USB disk to boot from. After you boot, you should see something like
Choose the “persistent live” option to proceed and you are good to go.
Like Article
Suggest improvement
Share your thoughts in the comments
Please Login to comment...