How to create proxy server on Heroku in Node.js ?
Last Updated :
11 May, 2022
The following approach covers how to create a proxy server on Heroku using NodeJS. Heroku is a cloud application platform that is used as PaaS (Platform as a service) to build, operate and run applications on their cloud.
Prerequisites: To create a proxy server, you will need the following to be installed on your computer:
- Install Heroku CLI.
- Install node.js.
- Install git.
- Git version control skills.
Follow these simple steps to create a proxy server on Heroku:
Step 1: Setting up a local repository. Clone your remote repository to the local directory.
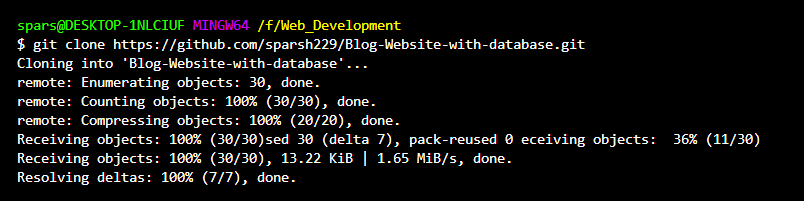
Now cd into your cloned repository and run the command npm install to install all node dependencies into your project.
Step 2: Setting up the Heroku environment using the following approach:
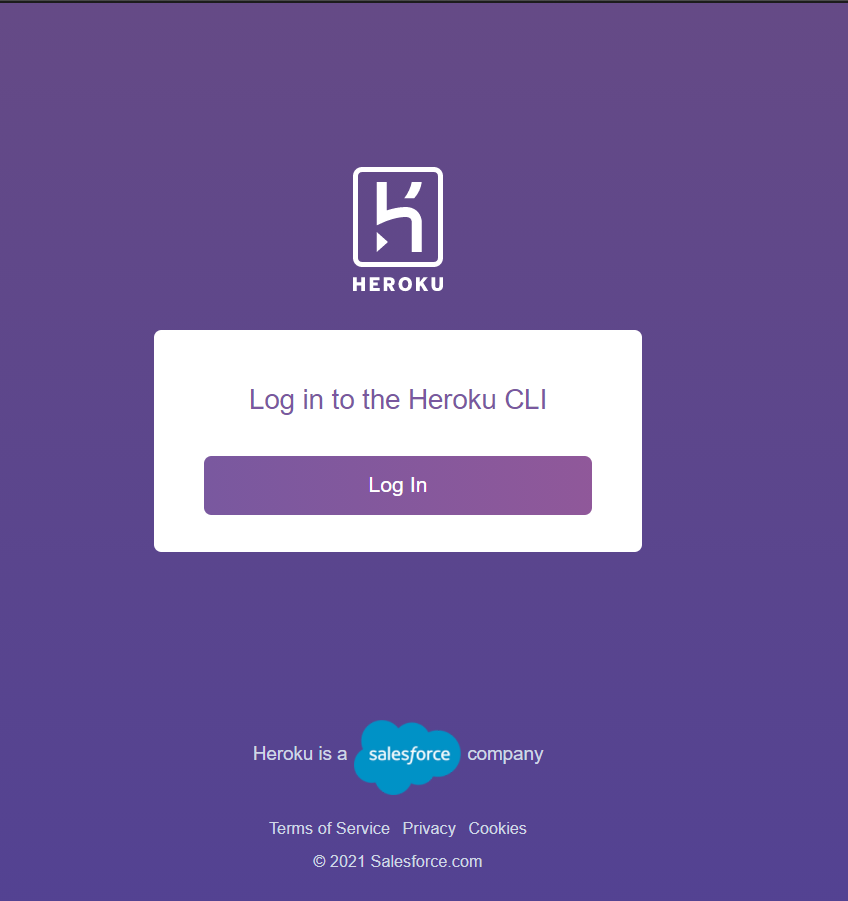
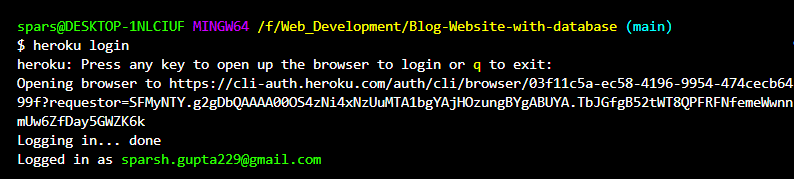
- Login into Heroku from the terminal by using the command Heroku login.
- After the login command from the terminal follow the prompts in the open browser to log in.
- After successful execution following will be displayed on your terminal screen.
- The next step is to create an app on Heroku using the command Heroku create.
- After the above step, Heroku will display a generic message with deployed URL which can be exchanged for a universal URL anywhere.

Step 3: Pushing our proxy server into the Heroku server. The final step is to push our proxy server to Heroku which can be done by using the following command.
git push heroku (branch-name)
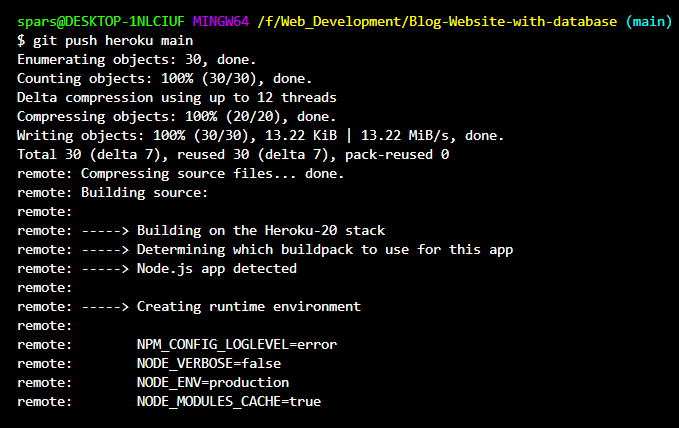
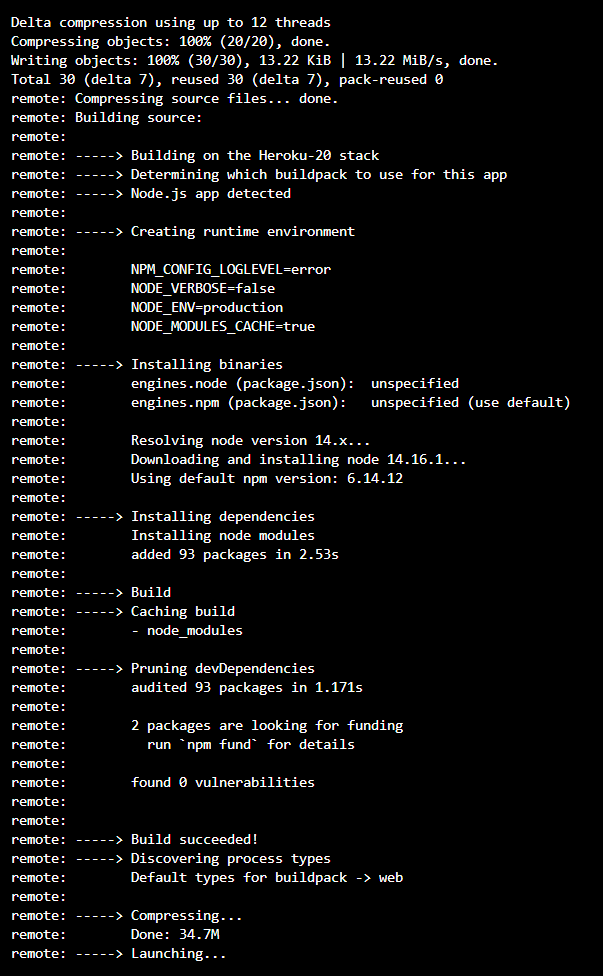

Now your proxy server is successfully created and deployed on Heroku.
Like Article
Suggest improvement
Share your thoughts in the comments
Please Login to comment...