How to Create Automatic Rolling Months in Excel?
Last Updated :
16 Oct, 2022
Microsoft created the spreadsheet Excel for Windows, macOS, Android, and iOS. Excel offers calculation, computation, visualization tools, pivot tables, and VBA. You will find a lot of cells in a spreadsheet. The names of the rows and the columns are both written in alphabetical order. The row and column addresses of each cell can be used to pinpoint its precise location. The spreadsheet’s first top-left cell is A1. One spreadsheet contains 16384 columns and 1048576 rows in total (A to XFD).
Automatic Rolling Months in Excel
There are several ways to set up a series of Automatic Rolling Months:
Using the Excel Toolbar’s Fill Option
By using the Fill Option from the Excel Toolbar, you can create a series of dates with automatic rolling months.
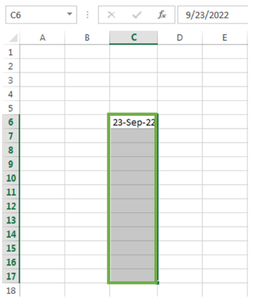
Step 1: Enter the first date of the series in a cell. For instance, in cell C6, enter September 23, 2022:

Automatic Rolling Months in Excel
Step 2: Select all of the cells where you want the series to be inserted. Cells C6 to C17 were selected here:
Automatic Rolling Months in Excel
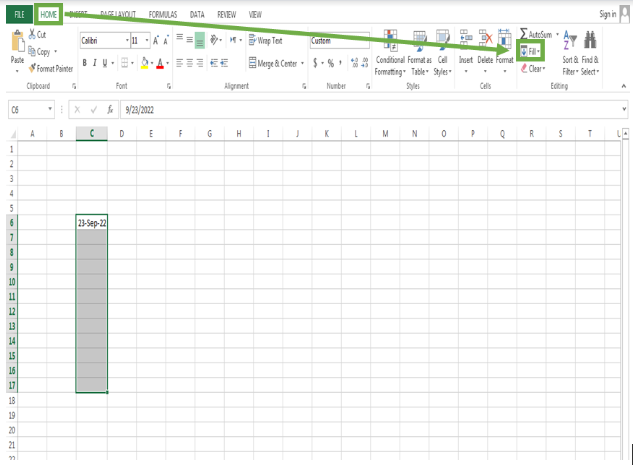
Step 3: Then, in the Editing Section of the Excel Toolbar, select Home>Fill. Select an option from the drop-down menu:
Automatic Rolling Months in Excel
Step 4: Select Series from the available options:
Step 5:
- A dialogue box called Series will appear:
- Select Columns from the Series in options.
- Then, under Type, select Date.
- Then, in the Date unit drop-down menu, select Month.
- And then enter 1 in the Step value box.
Step 6: Finally, click on OK. This is how the monthly dates roll:
Using Excel Formula
Excel formulas can also be used to generate a series of dates rolling by months. The steps are as follows:
Step 1: Enter the first date after selecting a cell. For instance, select C6 and enter the date September 23, 2022:
Step 2: Then enter this formula into cell C7:
=DATE(IF(MONTH(C6)+1>12,YEAR(C6)+1,YEAR(C6)),IF(MONTH(C6)+1>12,MOD(MONTH(C6)+1,12),MONTH(C6)+1),DAY(C6))

Automatic Rolling Months in Excel
Step 3: Drag the Fill Handle to the series cell. For instance, let’s drag it to C17 and all the cells are filled with automatic rolling months:
Using Fill Handle
Using Fill Handle is the easiest way for Automatic Rolling Month in Excel. The steps are as follows:
Step 1: The first date of the series should be in a specified cell. Cell C6 has the date 23 September 2022:
Step 2: Drag the Fill Handle to the desired series length. A Series of 14 cells up to C19 was created here. Now select Fill Months from the Auto Fill Options:
Step C: Finally, all the cells will be filled with automatic rolling months:
Like Article
Suggest improvement
Share your thoughts in the comments
Please Login to comment...