How to create a Clipping Mask using Photoshop?
Last Updated :
28 Nov, 2021
Photoshop is a raster graphic design software and photo editing which allows users to manipulate and photo editing and you can use photoshop to create or edit images, posters, banners, logos, invitation cards, and various graphics as well as digital art. Photoshop allows to create and edit raster images with the number of layers and import the images in various file formats. Photoshop application is developed by Adobe Systems for both Windows and Mac OS. In this article, we will create a clipping mask and clipping mask type. A clipping mask is a set of layers to which a mask is applied or a clipping mask is a vector tool of Photoshop. Or we can say that it is used to control the visibility of the layer. It takes two layers in which the bottom layer controls the visibility of the above layer. It is also used for masking the Shape, Text, Poster Making and etc. for better understanding we will implement this example with help of Photoshop.
Creating a clipping mask from type
We will follow the following step for the Clipping mask.
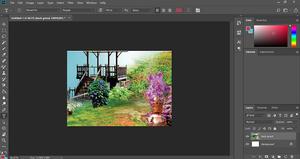
Step 1: First of all open Photoshop and import a sample picture. If we want to use this picture for the Clipping mask. Then we can take text. If you want to take Shape, Poster, etc. whatever you needed you can use. Here we are using a picture of a clipping mask in Text. So we are taking Pictures and Text.
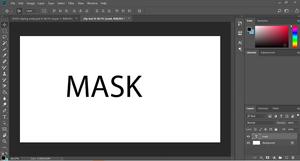
Step 2: Now we will Clipping mask of this picture in the text. Therefore we will make a new layer and on that layer Type a Text using the Type tool.
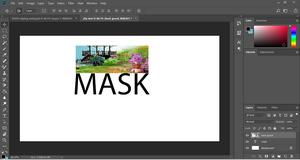
Step 3: Now we will create a Clipping Mask. So to this, we will first select a picture that will use for Clipping Mask. Then drop that picture on the text and resize accordingly.
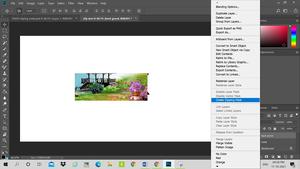
Step 4: Now we will right-click on that layer and then select create Clipping Mask.
Step 5: You can see in the below snapshots. It’s a complete Clipping Mask. This is a type of Clipping Mask.

Another method:
We can also do Clipping Mask using the following methods:
We can perform Clipping Mask through shortcut Keys. Here, we will follow the same process that have we have followed in the above method till drop the picture and resize it accordingly. After that click on the main layer and press “ CTRL+ALT+G”. It will also create a Clipping mask.
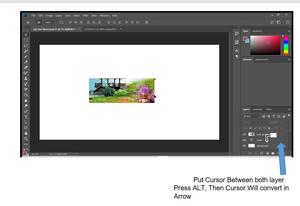
In this method we can perform a Clipping mask to put the cursor between both layers till the cursor when it changed in an arrow, after that we will perform anything on the above layer then ALT + Left click. It will directly Clipping mask on the below layer.
Like Article
Suggest improvement
Share your thoughts in the comments
Please Login to comment...