How to check which tab is active using Material UI ?
Last Updated :
23 Nov, 2020
Material-UI is one of the most popular React UI libraries. Material-UI components work in isolation. They are self-supporting, and will only inject the styles they need to display. They don’t rely on any global style-sheets such as normalize.css. Some examples of Material UI components are Dialog, Tabs, Text Field, Menu, Chip, Card, Stepper, Paper. To use Material-UI in React we need to install it manually in our project.
Prerequisites:
- Basic knowledge of React
- Any Code Editor (sublime text editor, VS Code, etc.)
Route Map to Solution
- Create a Sample Project
- Install Material — UI into Project
- Implement Tabs Example
- Applying Final Solution
Approach:
A) Create a Sample project:
- The above command will create a React app boilerplate within the path the command had run in and ensures that you always use the latest version of a generator or build tool without having to upgrade each time you’re about to use it.
- Enter into the project folder by typing the following command
cd react-material-ui/
- Run the Project by using the command
npm start
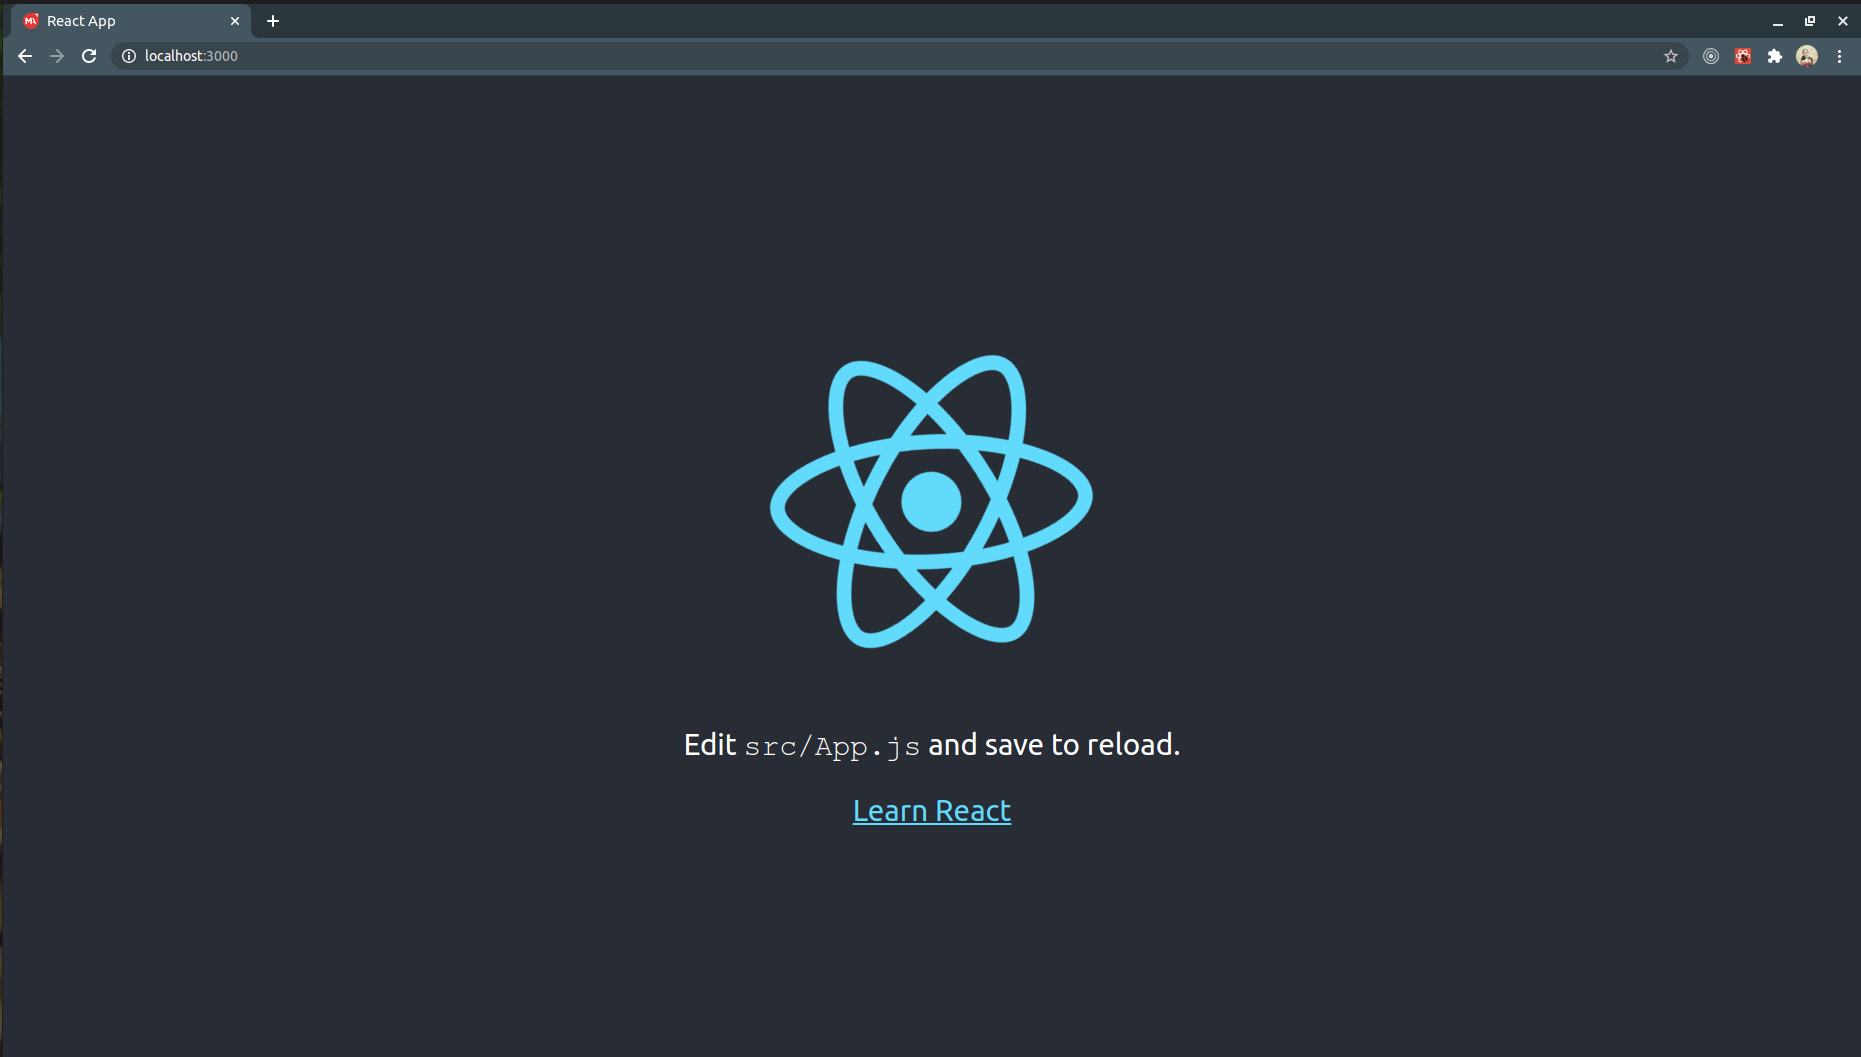
- You should be able to see the following in your browser
B) Install Material — UI into Project:
- Now look for App.js in the src folder of your project. Remove all the unnecessary code and add some code if we are on the right path.
Javascript
import './App.css';
import TabsExample from './TabsExample';
function App() {
return (
<div className="App">
<h4>
Example to Check which Tab is
active Using Material-UI
</h4>
</div>
);
}
export default App;
|
- You will observe the browser getting updated as soon as you save your changes. Now everything is set to write our example.
C) Implement Tabs Example:
- It’s time for your code editor. Create a file named TabsExample.js in your src folder and paste the following code into it.
Javascript
import React from 'react';
import Tabs from '@material-ui/core/Tabs';
import Tab from '@material-ui/core/Tab';
export default class TabsExample extends React.Component {
constructor(props) {
super(props);
this.state = {
value: 'None',
};
}
render() {
return (
<div>
<Tabs
value={this.state.value}
indicatorColor="primary"
textColor="primary"
centered="true">
<Tab label="Tab A" value="Tab A" />
<Tab label="Tab B" value="Tab B" />
</Tabs>
</div>
);
}
}
|
- Import your newly created above component into your App.js file. Your App.js file should look like this
Javascript
import './App.css';
import TabsExample from './TabsExample';
function App() {
return (
<div className="App">
<h4>
Example to Check which Tab is
active Using Material-UI
</h4>
<TabsExample/>
</div>
);
}
export default App;
|
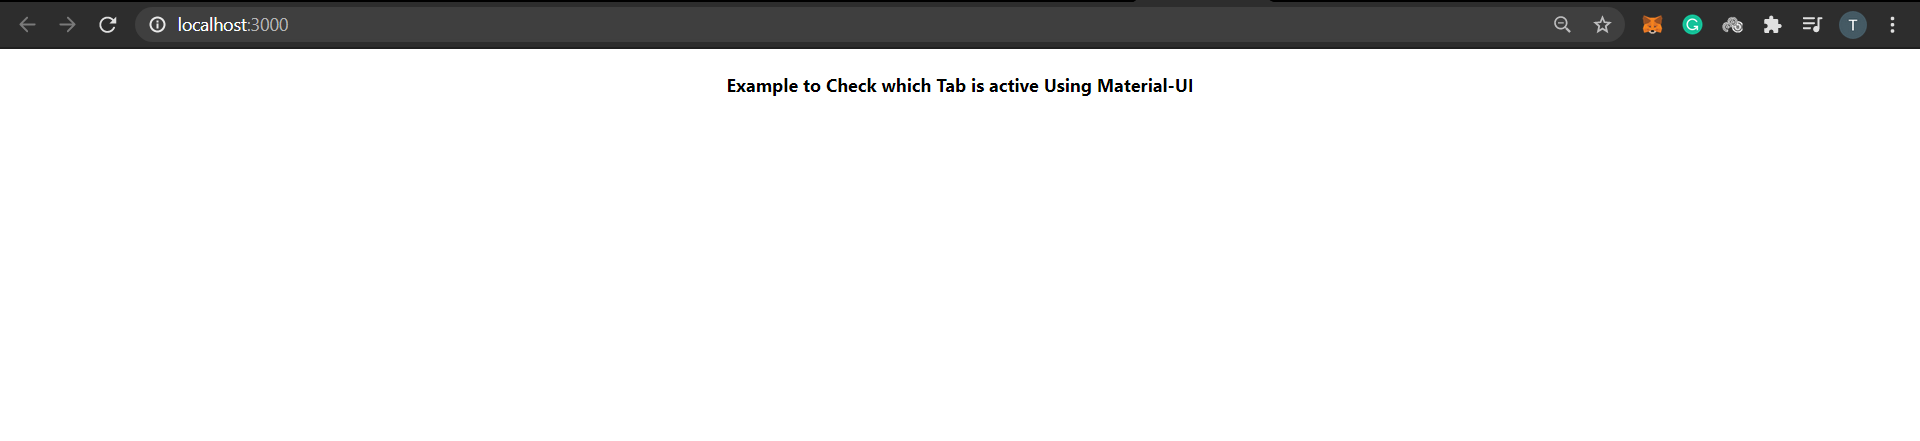
- The screen will look like this:

Now it’s time for the actual things. Let’s see the approach for the solution
D) Applying Final Solution:
- The idea is to use the onChange Callback which is fired automatically when a Tab value changes
Syntax:
function(event: object, value: any) => void
Where,
event: The event source of the callback
value: The index of the child (number)
- Now update the App.js file with the below code:
Javascript
import React from 'react';
import Tabs from '@material-ui/core/Tabs';
import Tab from '@material-ui/core/Tab';
const styles = {
headline: {
fontSize: 24,
paddingTop: 16,
marginBottom: 12,
fontWeight: 400,
color: 'green',
},
};
export default class TabsExample extends React.Component {
constructor(props) {
super(props);
this.state = {
value: 'None',
};
}
handleChange = (_, value) => {
this.setState({
value,
});
};
render() {
return (
<div>
<Tabs
value={this.state.value}
onChange={this.handleChange}
indicatorColor="primary"
textColor="primary"
centered="true">
<Tab label="Tab A" value="Tab A" />
<Tab label="Tab B" value="Tab B" />
</Tabs>
<br></br>
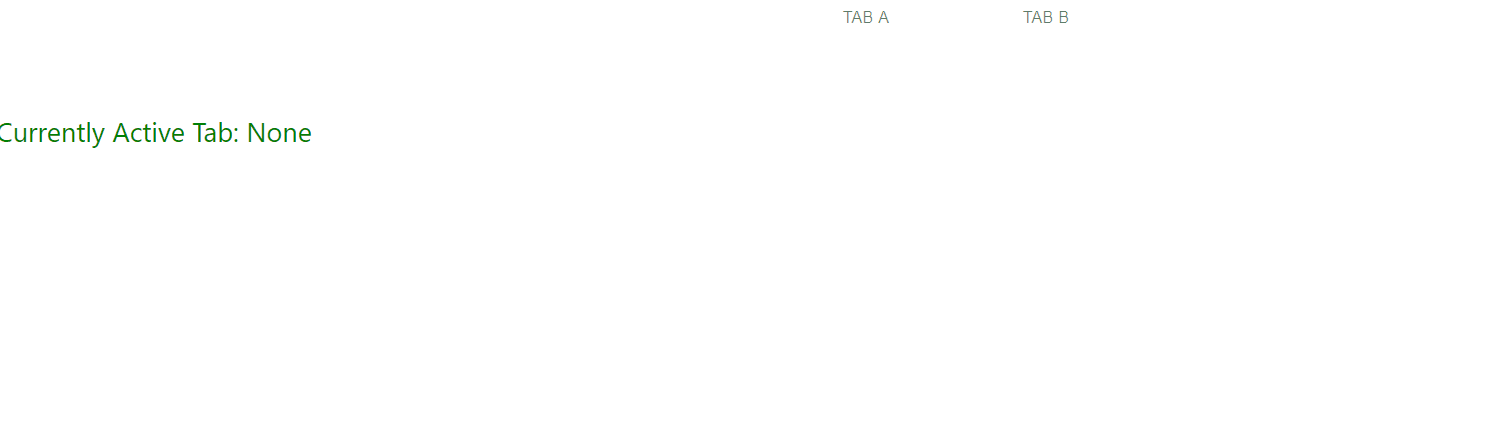
<p style={styles.headline}>
Currently Active Tab: {this.state.value}
</p>
</div>
);
}
}
|
Output:
Like Article
Suggest improvement
Share your thoughts in the comments
Please Login to comment...