How to build custom image classifiers using IBM Watson?
Last Updated :
10 Jul, 2020
Prerequisites: How to use built-in image classifiers of visual recognition module using IBM watson?
IBM Watson Visual Recognition is a tool that uses deep learning algorithms to analyze images and allow users to automatically identify subjects and objects contained within the image and organize and classify these images into categories. the interesting part is that it allows you to build your own custom image classifiers and then train and test those models in the cloud itself.
What you will learn from this?
You will utilize IBM Watson Visual Recognition (VR) to upload and classify your images using custom image classifiers built by you.
What you will require?
- IBM Cloud account (A credit card is NOT required to sign up for IBM Cloud Lite account and there is no charge associated in creating a Lite plan instance of the Watson Discovery service).
- Device with good internet connection.
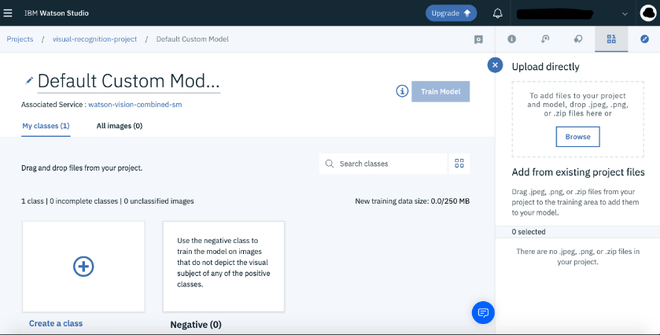
You should see following dashboard after completing the guide till step 7 as mentioned in the prerequisites.
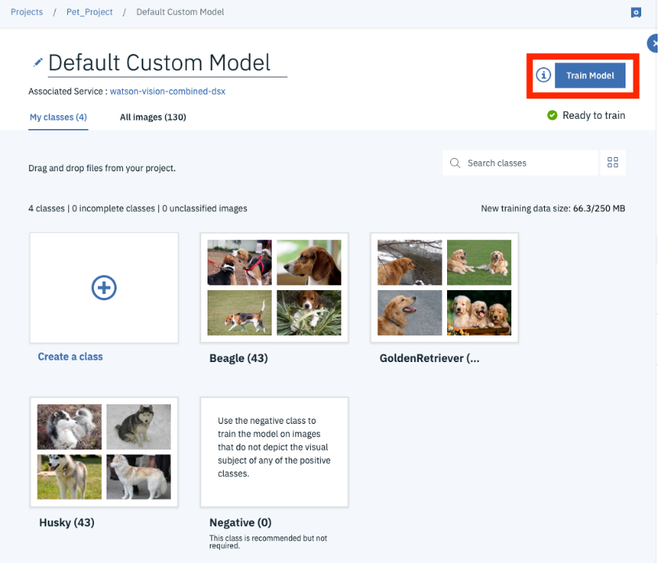
For the custom model that we are creating in the visual recognition service, we are classifying 3 breeds of dogs. You can use any class of any objects like fruits, logos, different time of days like morning, afternoon, evening and night.
Procedure
Step 1: Start by creating our first class for training.
click on create a class tab.
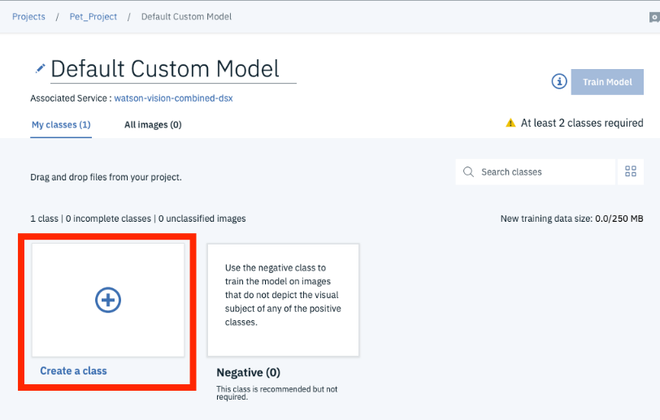
on next screen enter the name for your class. Let’s start with Husky, so we name our first class Husky.
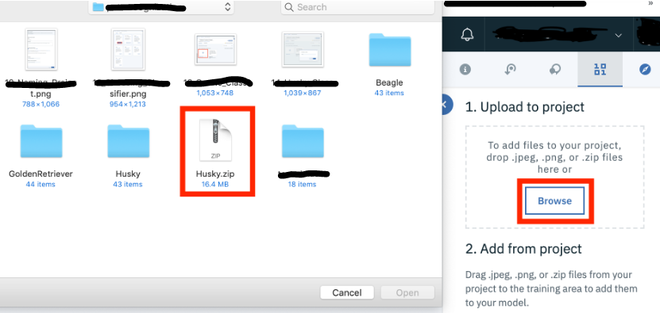
Step 2: Upload training dataset.
click on Browse, and select the dataset file (.zip file) which contains the training images for your class. i have chosen husky.
Using a zip file containing all images of a single class is better as it will be efficient and faster to use.
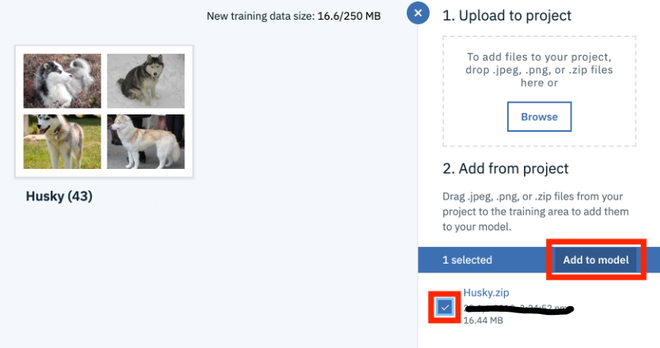
Step 3: Add the uploaded dataset to your model.
click on the checkbox next to Husky.zip (in my case) and then click on Add to Model.
Step 4: Now do the same with the dataset for Beagle and Golden Retriever. Then click “Train Model”.
Note: Training may take couple of minutes or more depending on size of dataset and resolution
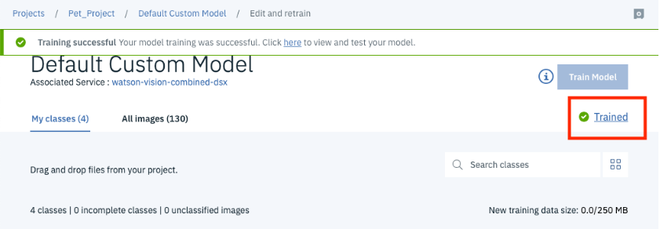
Click on Trained.
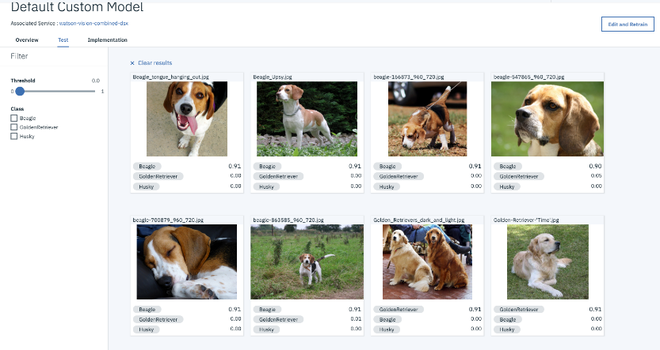
Step 5: Test your model.
click on the Test option, then browse to upload your test dataset (my test data contain mixture of all 3 types of dog breeds).

once you upload your test data, it will automatically start analyzing all images.
Step 6: View results
Like Article
Suggest improvement
Share your thoughts in the comments
Please Login to comment...