How to Build a Website using Wix ?
Last Updated :
02 Nov, 2023
Wix is an online drag and drop tools to create extremely easy website using website builders. For learning how to code and build a website on your own, here are few cloud based web development. In this article, we will exhibit creating a website using Wix and this is chosen just for the sake of illustrative purposes.
How to Get Started?
Getting started with Wix: Without spending much time the Wix will offer free & easy use of website builder which will allow one to create remarkable website. There are no coding or technical skills required when using Wix Website builder for building website. You can build & design your website or choose template from a hundreds of option in templates provided. Wix give the option or we could say the choice to opt for a premium plan, which unlocks many features and benefits which are normally inaccessible with free version. Connecting a domain name, additional band- width/ storage, Removing Wix ads etc. are few of the advantages of Wix.
Signing Up
The basic things about Wix is figured out now we will see how to create or develop an account on platform and dive into website building ocean. The procedure is simple and straightforward below are on screen instructions all you have to do is to follow them.
In order to sign up with Wix:
- Go to http://www.wix.com
- Press “Sign In” at top right.
- Click “sign up” right beside ‘New to Wix?’
- Enter e-mail.
- Opt a password
- Press “Sign Up”
Editing an existing template/ website
From different categories Wix has different template options some of the famous categories are Business, E-commerce, Blog, Music, Photography, etc. Wix has already finished all or most of the important work on your behalf as you will start working on the existing template. Now what you have to do is to make some final changes & add things you think are important means all template are preloaded which have content in them. So the existing data can be replaced simply by you with text, pictures & logos of your business type without panicking about site’s fonts, columns, width, etc.
Feature available to add to your site in Wix
METHOD INVOLVED IN WIX
Now sign in to a Wix account for the demonstration purpose we will built a sample website from the already given template.
- Step1: After i open Wix homepage the page is redirected to https://www.wix.com/my-account/sites/ means all published or non-published websites are under this URL can be easily found out for managing. When you are starting for first time a blue button will arose i.e. ‘Create your Website’ by clicking on this many options are provided with a message. For example, ‘What kind of website do you want to create?’ , Business, Designer, Blog, Beauty & Wellness, Portfolio & CV, Accommodations and many more.
- Step2: By clicking on website ‘Online Store’ website category the e-commerce template come in hundreds of numbers when you will think of creating an e-commerce website. The look and working can be explored by us before starting or using any template whatever option u want to explore ‘Info’ option is there for hovering your mouse cursor.
- Step3: ‘Home Tech Store’ is a template you can go with. After hitting ‘Edit’ option a time duration of 10-15 seconds is taken by it before we will enter Wix Website Editor. The best thing about this is no feeling of meeting strangers. If worked with WordPress, Joomla, Drupal you can easily relate how hectic and time consuming it is to work with its font size, text size etc. But nothing such will happen with Wix because before your website go live everything will be in-front of your eyes, this result the perfection as you know how your website looks in real time & how it will look after changes are made.
Text & Font in real time as simple as you are editing some MS Word document
- Step4: By creating an online Digit store we replace the feature product image on homepage with digit magazine the digit store is platform where all visitors will get to know about last month’s Digit issues also buy them directly. What we need to do is to open Wix Website Editor> Click on existing image>select ‘change image’>choose image>upload image this procedure is followed in change in logo or picture kind.
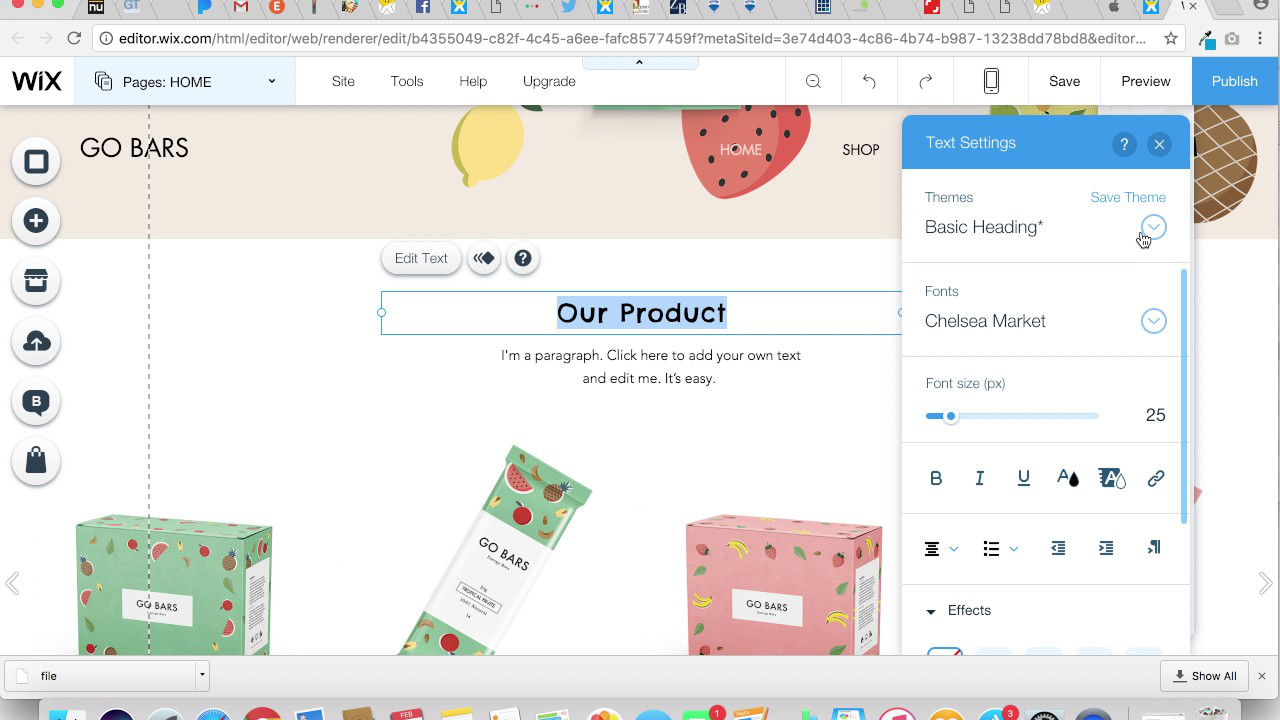
- Step5: As putted in an appropriate product description by replacing image was not sufficient hence we have to change the text through which we could easily relate to Digit’s August2016 edition. Now you have to Click on existing text>Choose ‘Edit Text’ > Enter new text. The hyperlink ‘Preview’ & ‘Buy Now’ button. Click on text or button which you want to hyperlink>Click on ‘Change Link’ icon on next of ‘Change Text’ option> insert URL where want to send the audience. This procedure is followed to all other objects & content we want to visit on website https://techtsp.wixsite.com/buy-digit.
Editing existing content & replacing with your content in wix
Making Website from scratch
By making use of Blank template we will create a website from scratch this resemble the haunted house where you cannot settle without filling with exciting & essential control that we see.
- Step1: Open https://www.wix.com we have e-commerce website in our account from digit store, a message will arise ‘Create your Website’ on display. The previous of our will be listed here. For creating new website go to top right icon,now landed on template selection page we do not need to be worried about category because in scratch we are creating website with no ready-made content.
- Step2: Go to Blank Template some template are not blank wix has done it easier with predetermined layouts & other things. So without any help we will choose template name ‘Start from Scratch’.
- Step3: Wix website editor prompt you to set name as URL the name will appear in URL so we decided to go with name ‘techtsp’ so the URL will be https://techtsp.wixsite.com/techtsp. You can change this from https://wix.com> select your website>click on ‘Manage Site’ > Go to ‘Manage’ in ‘Site Address’ > make the changes.
- Step4: The blank template is divided in 3 parts – Header, Page, Footer for positioning of content. Header comprise of site logo & menu bar, page is a body and footer has short bio & logo.
- Step5: Now explore for adding whatever you want in your website there are control on left. Our task is to add decent background from the ‘Background option’ at left > select image> choose upload images> select uploaded image> press change background.
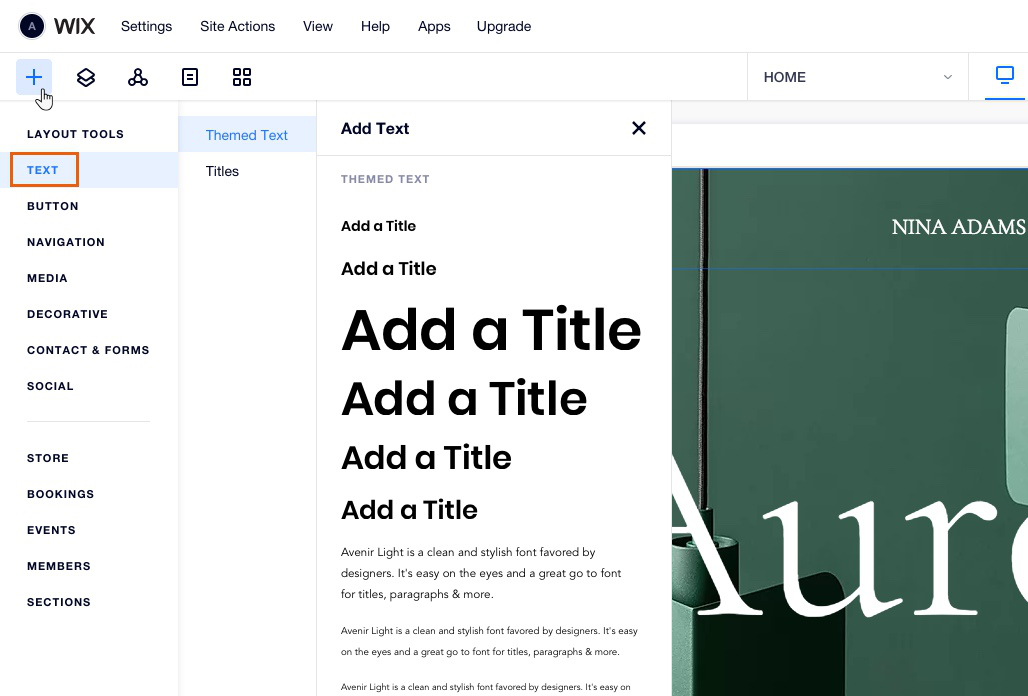
- Step6: Now add site title in header go to ‘Add’ > select ‘Text’>chose ‘Site Title’>position the text in header. If wanted to add new page from drop-down list>rename the page to be added to a menu bar.
Add Videos and enable auto-play as soon as page loads
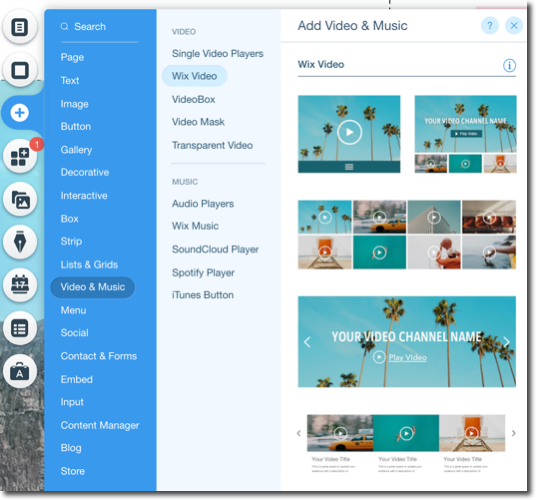
- Step7: When to add content to contact page you have a contact form. Go to ‘Add’ on left> select ‘Contact’>Choose contact layout now input email address where you want to receive messages sent through contact form. For YouTube video to homepage by ‘App market’ > Searching YouTube in search box> ‘Add Video payer’ > Insert video URL.
There are so many things here what we have discussed are just never be enough but is relevant and informative.
Like Article
Suggest improvement
Share your thoughts in the comments
Please Login to comment...